Layer
The window for handling a single piece of video. Whether you put in a video, an image, Spout / Syphon, NDI or a node output, the controls in this window are the same.
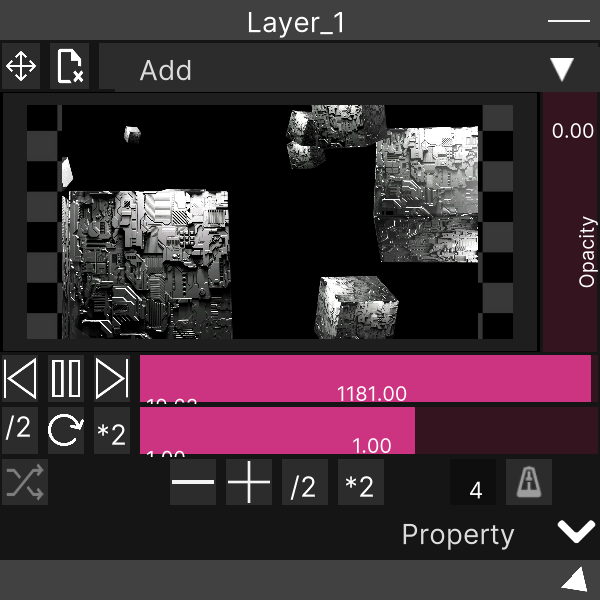
Creating and deleting
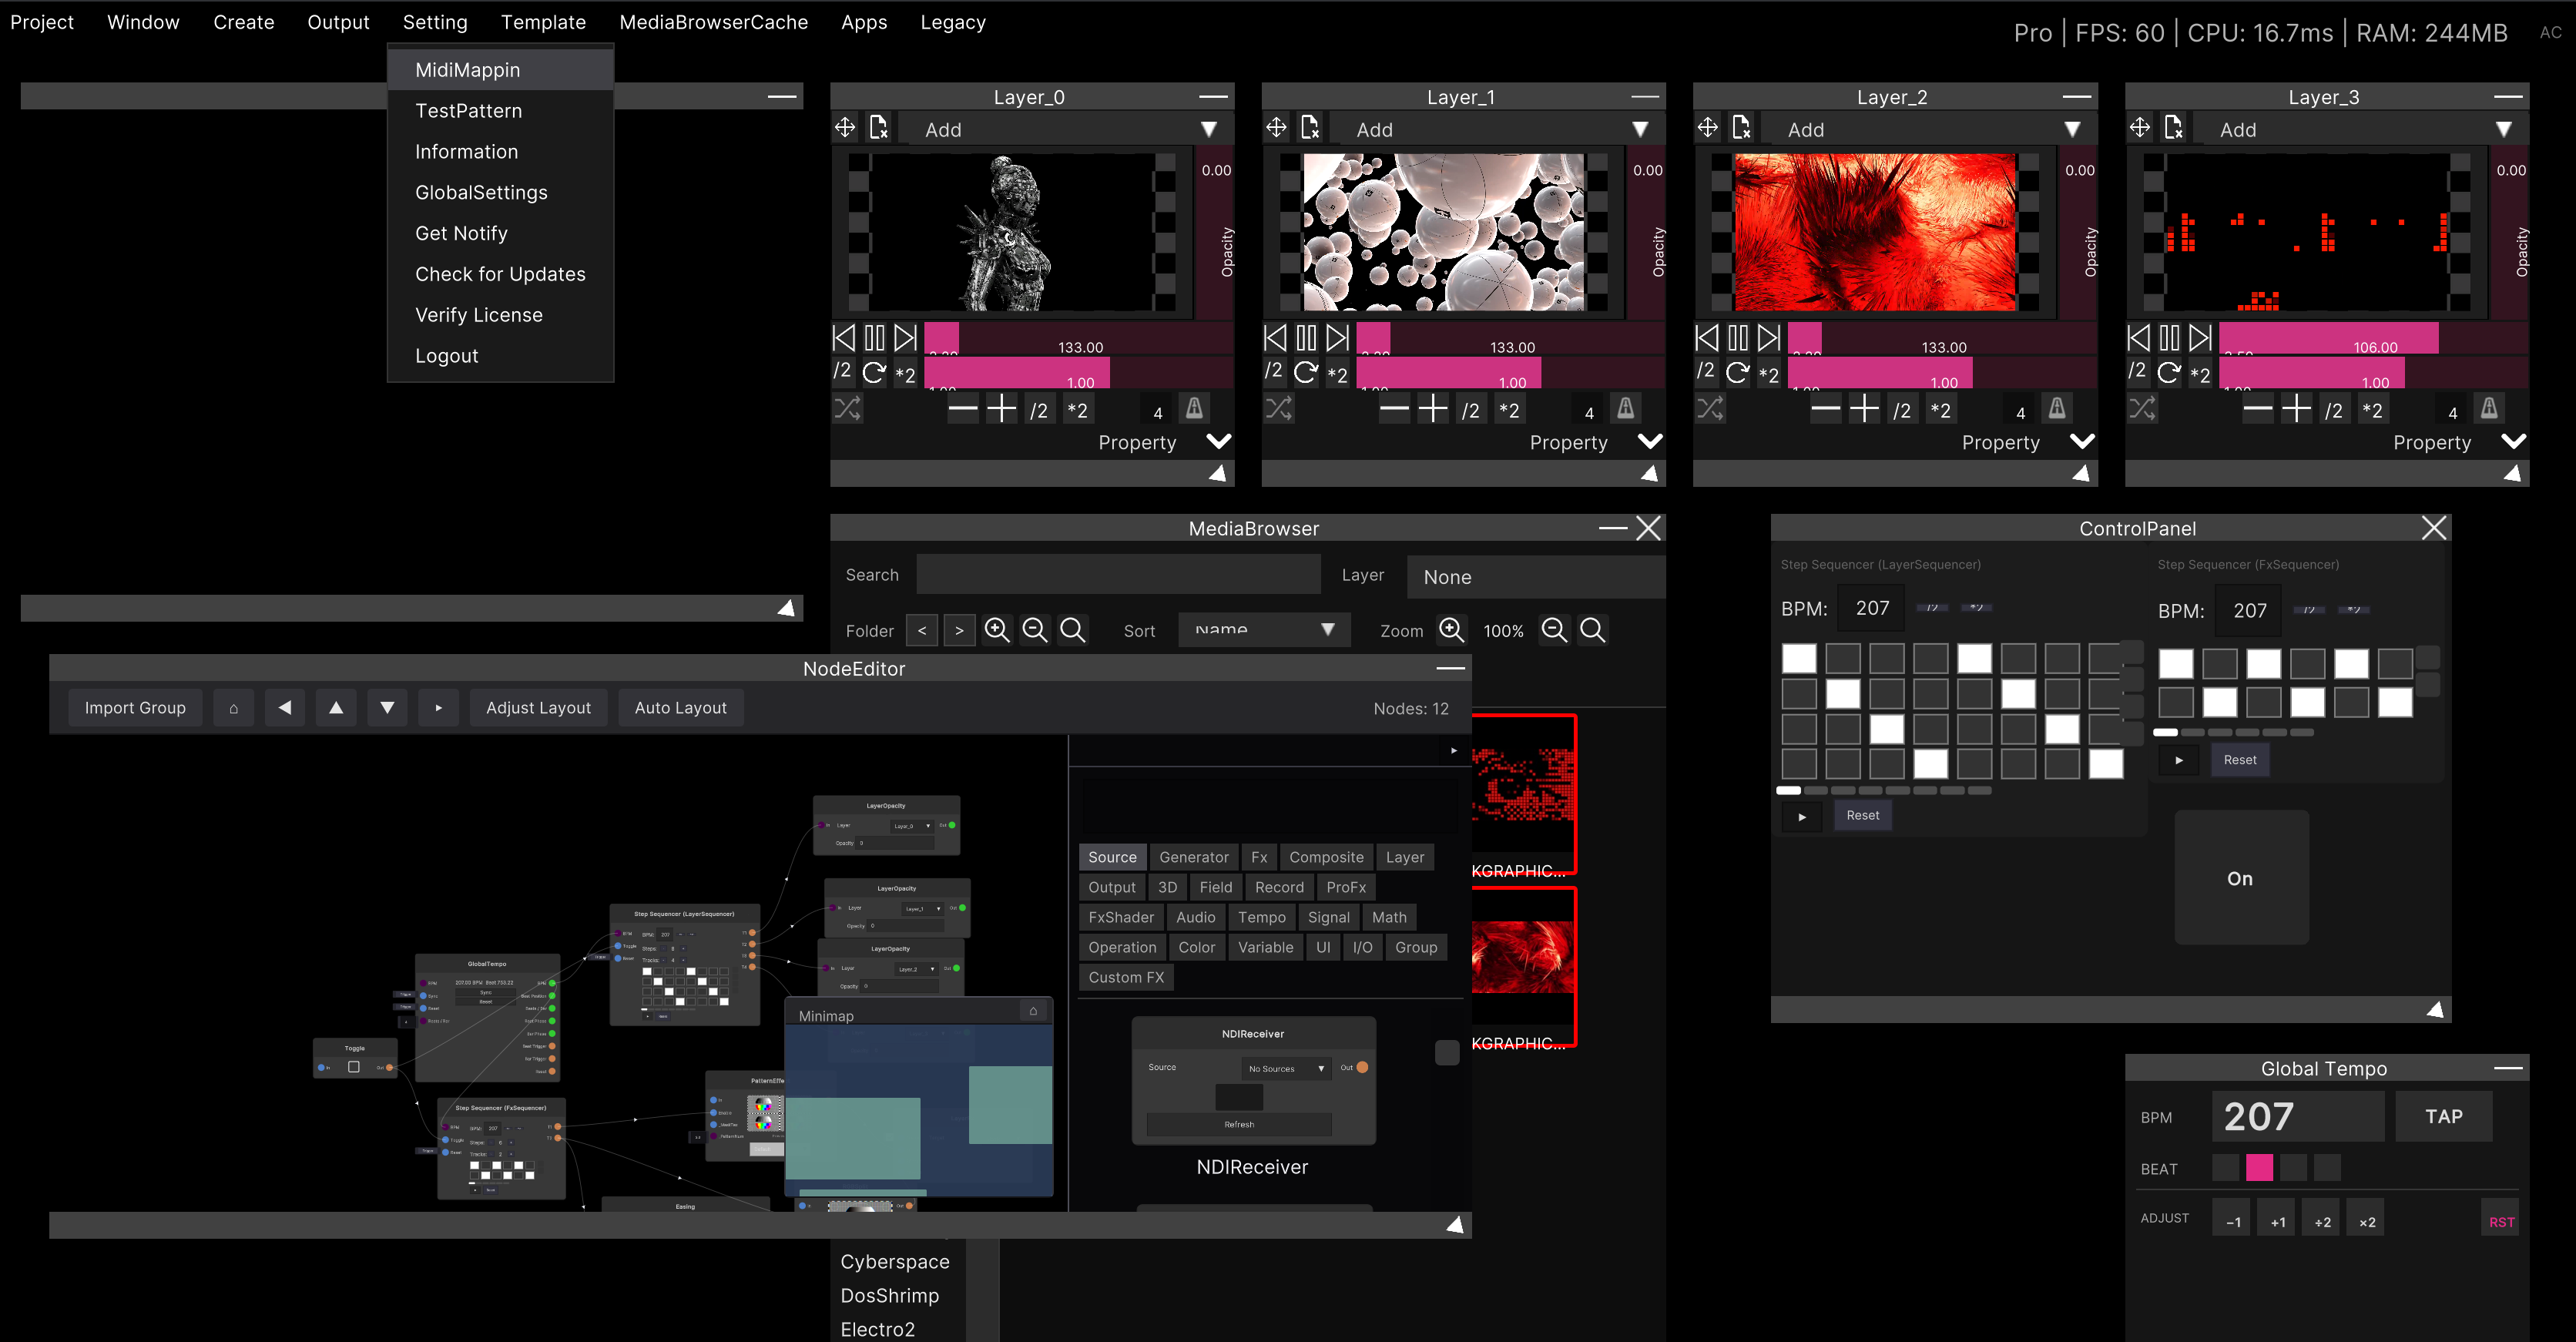
Menu bar: Create → Layer. Names are assigned automatically as Layer_0, Layer_1 and so on.
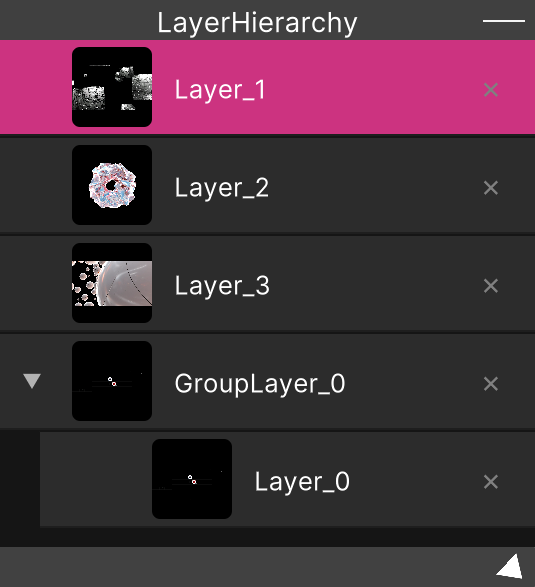
This window has no ×. To delete it, press the × on its row in Layer Hierarchy (there is no confirmation and no undo). Minimize with the − at the right of the title bar.
Double-click the title bar to rename the layer. Enter confirms, Esc cancels. The name you give it appears in the Hierarchy and in the dropdowns on the node side.
A freshly created layer has an opacity of 0. That means nothing appears in Preview even after you load a video. Raise
Opacityfirst.
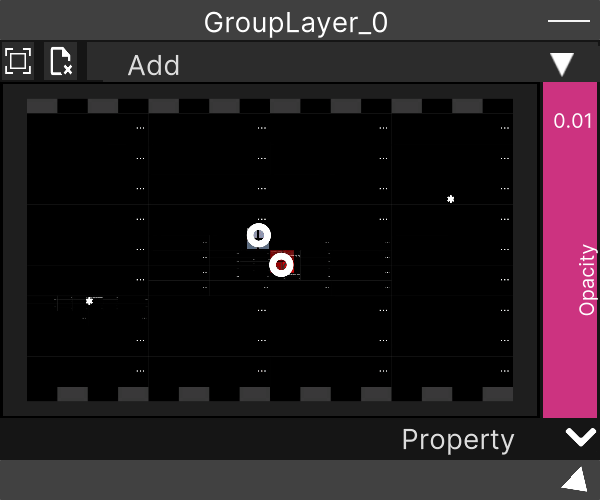
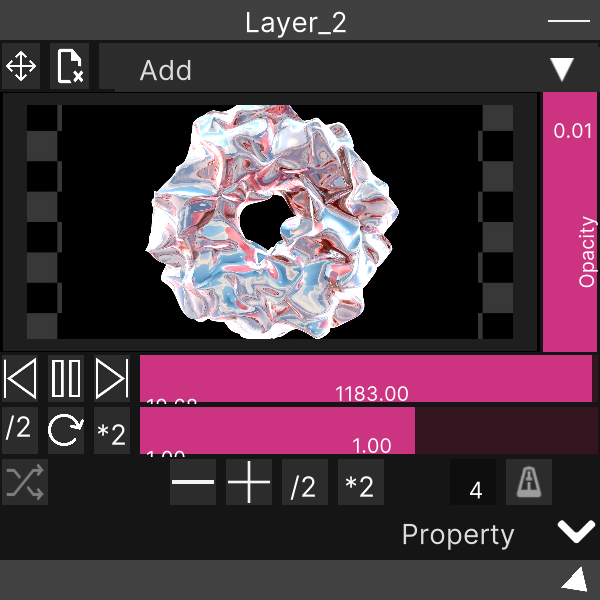
Top row: stretch, content clear, blend mode
| Position | What it does |
|---|---|
| Icon toggle on the left | Stretch toggle. ON stretches the video to fill the layer resolution; OFF displays it at its original resolution (new layers are ON) |
| The icon to its right | Content clear. Stops playback and removes the assignment |
| Dropdown on the right | Blend mode |
There are eight blend modes (listed in this order).
Add / AlphaAdd / AlphaBlend / Inversion / Multiply / Screen / Substract / Cutout
A new layer defaults to Add.
Content clear has no confirmation. In addition to stopping playback, it also clears the Spout / NDI / node input selection.
Middle row: preview and Opacity
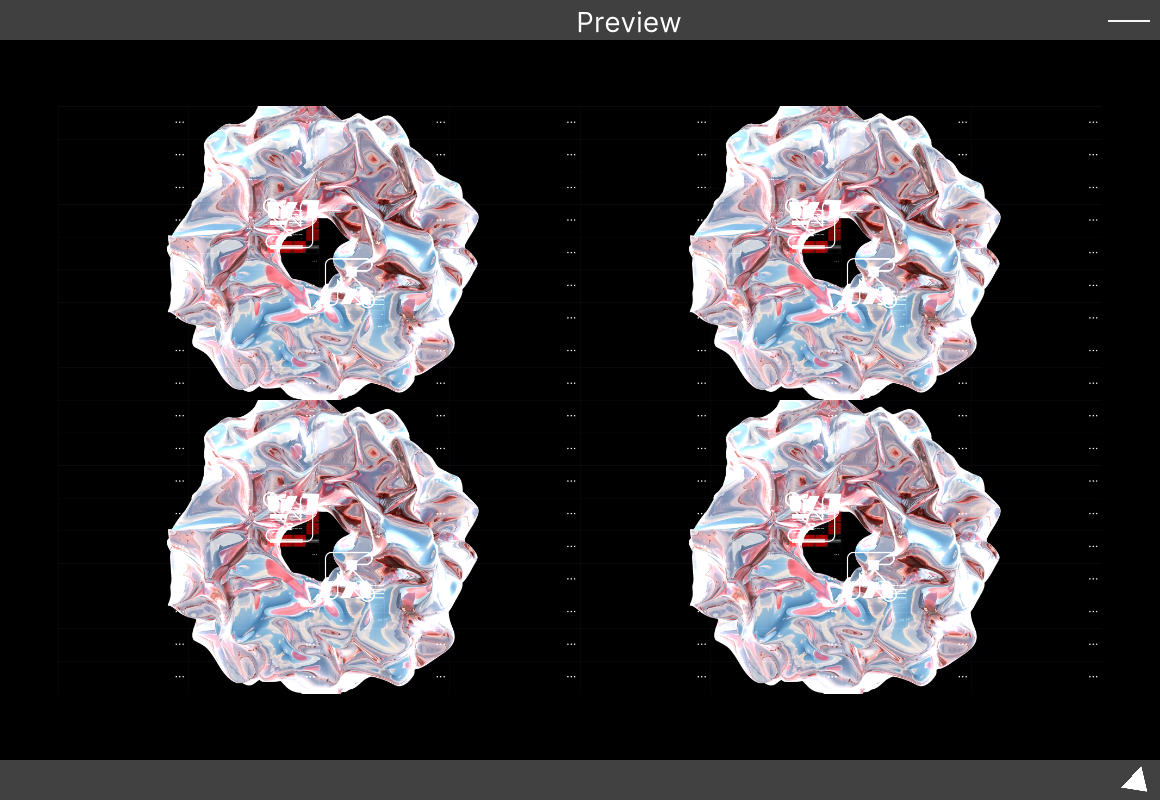
The large surface in the middle is the preview, and the vertical bar on the right is Opacity.
Opacity ranges from 0 to 1, and the bar grows from the bottom.
The numeric readout for
Opacityshows 1/100 of the actual value. At full (1.0) it reads0.01, and at anything else it reads roughly0.00. The bar’s height and the actual video are correct, so watch the bar rather than the number.
Clicking the preview surface specifies the assignment target
Left-clicking the preview surface puts that layer into a “waiting for an assignment” state.
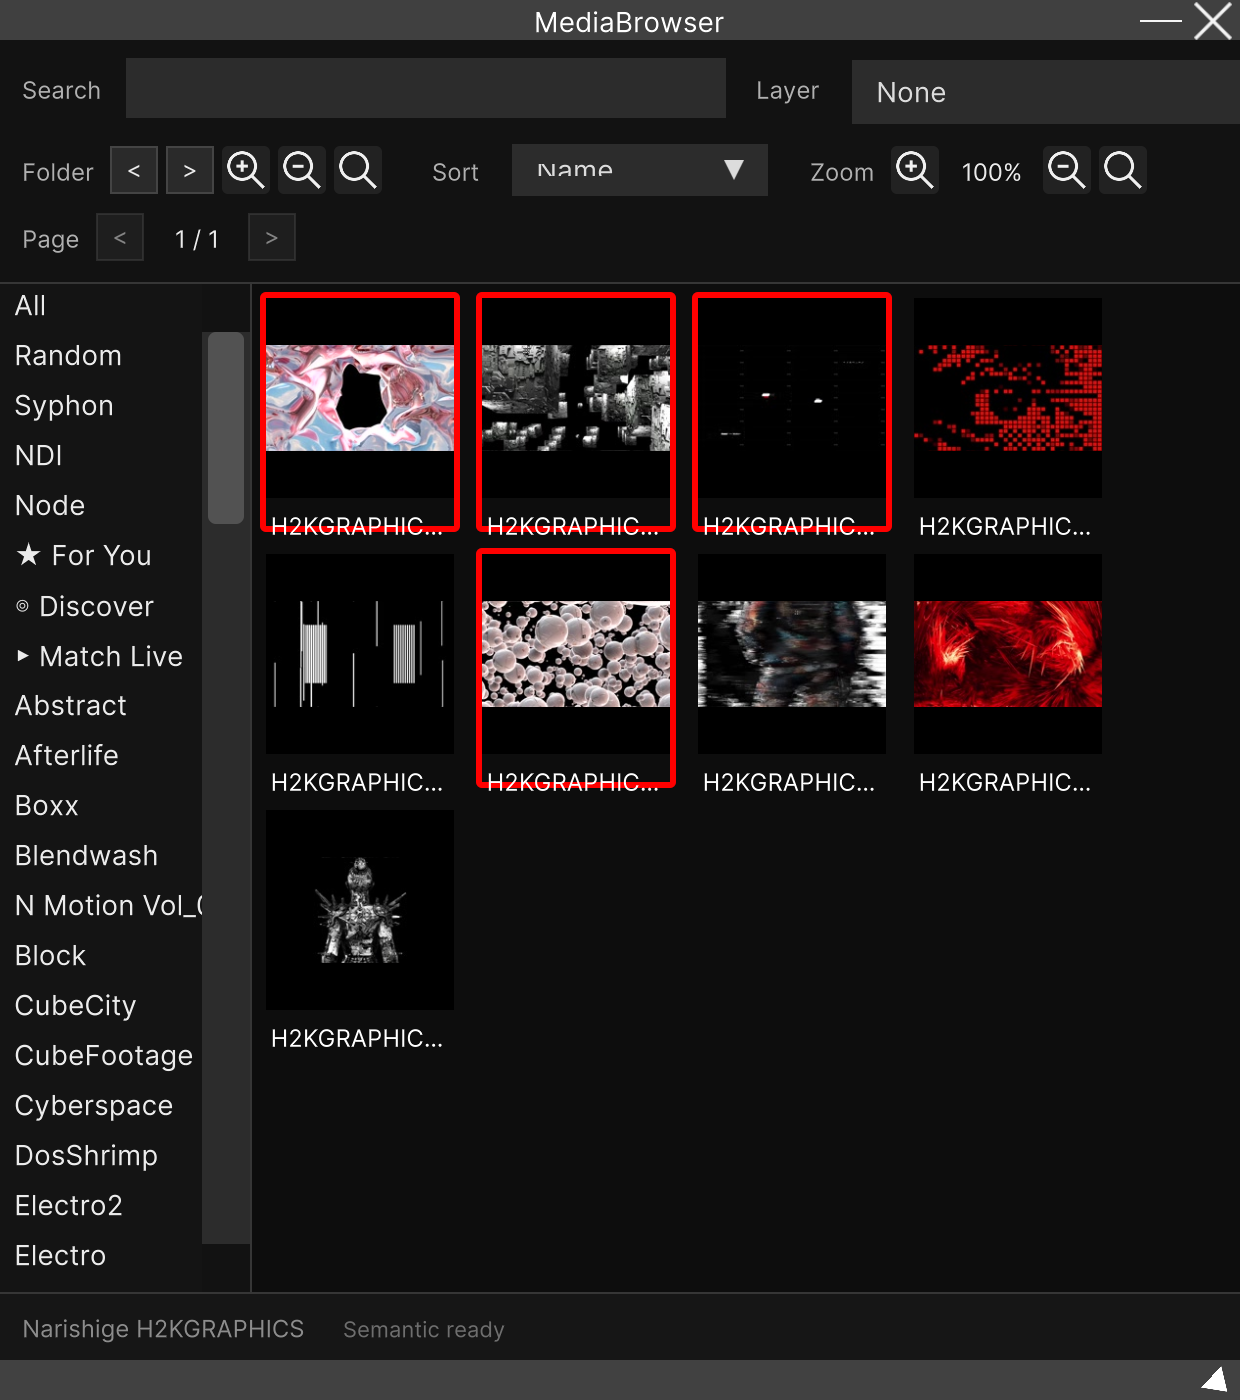
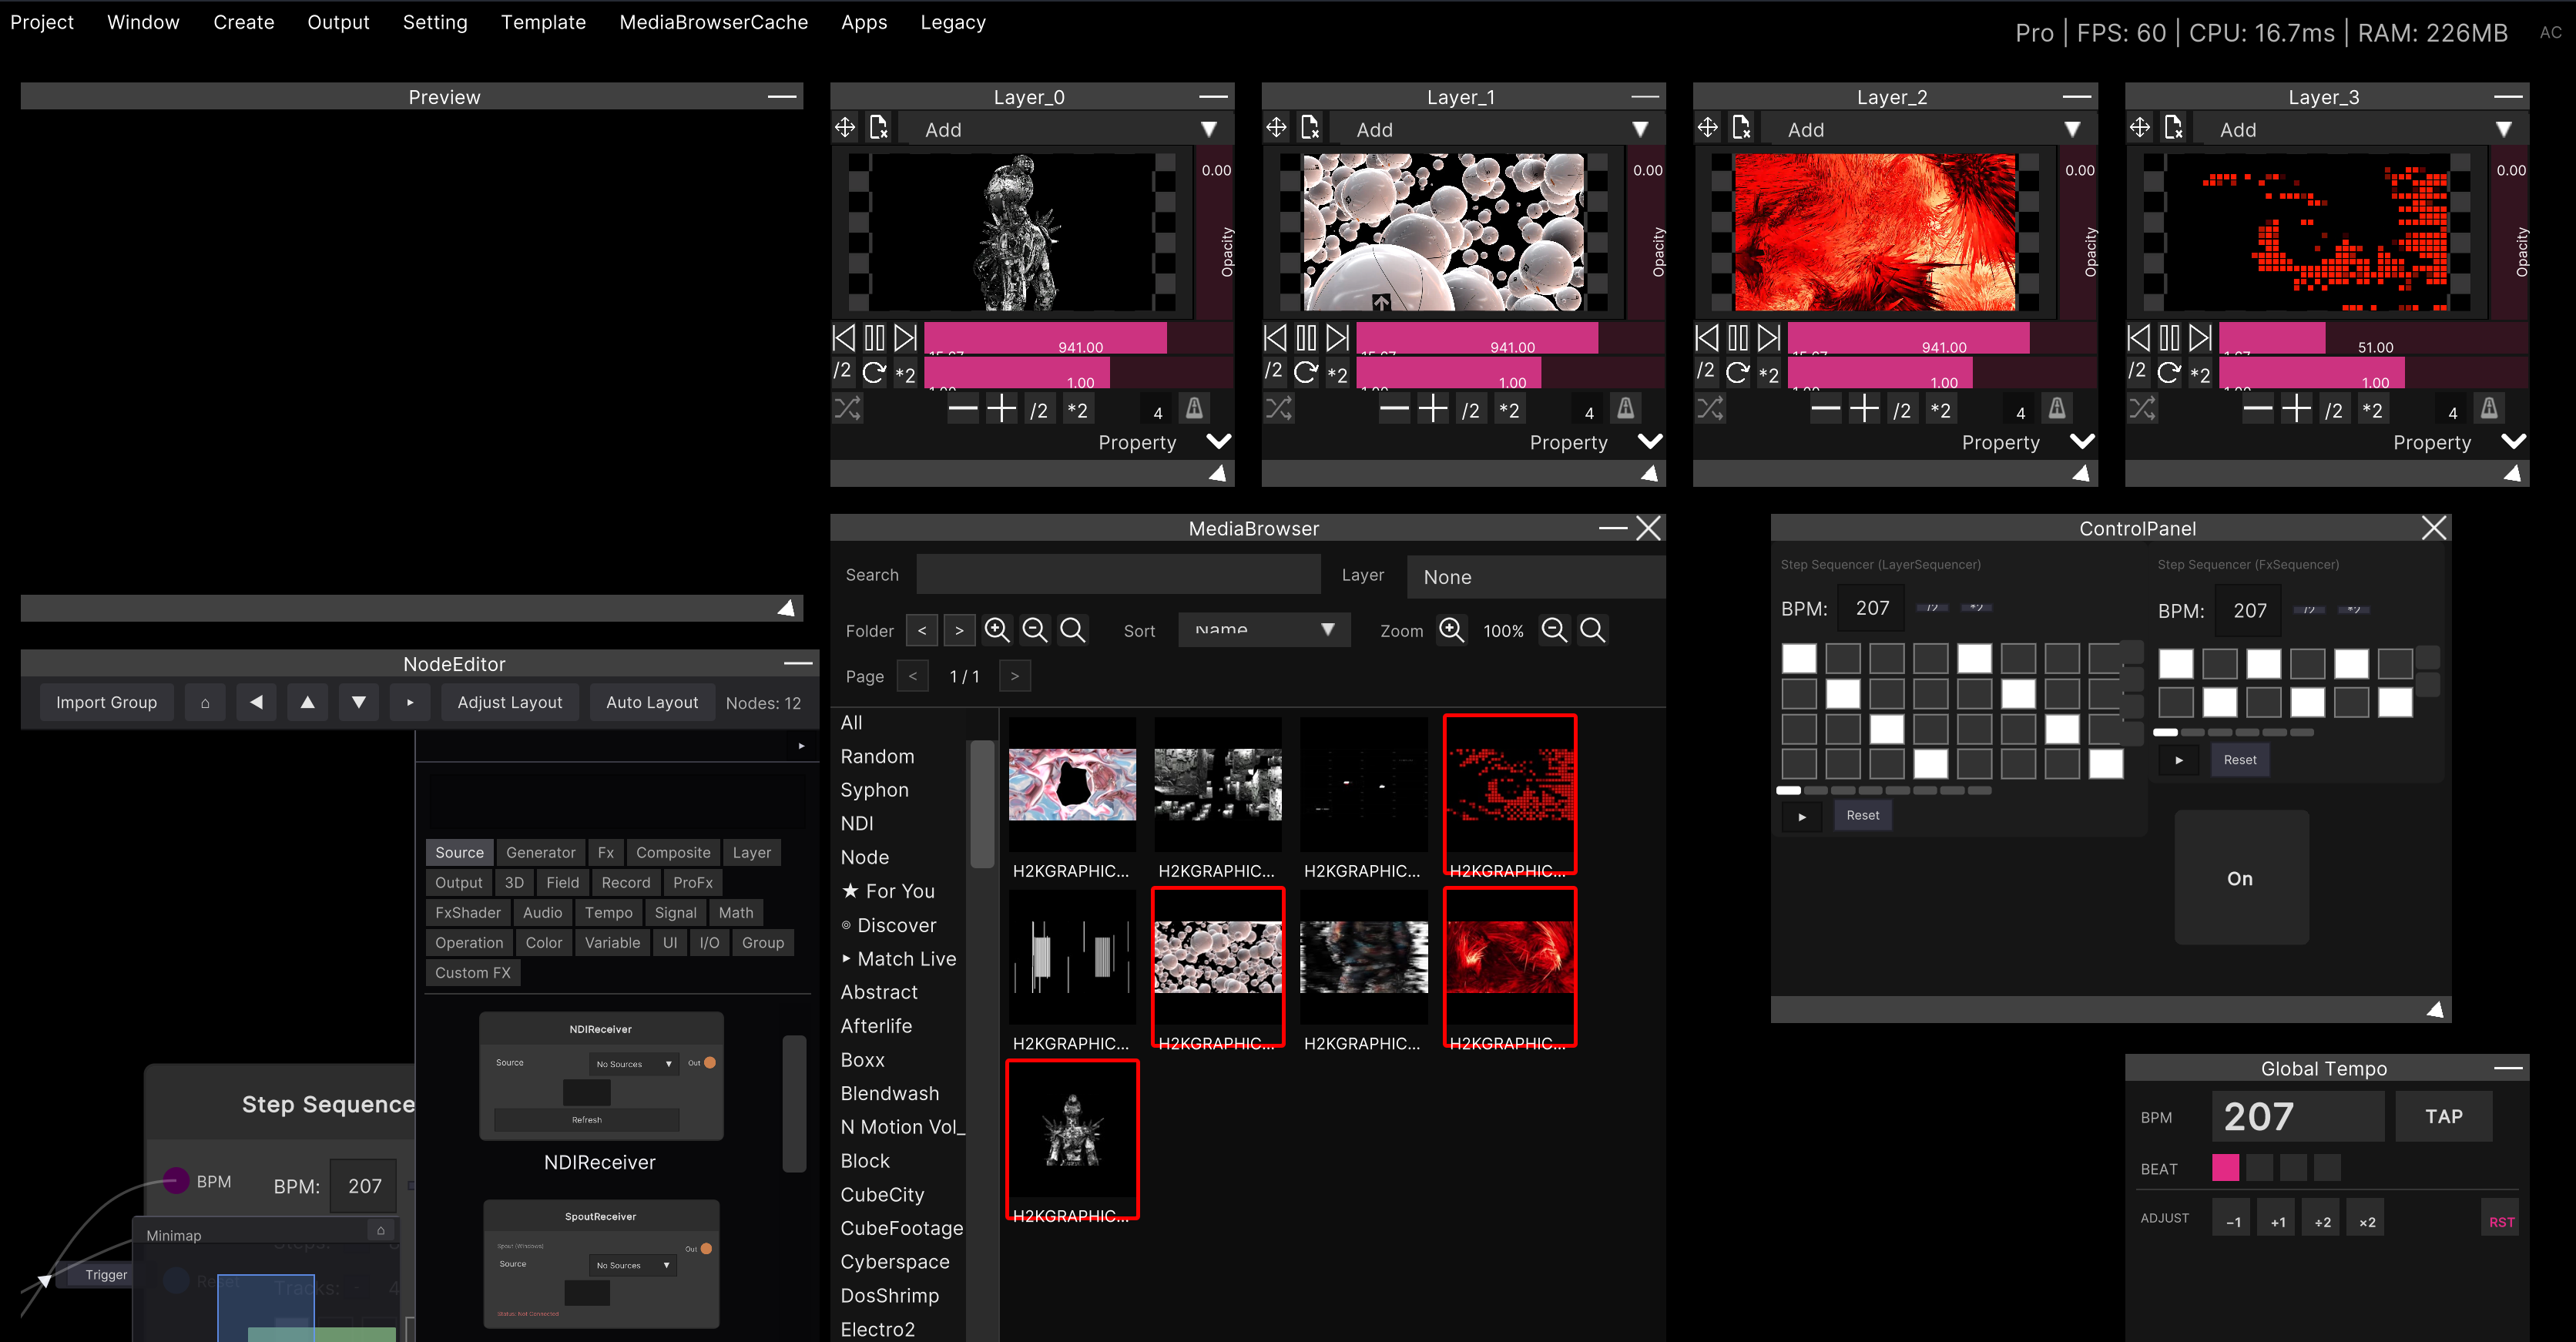
While it is in that state, clicking a thumbnail in the Media Browser loads
that video into this layer. The waiting state is released automatically once the assignment is
made (it is not released if you turn on Keep layer selection after assigning under
Setting → GlobalSettings).
Right-clicking the preview surface makes the Media Browser open and select the folder containing the content currently playing. There is no visible button for it, so it is easy to miss, but it is handy when you want to go looking for related clips.
Dropping files onto the preview surface
The preview surface is also a drop target.
- Dropping files from the OS — they are imported into a folder called
Temp, and only the first one is assigned - Dragging from the Media Browser — here too, only the first item
Even if you drop several files at once, only one is assigned. The rest are merely imported into the library.
Bottom row: playback transport
| Button | What it does |
|---|---|
| ◁| | Return to the start (not the previous clip) |
| ⏸ / ▶ | Play / pause toggle |
| |▷ | Jump to the end (not the next clip) |
| The bar beside them | Seek (scrub) |
The time shown above the seek bar is seconds to two decimal places (for example 12.34).
There is no minutes:seconds display and no total duration.
When no video is loaded, none of the buttons respond. There is no error either, so if “nothing happens when I press it”, first check whether any content is loaded.
Speed
| Button | What it does |
|---|---|
| /2 | Halve the speed |
| ↻ | Return the speed to 1.0 |
| *2 | Double the speed |
| The bar beside them | Speed slider (−5 to 5, default 1) |
Pressing a speed button releases Beat Sync.
/2,↻and*2are all “set the speed by hand” operations, so they leave sync mode.
The speed slider sometimes does not respond (this is by design). During Beat Sync, and right after you press a speed button, soft takeover is in effect: the slider does not accept input until its position comes within 0.5 of the current speed. While this is happening, a thin yellow bar appears above the slider to indicate the current speed position. Bring the handle to that point and you can move it normally from there.
Beat Sync and crossfade loop
The bottom row is about looping.
| Element | What it does |
|---|---|
| Toggle on the left | Crossfade loop |
| − / + | Decrease / increase the beat count by 1 |
| /2 / *2 | Halve / double the beat count |
| The number | The current beat count (display only — it cannot be edited here) |
| Metronome toggle | Beat Sync ON / OFF |
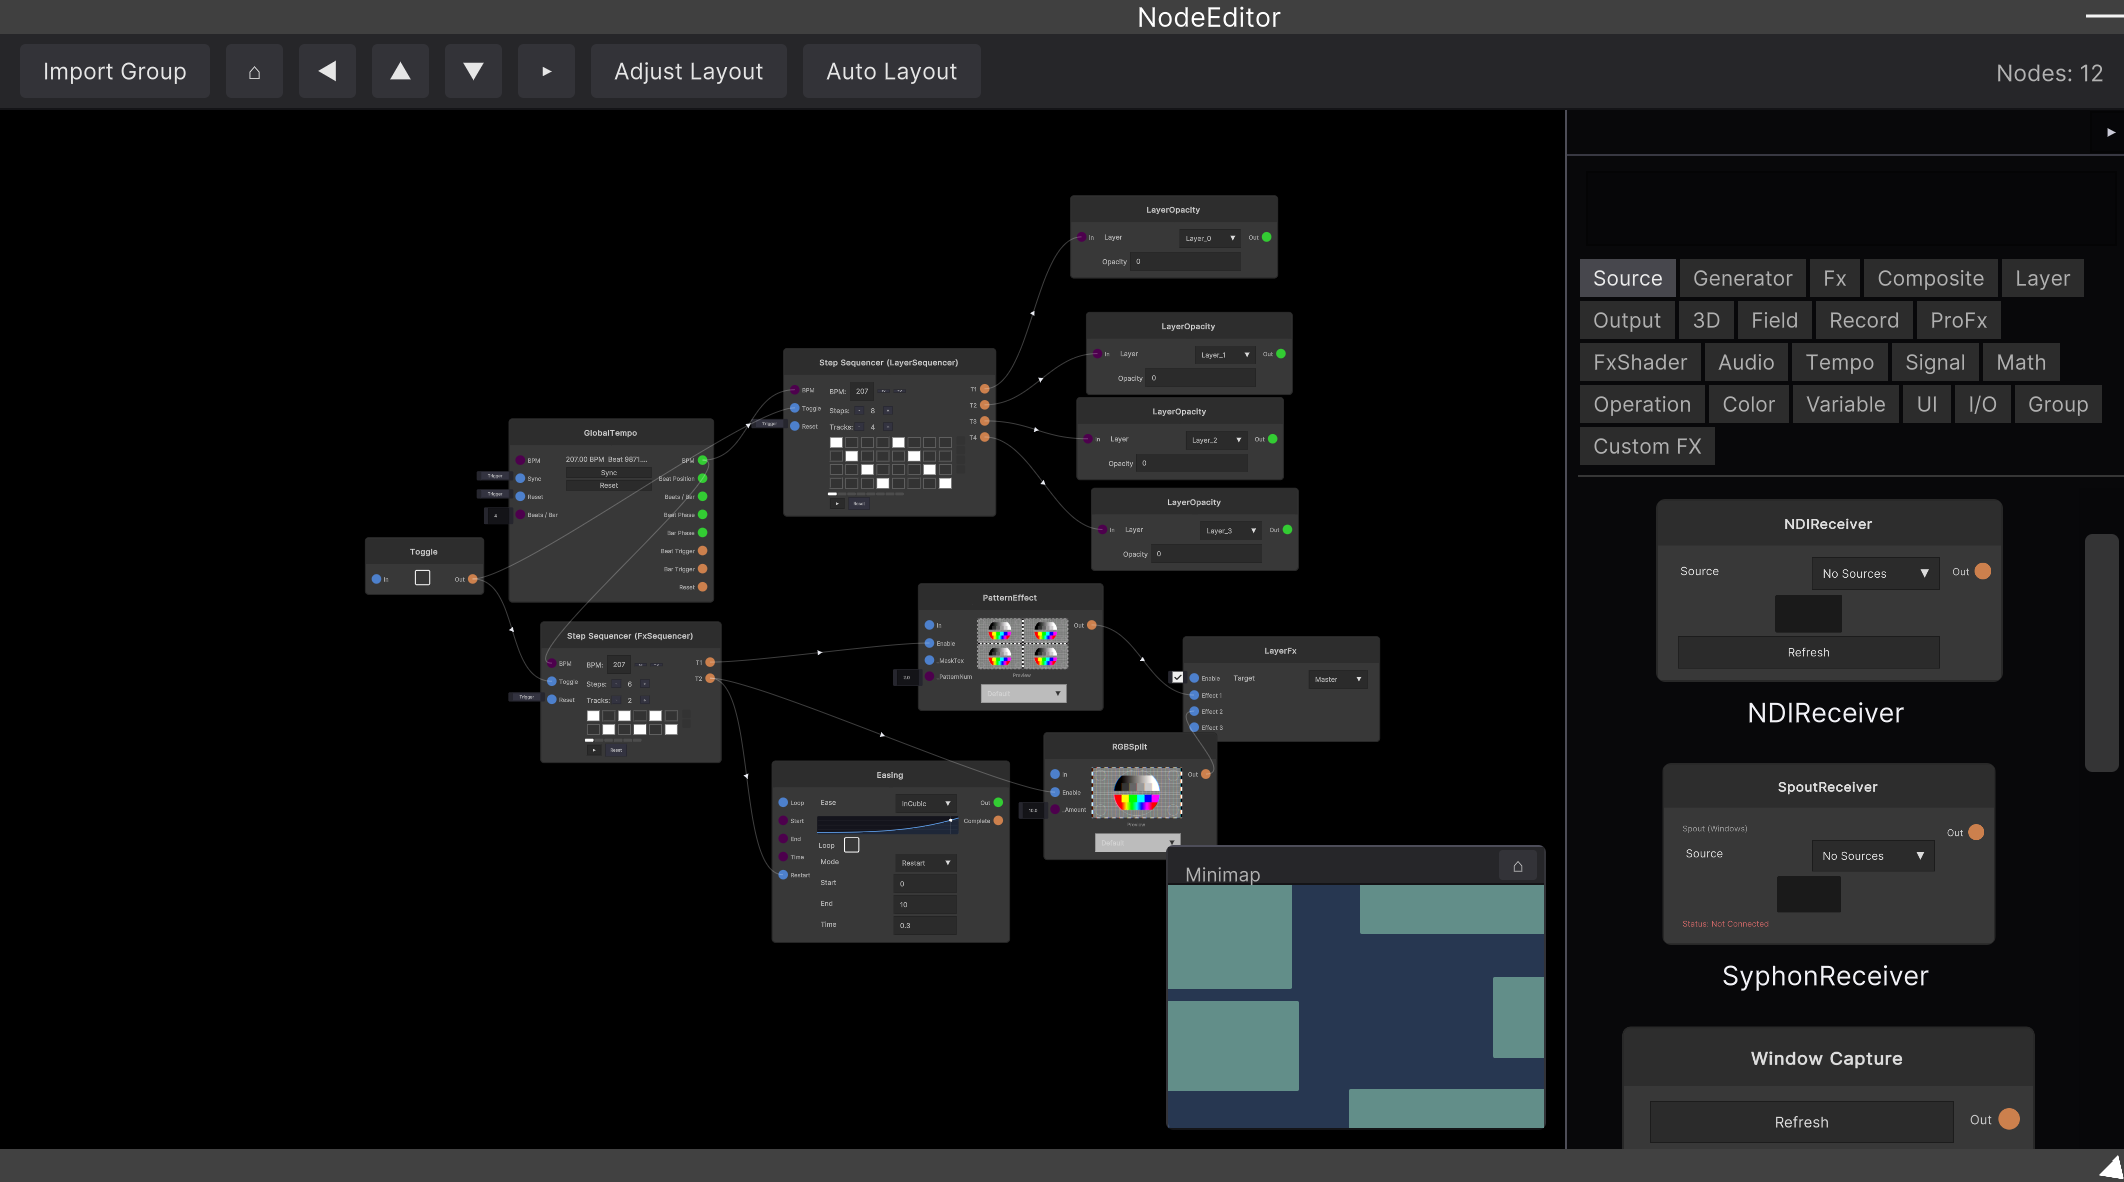
Turning Beat Sync ON automatically adjusts the speed so that the whole clip plays through once in the specified number of beats. The tempo comes from the BPM in Global Tempo. Pressing RST (Resync) in Global Tempo returns synced layers to the start of their video.
The beat count is clamped to 1 to 64.
/2is integer division. Pressing/2at a beat count of 5 gives you 2, not 2.5.
The crossfade loop overlaps the end and the beginning of the clip to join them. The overlap length is fixed at 10% of the clip length. Its ON / OFF state is remembered per clip, so the setting persists the next time you call up the same clip.
MIDI
Most of the controls in this window can be assigned to MIDI: opacity, blend mode, preview selection, stretch, content clear, play, return to start, seek, jump to end, the three speed buttons and the speed slider, crossfade, the four beat count buttons, and the Beat Sync toggle.
See MIDI mapping for the procedure.
MIDI on the blend mode is “advance”, not “select”. Each time it fires it moves to the next blend mode, wrapping around to the first at the end.
Related
- Layer Hierarchy — layer ordering and deletion
- Media Browser — finding clips and assigning them
- Loading videos / Loading Spout
- Crossfade loop / Beat sync