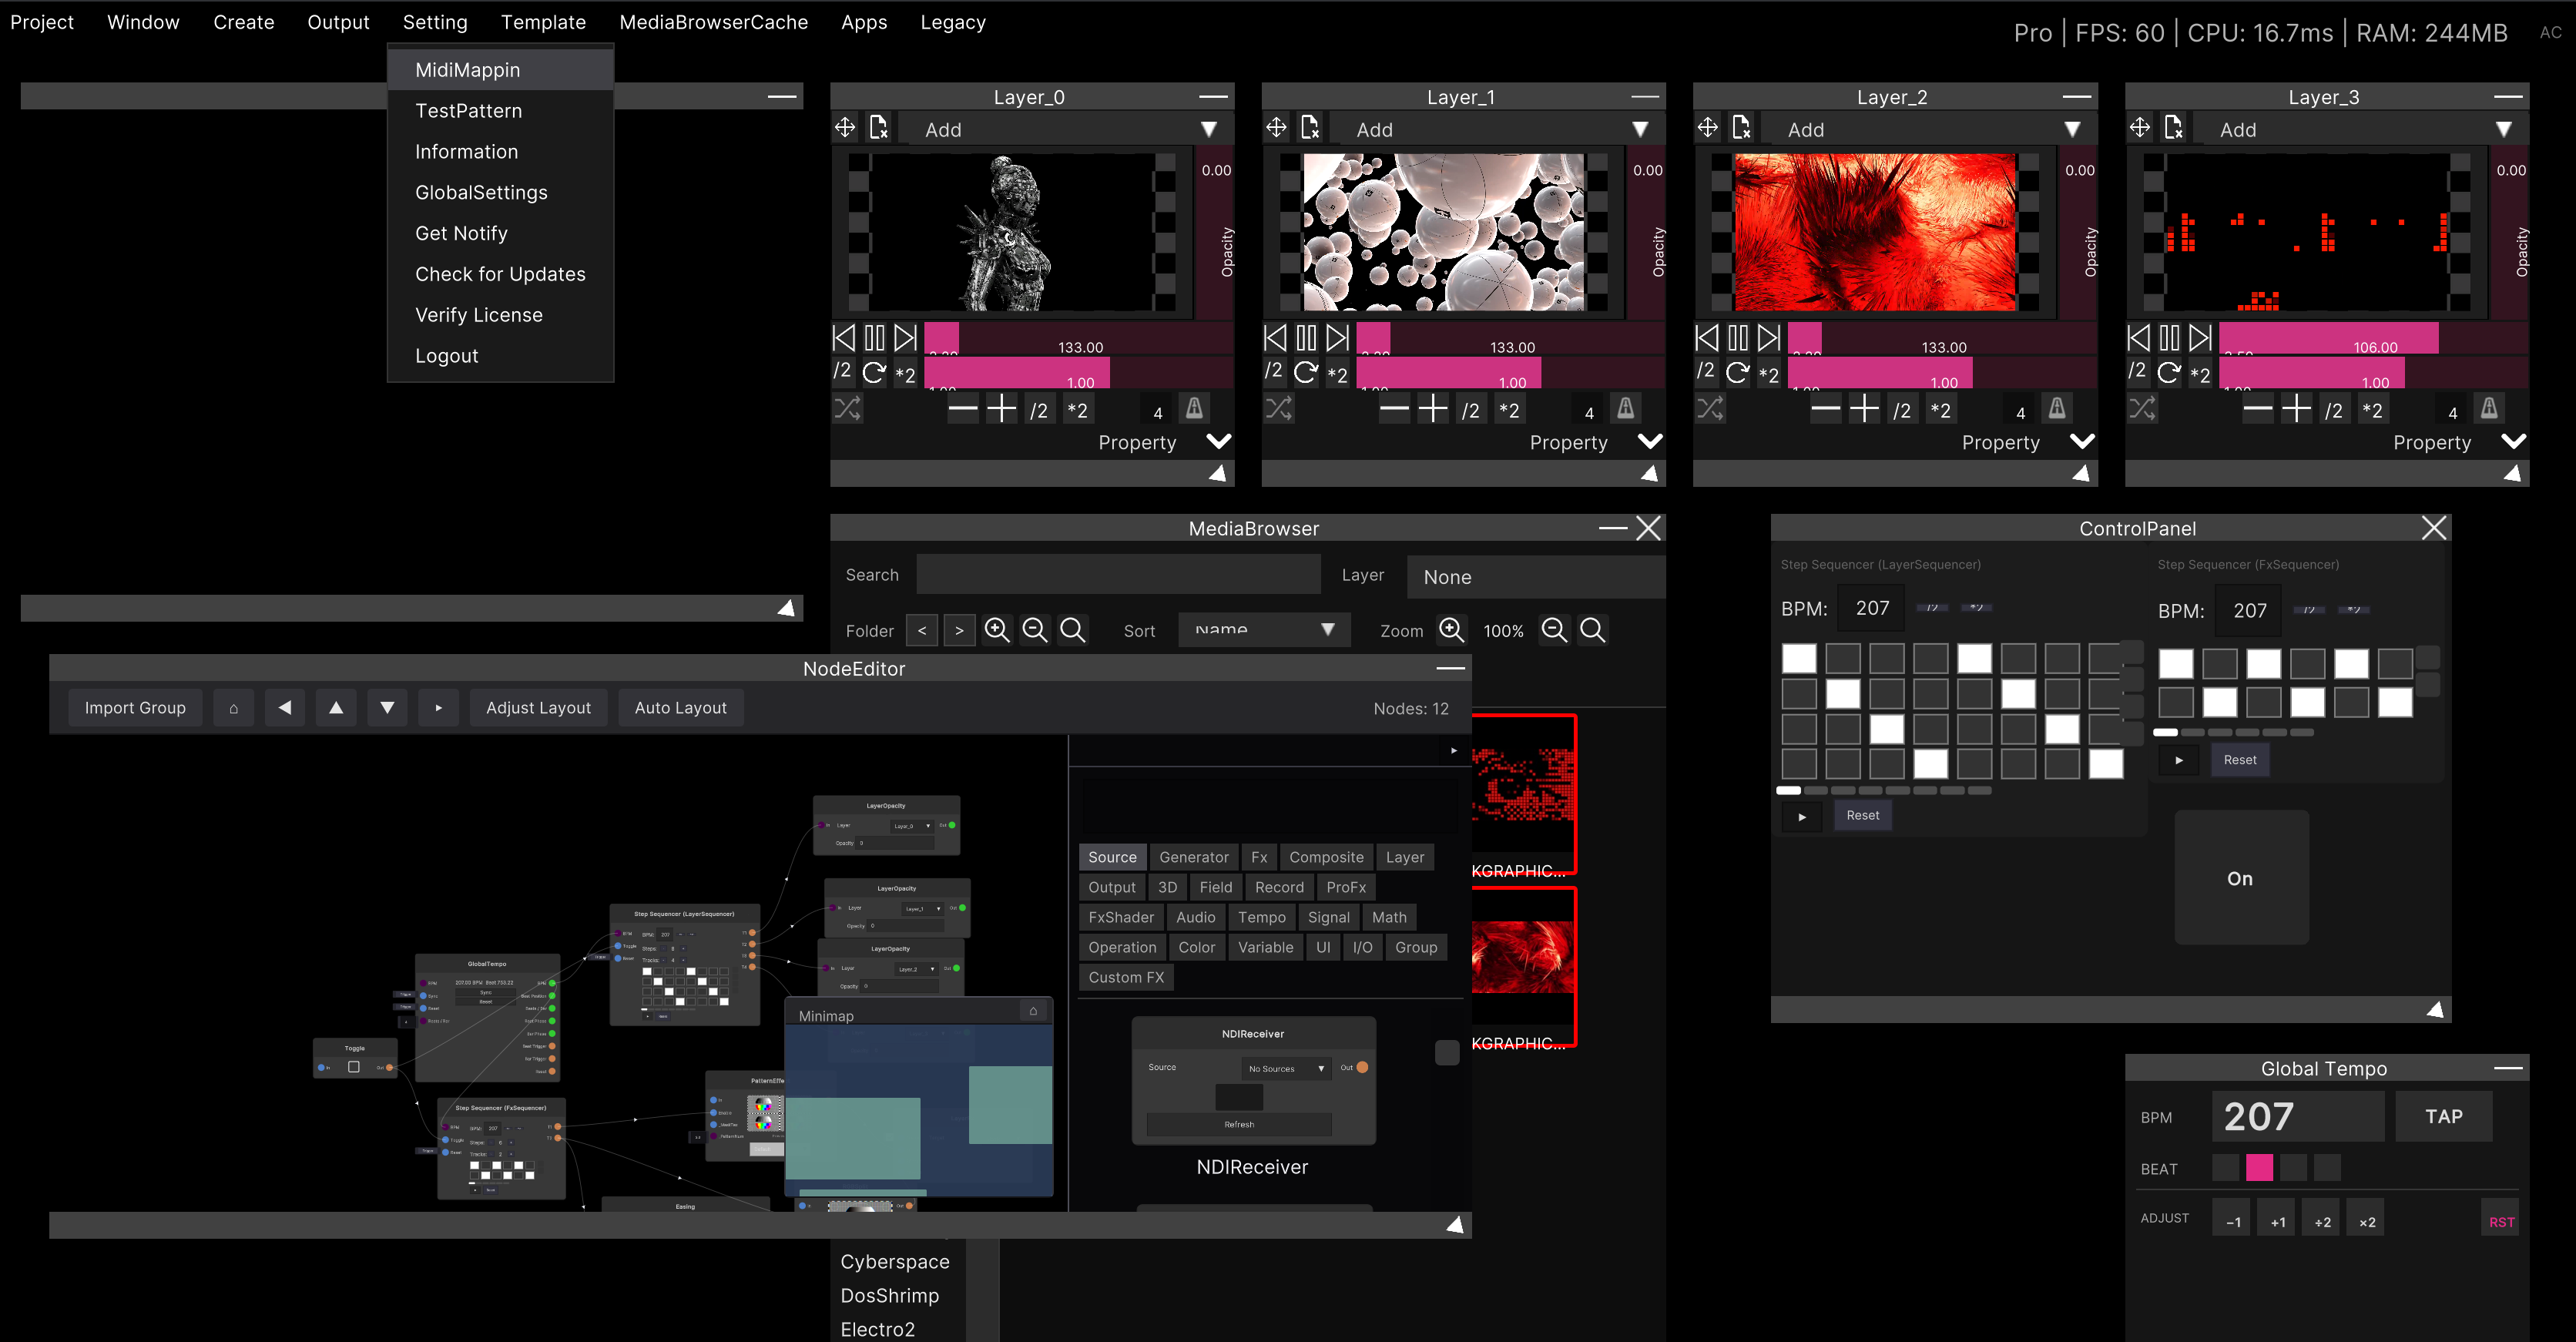
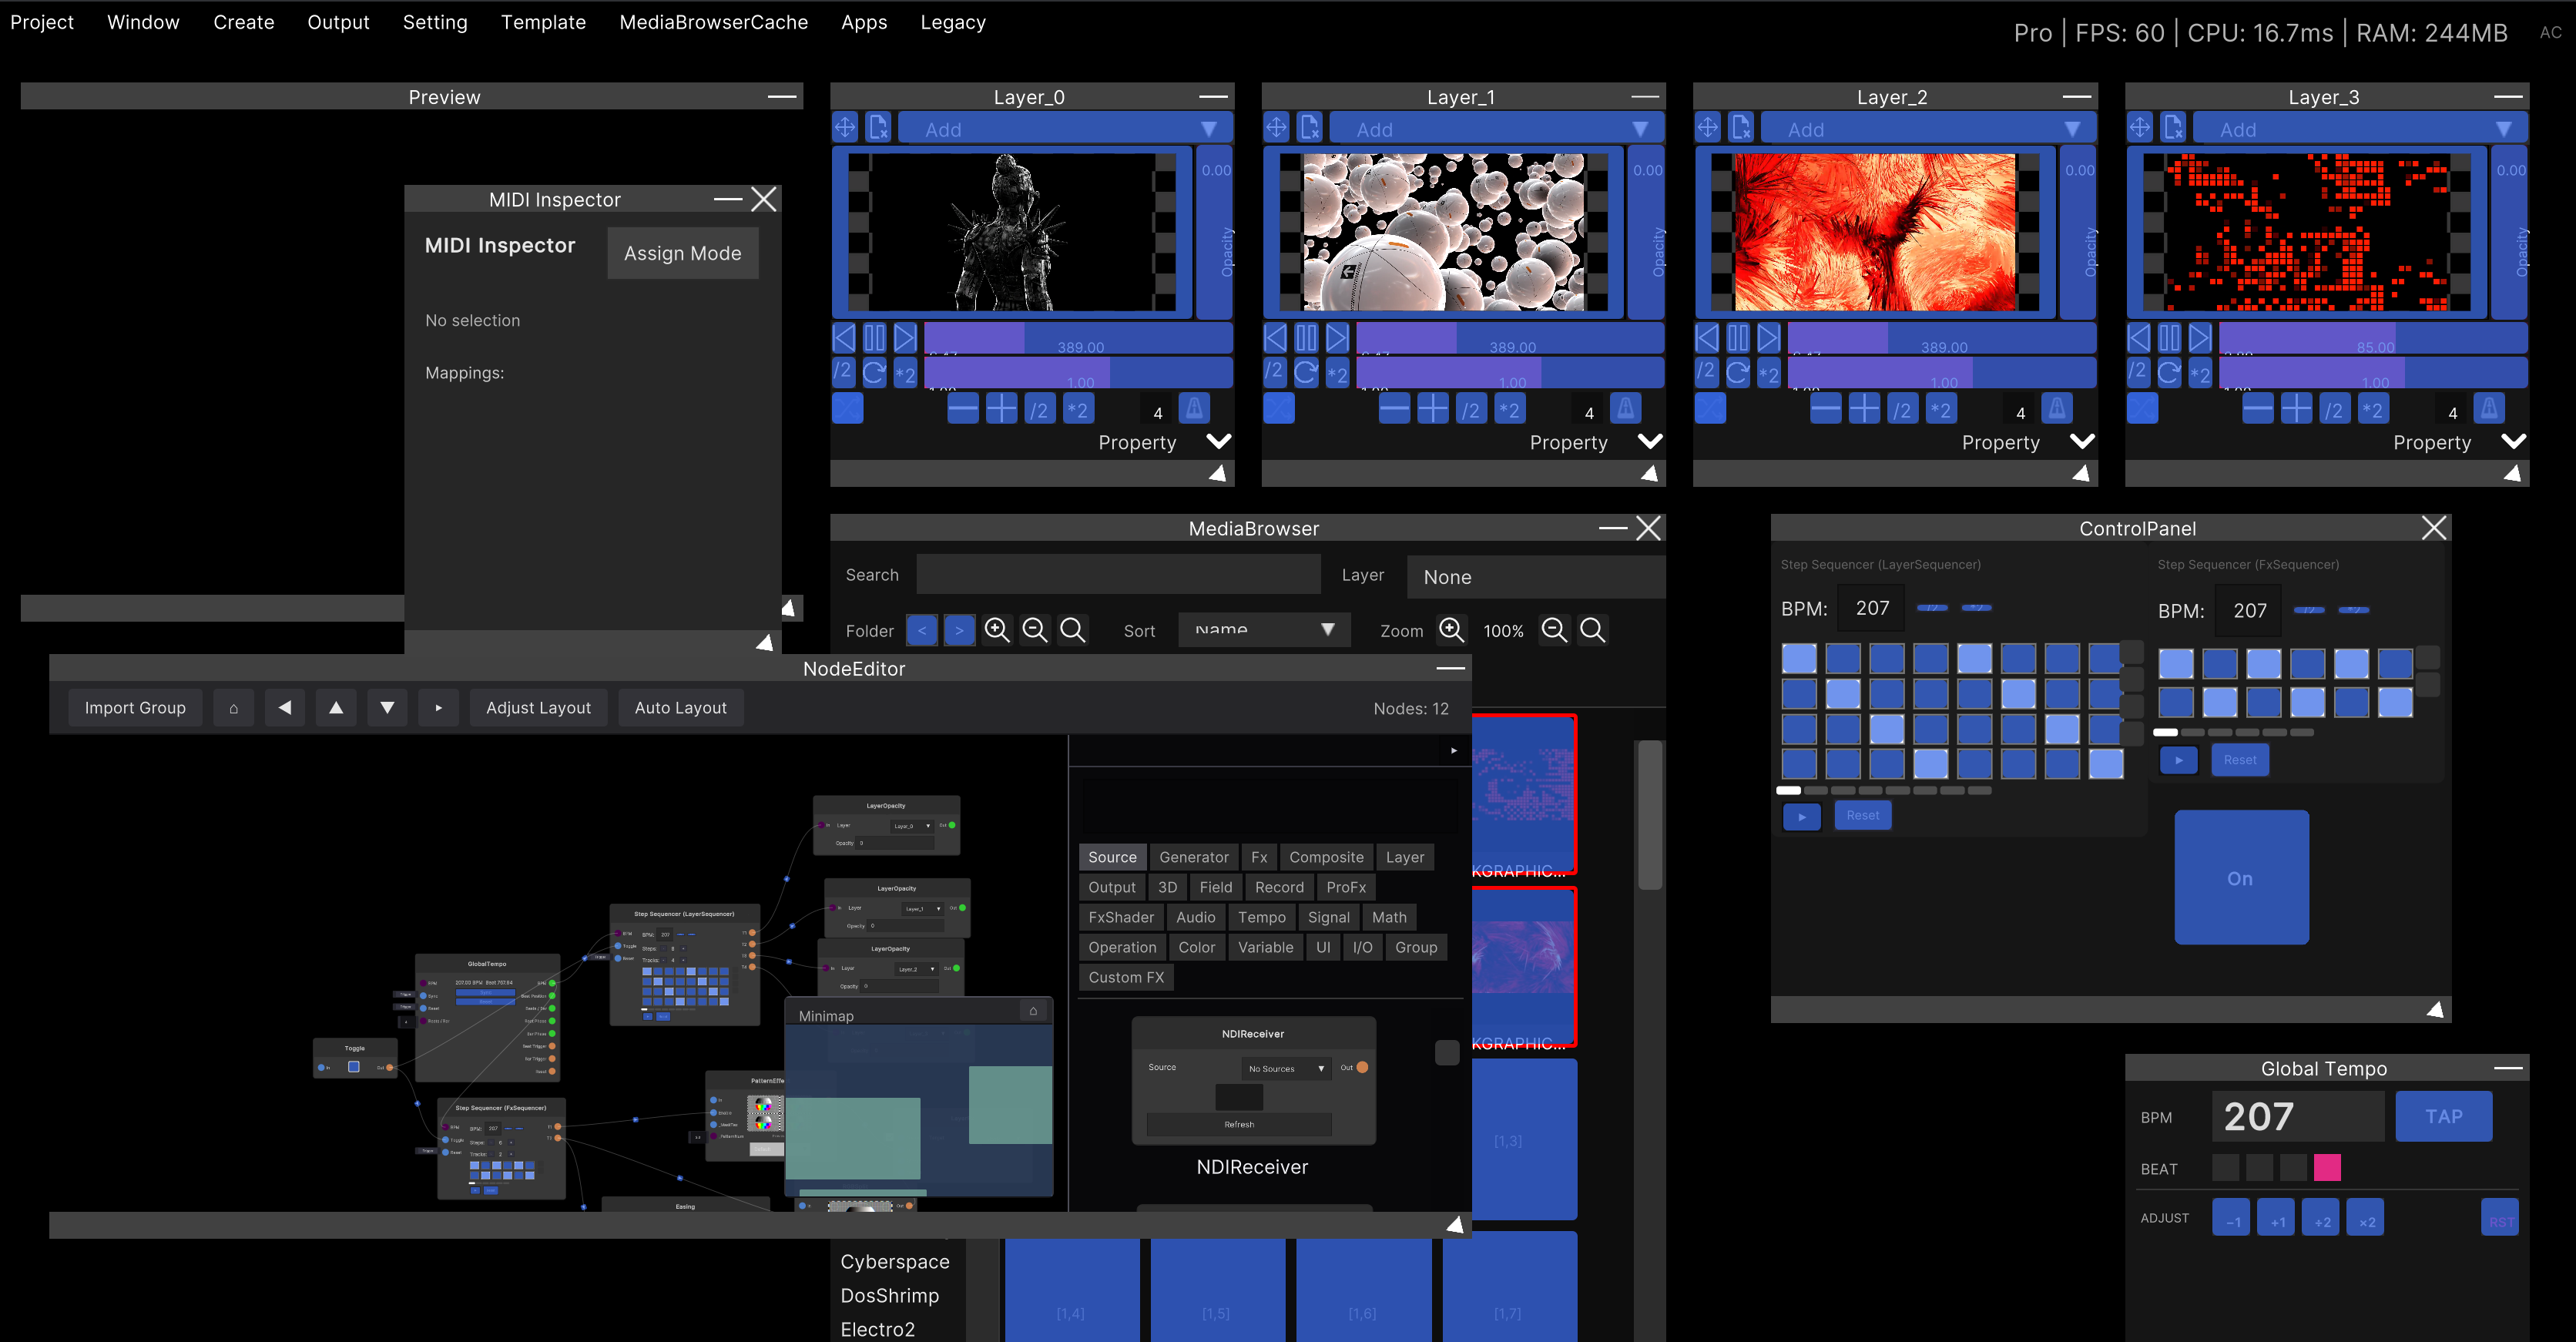
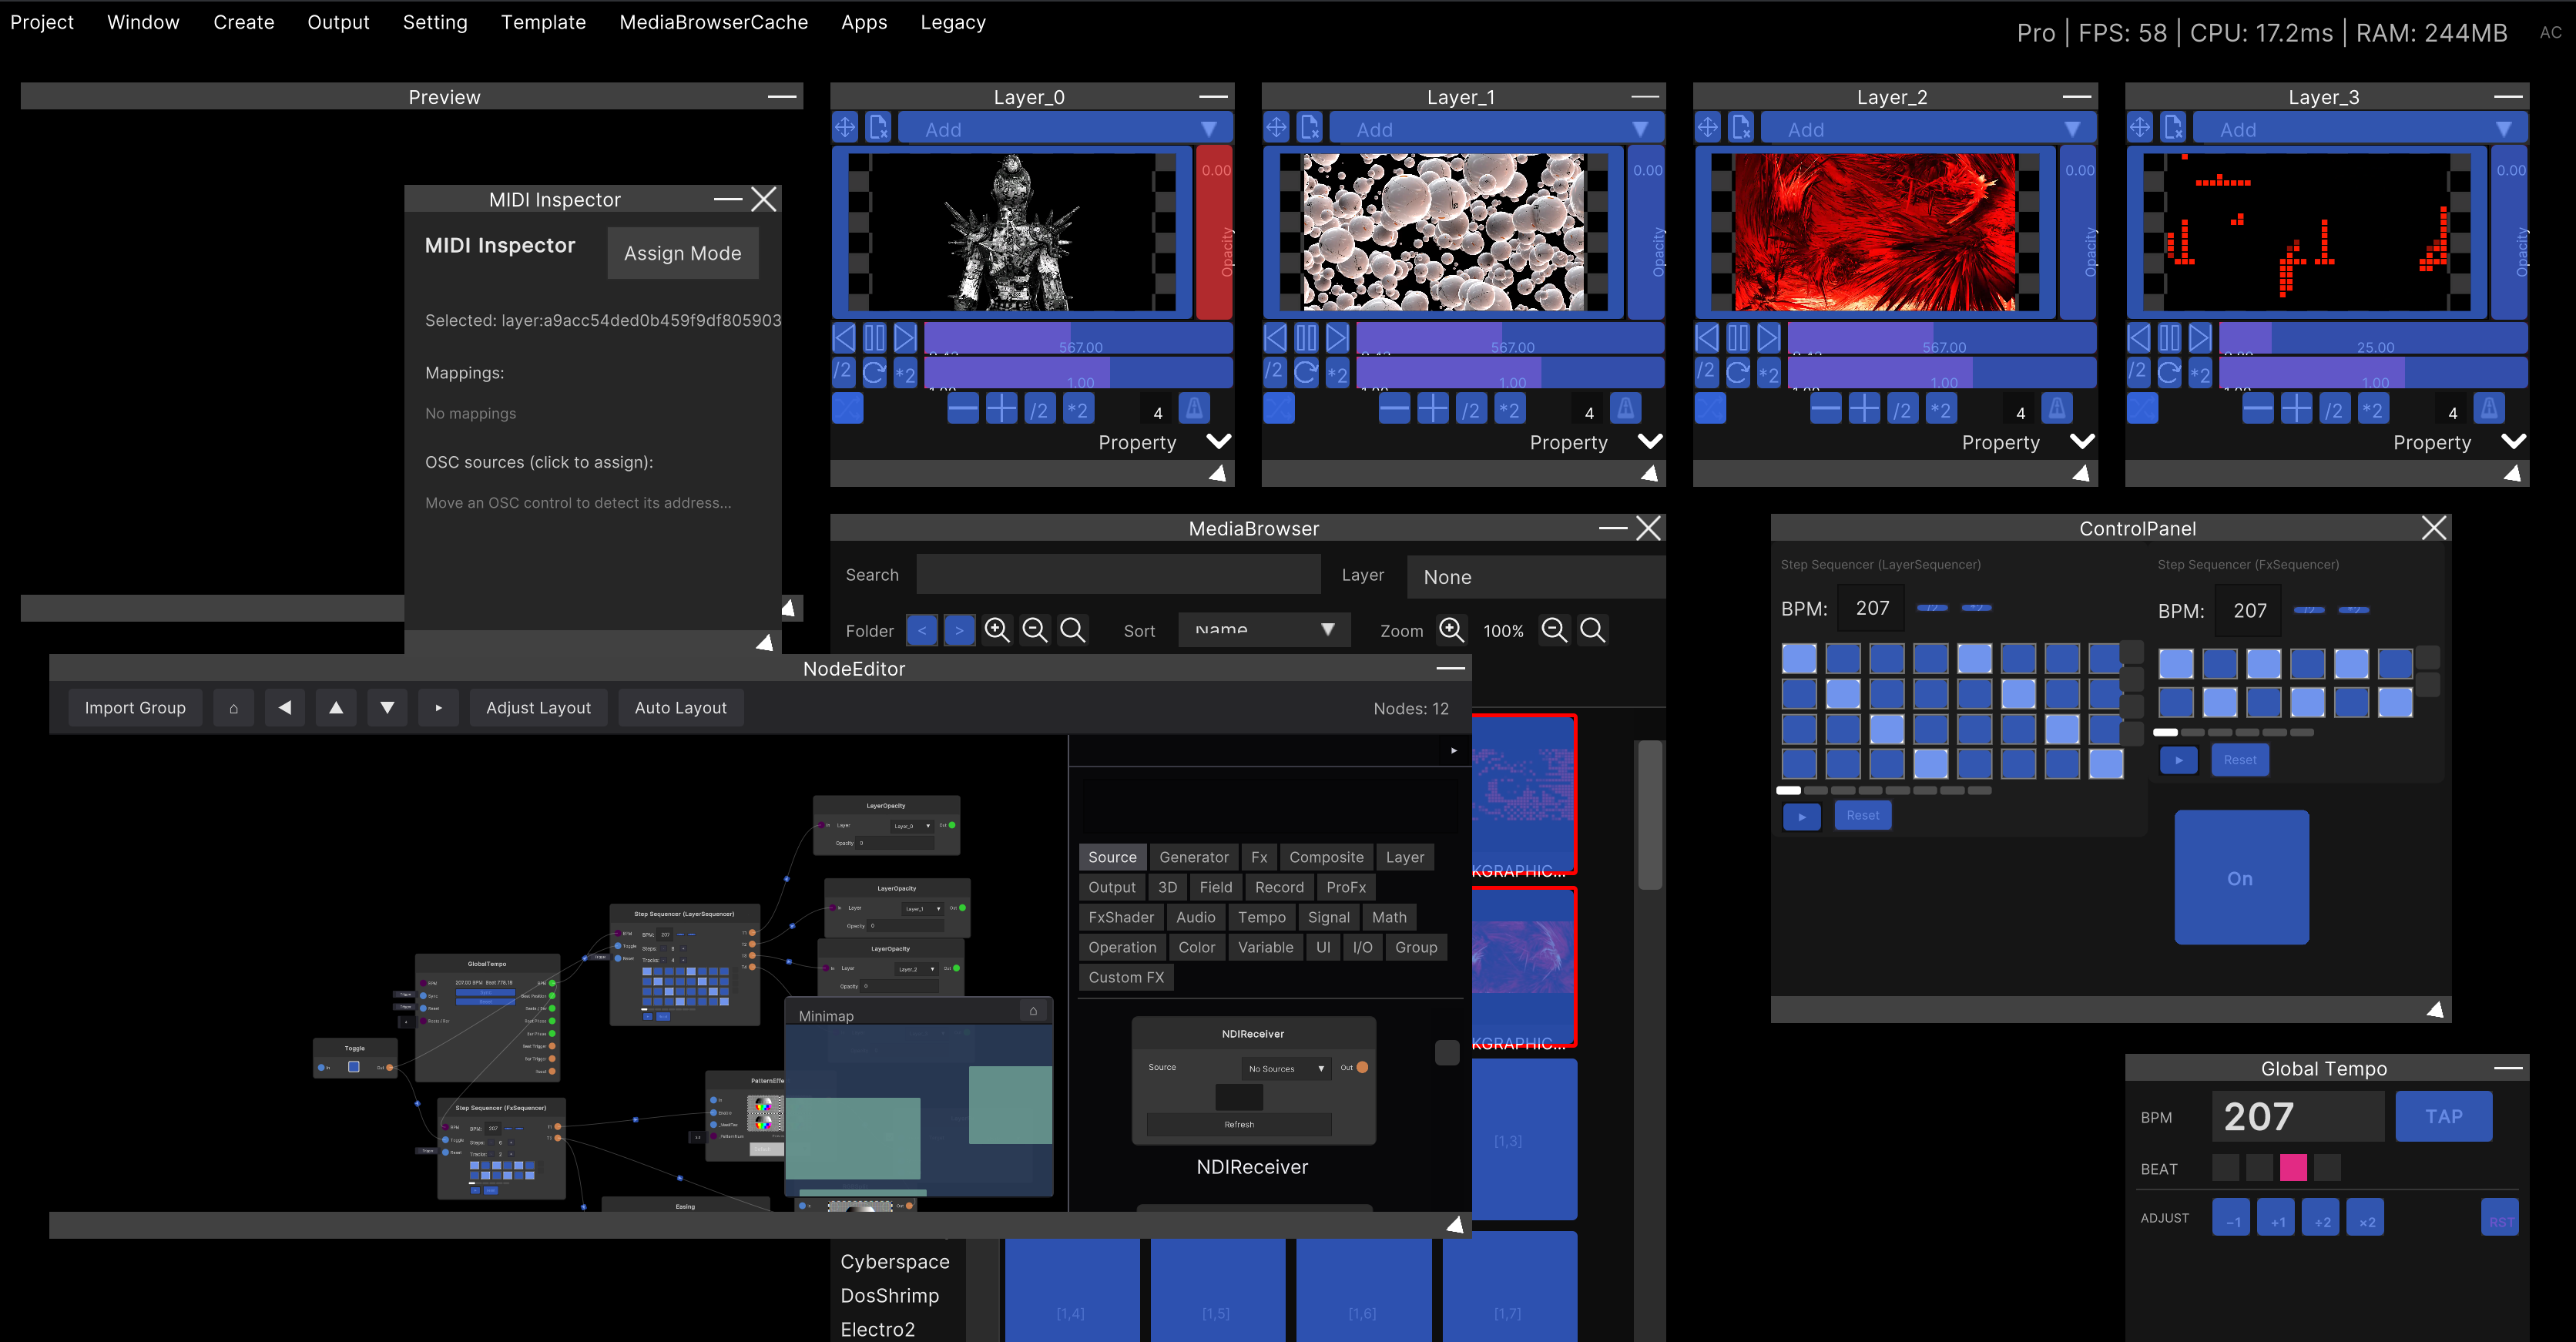
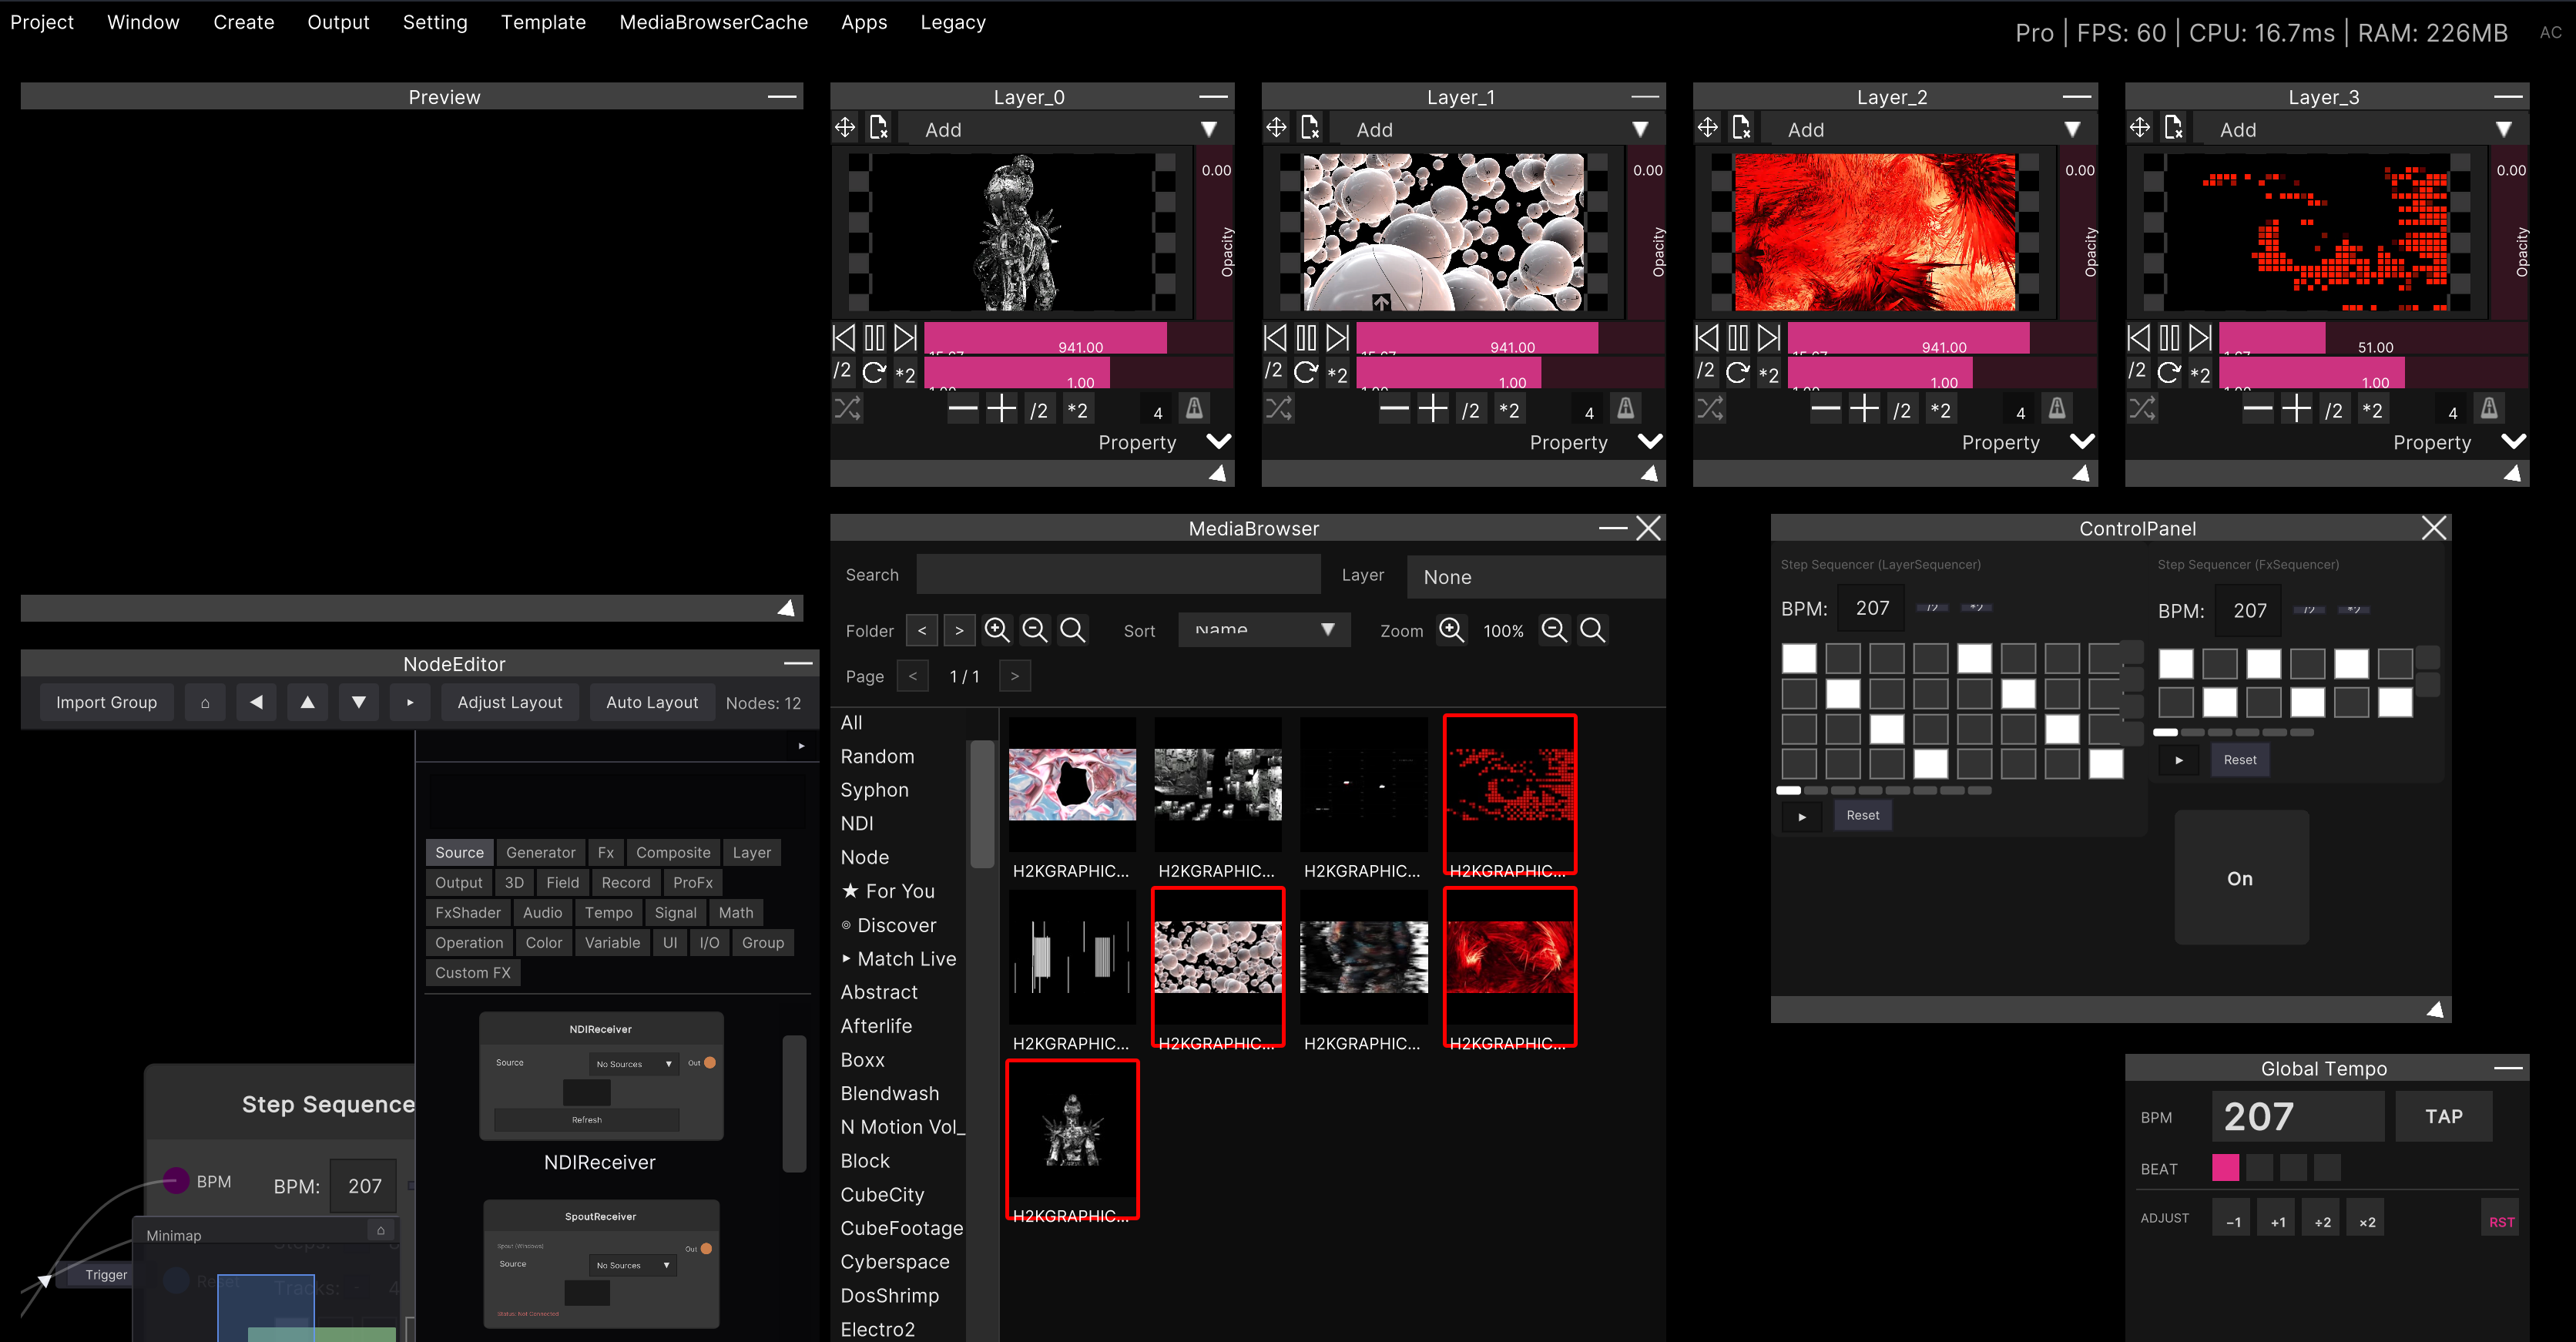
Node Editor
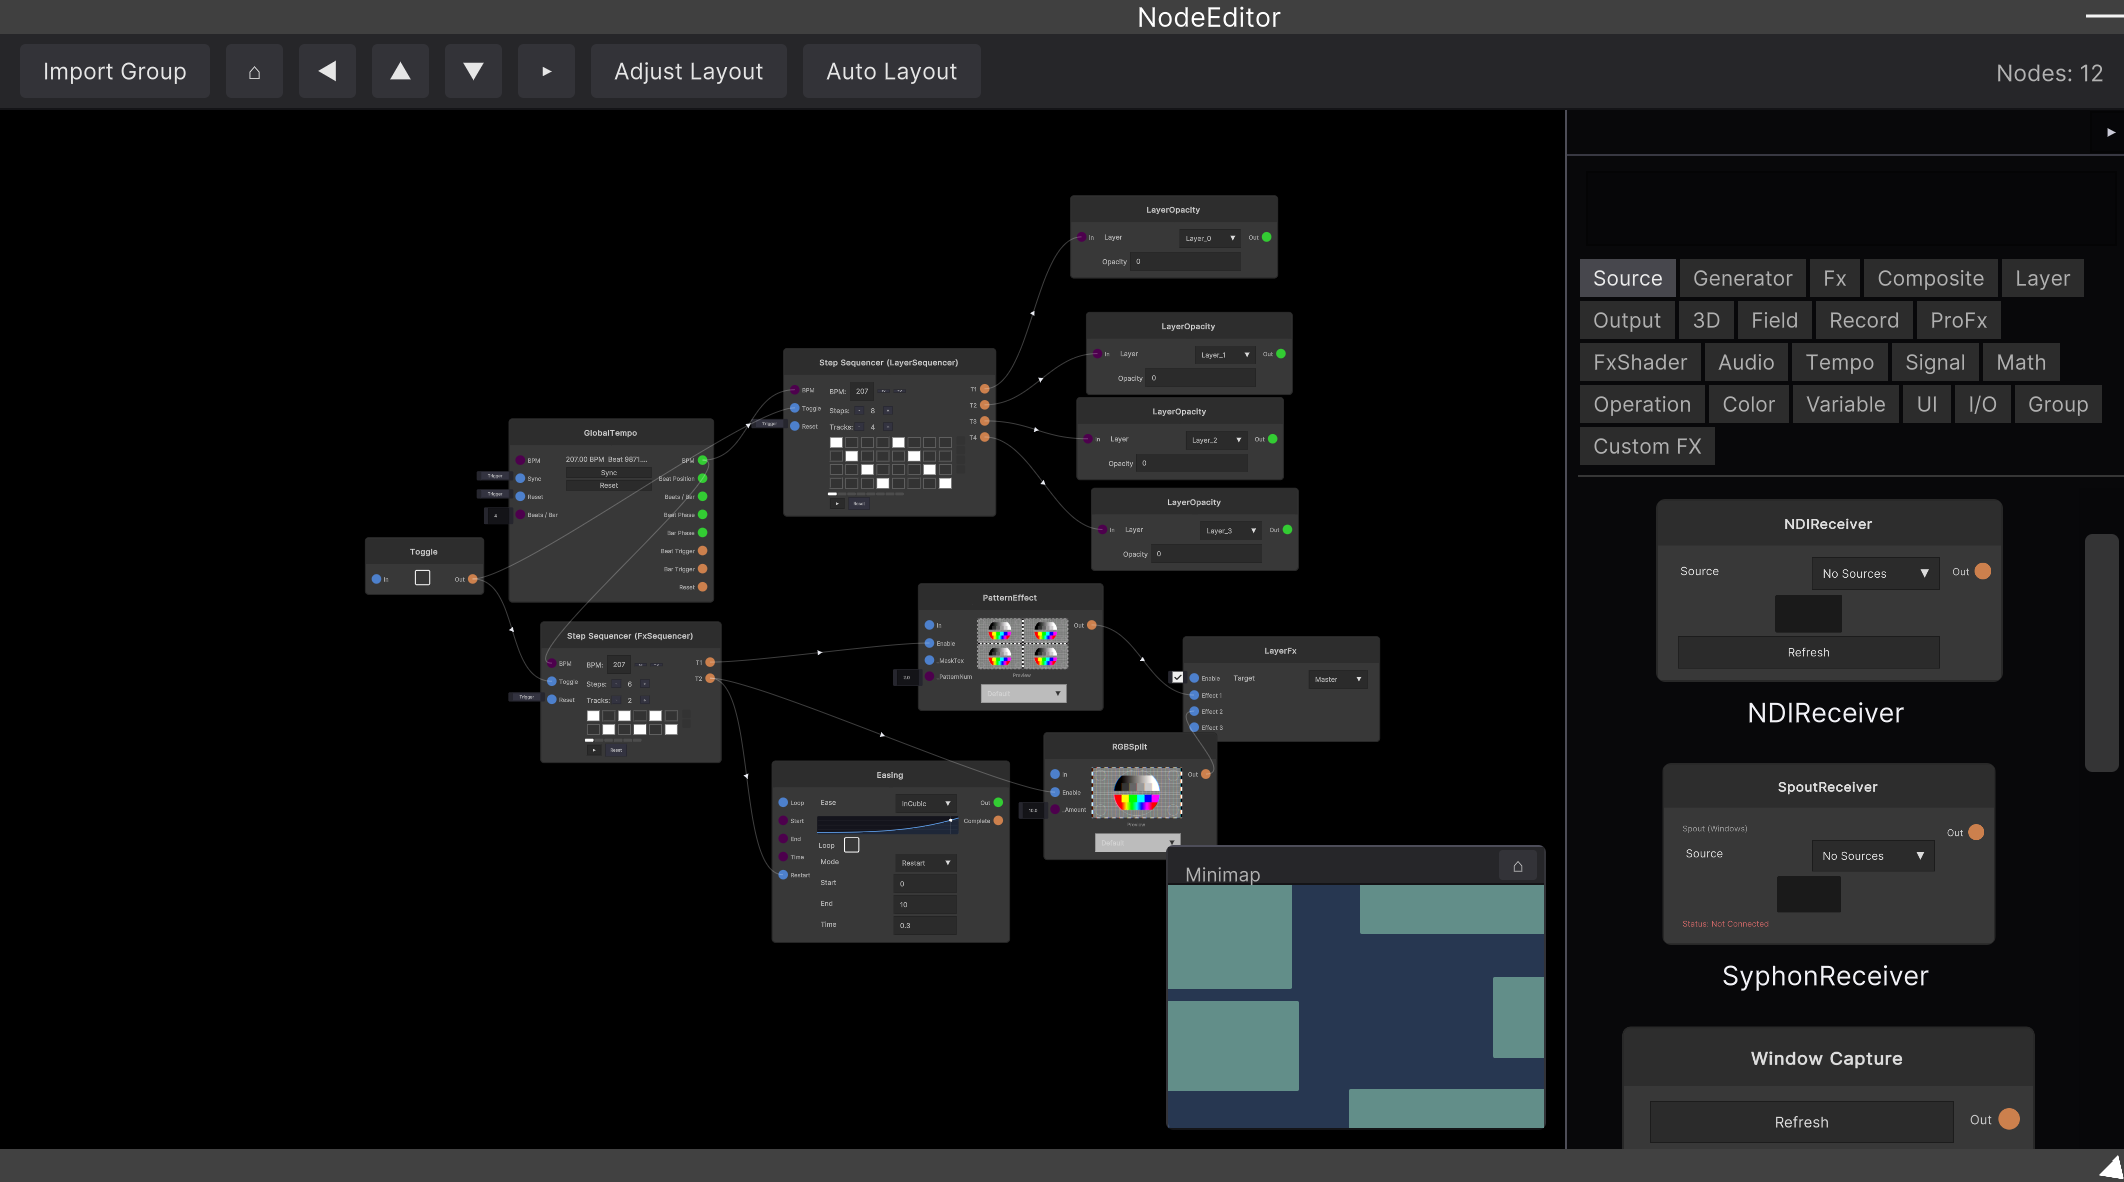
The window where you place and connect nodes. Almost everything inside SynapseRack is built here.
Opening it
It is already open at startup. Window → NodeEditor in the menu bar brings it back to the center of the screen. It cannot be closed.
Screen layout
| Area | Content |
|---|---|
| Toolbar at the top | Import Group / ⌂ / ◀ ▲ ▼ ▶ / Adjust Layout / Auto Layout, with the current node count at the far right |
| Side panel on the right | The node browser. Category tabs plus search plus a thumbnail list |
| Bottom right | Minimap |
| Center | Canvas |
Panning and zooming
| Action | What it does |
|---|---|
| Middle-button drag or Ctrl + left drag | Pan |
| Wheel | Zoom (centered on the cursor position) |
| ⌂ in the toolbar | Reset the view position |
| ⌂ in the minimap | Go to the origin (0, 0) |
The zoom range is 0.05× to 30×. If you bring a node or edge you are dragging near the edge of the screen, the view scrolls automatically.
You cannot zoom while the node creation popup is open. The wheel is used to move through the popup’s list.
You can end up inside a group just short of maximum zoom. With a group node in the center of the screen, zooming past 2.95× dives into that group. Conversely, once inside a group, zooming all the way out to 0.065× and then turning the wheel three more times takes you back out.
Selection
| Action | What it does |
|---|---|
| Left-click a node | Select it on its own |
| Shift + click | Add to the selection |
| Left-drag on empty space | Box selection (the frame appears after you move 3px or more) |
| Ctrl + box selection | Add to the existing selection |
| Click empty space | Deselect |
Cmd/Ctrl + A | Select all |
Esc | Deselect |
Box selection catches edges as well as nodes. Edges are tested against the visible shape of the line, so you will not catch stray lines because of a rectangular hit box.
There are two different modifier keys for “add to selection”. For clicking nodes it is Shift, and for box selection it is Ctrl. Ctrl + left drag is assigned to panning, so it cannot be used to start a box selection.
Moving nodes
You can drag a node by grabbing anywhere on its body (except controls such as sliders). If you grab one node while several are selected, they all move together.
There is no snapping to a grid. Double-click the title to rename a node.
Use the two toolbar buttons when you want to tidy things up.
| Button | What it does |
|---|---|
| Adjust Layout | Keeps your current arrangement, but aligns the columns and removes overlaps |
| Auto Layout | Ignores the arrangement and rebuilds everything into a left-to-right flow |
Creating nodes
Right-click the canvas
The node is created at the point you right-clicked. Categories appear on the left and the list on the right, and the search field at the top is focused automatically 50ms after opening. While the popup is open, anything you type goes into the search field.
| Key | What it does |
|---|---|
↑ / ↓ | Move through the items |
← / → | Move between the category side and the list side |
Enter | Confirm and create |
Esc | Close |
Search is a partial match on names and aliases. Japanese names and aliases (Spout ⇄ Syphon, for example) also match.
Typing too much does not wipe the results. If you type a term with no hits at all, it automatically falls back to the longest leading portion that does hit and shows those results, with the ignored trailing characters displayed in red.
The categories are listed in this order.
Source / Generator / Fx / Composite / Layer / Output / 3D / Field / Record /
ProFx / FxShader / Audio / Tempo / Signal / Math / Operation / Color / Variable /
UI / I/O / Group
From the side panel on the right
This is a permanent panel with thumbnails. Clicking a tile creates the node in the center of the screen, and dragging and dropping it creates the node at that position. Nothing is created if you release outside the canvas.
Collapse and expand the panel with the ▶ at its top left.
The
Tabkey does not bring up the node list. There are two ways to bring it up: right-click, or the side panel on the right.
Connecting and disconnecting
Press and hold the left button on a port, drag to the port you want to connect to, and release. The connection still works if you are slightly off the port’s circle — there is about 12px of leeway.
If you release over empty space, a node creation popup opens filtered to just the types that can be connected, and the node you pick is connected automatically. If there are several candidate ports, a menu for choosing the port follows.
These combinations cannot be connected.
- A port to itself, and ports on the same node
- Output to output, or input to input
- When the same line already exists
- When the types do not match
- A shape that comes back around to itself (a loop)
Loops are always rejected. When you want feedback, route it through the Send / Receive nodes.
Deleting, muting and re-routing lines
| What you want to do | Action |
|---|---|
| Delete a line | Click the line to select it → Delete |
| Temporarily cut a line | Click the triangle in the middle of the line (filled ▶ = enabled, hollow ▷ = muted) |
| Move all of a port’s lines to another port | Right-click the port → Move all edges (n) → click the destination port |
Muting can also be operated from MIDI and OSC.
When you reconnect to a port that only takes one line, the old line is silently removed. On the other hand, when a port with a limit of 2 or more (“up to 2”, say) is full, it is the new line that gets rejected. The behavior is reversed even though both are “full”, so watch out.
Keyboard shortcuts
| Key | What it does |
|---|---|
Delete | Delete the selected nodes and edges |
Esc | Deselect |
Cmd/Ctrl + A | Select all |
Cmd/Ctrl + C / V | Copy / paste (pasted 30px offset from the original position) |
Cmd/Ctrl + D | Duplicate |
Cmd/Ctrl + G | Group the selection |
Cmd/Ctrl + Shift + G | Ungroup |
Cmd/Ctrl + Z | Undo |
Cmd/Ctrl + Shift + Z / Cmd/Ctrl + Y | Redo |
Most shortcuts only work while the mouse is over the Node Editor. When something “won’t delete” or “won’t paste”, the pointer is usually over another window.
Undo is snapshot-based. It watches the project every 0.2 seconds and records one step once changes have been quiet for 0.35 seconds. A drag or a single sweep of a slider is collapsed into one step, and node creation, deletion, movement, connection, disconnection and parameter changes are all covered. History goes up to 50 steps per project. Values that are constantly moving, such as an LFO, are excluded automatically so that they do not fill up the history.
Groups
Cmd/Ctrl + G collects the selection into a group.
GroupInput / GroupOutput are created automatically for any lines that crossed the group boundary.
| What you want to do | Action |
|---|---|
| Go inside | The ▶ Enter button on the group node, or zoom in over the group |
| Come back out | ↑ Up in the toolbar (which only appears when nested), or zoom out |
| Export | The Export button on the group node (.synapsegroup) |
| Import | Import Group in the toolbar (.synapsegroup / .node) |
Minimap
The Minimap at the bottom right lets you see where everything sits. Left-drag inside the map to move to that position.
There is no dedicated context menu on the node body. Right-clicking on a node brings up the node creation popup at that spot. Context menus only appear on ports and on some of the parameter controls inside a node.
Related
- Widget Panel — arranging the parameters of the nodes you built here on a performance screen
- Layer — where video from the nodes is sent