Loading video and image files
Importing clips is just a matter of dropping files or folders onto the app. Where you drop them decides whether they simply go into the library or start playing on a layer right away. Imported clips are organized and searched in the MediaBrowser window.
Importing by drag & drop
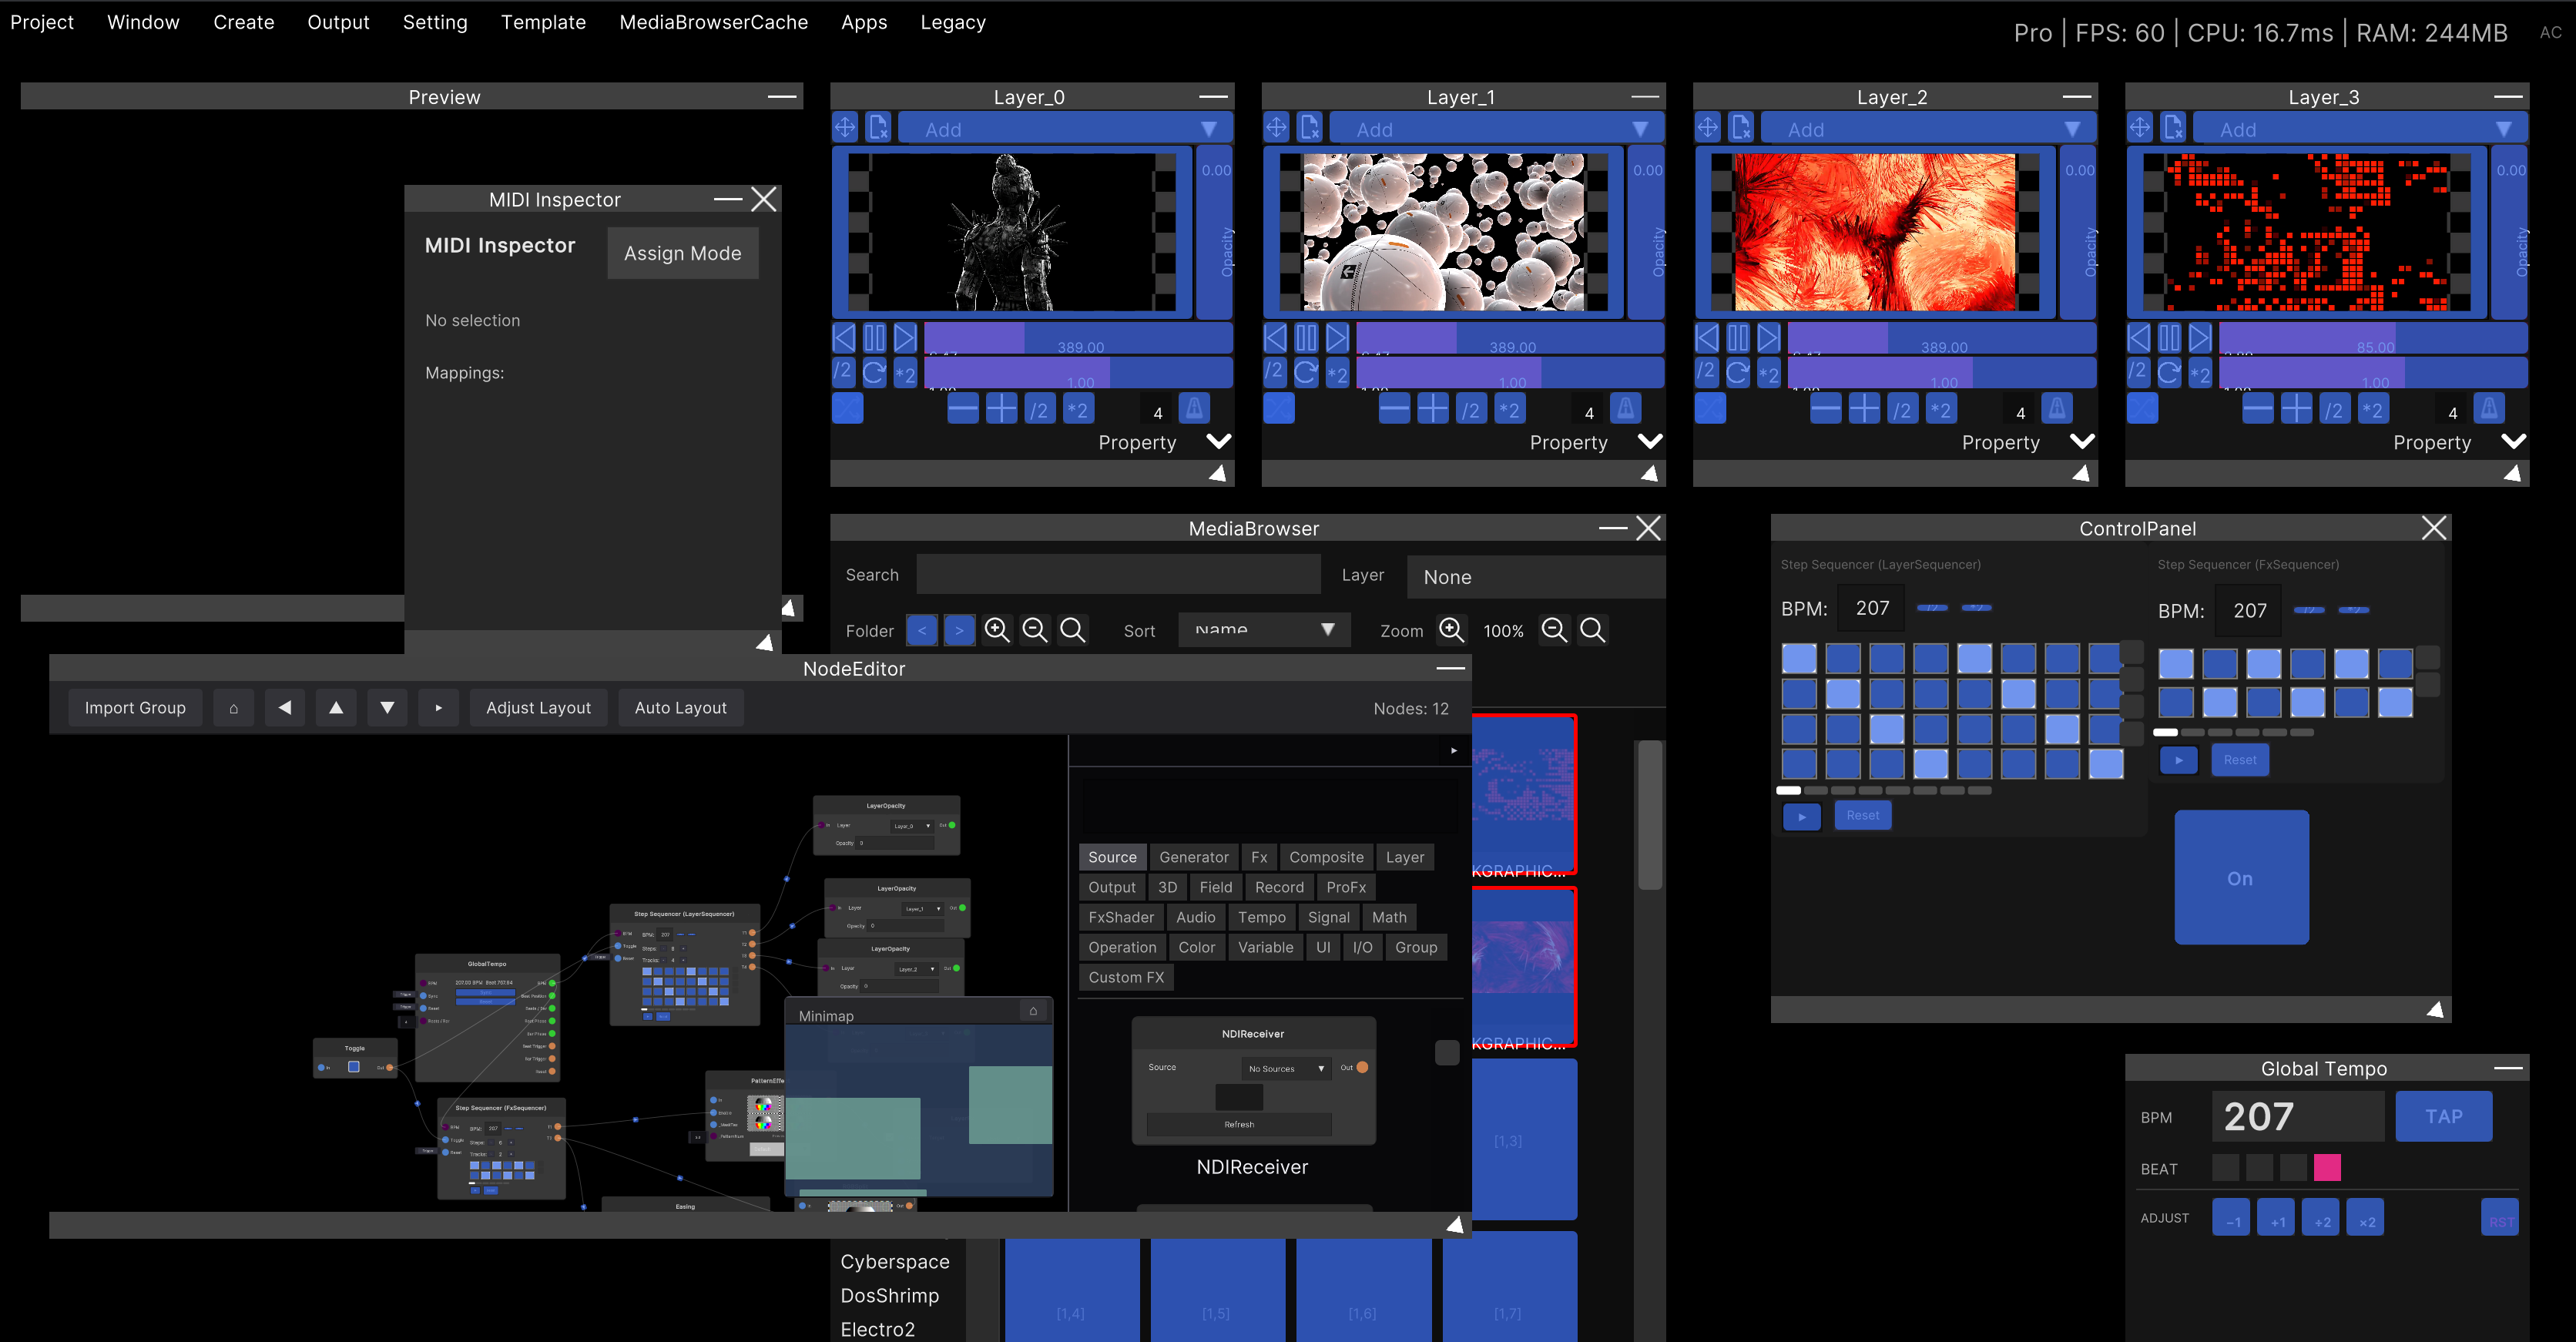
You can drop files or folders directly from your OS file manager (Finder / Explorer). When you drag over a place that accepts the drop, the cursor changes to “copy” and the drop target is highlighted in blue.
The behavior changes depending on where you drop
| Drop target | What happens |
|---|---|
| The thumbnail area of the MediaBrowser | Imports into the folder currently shown |
| A folder row on the left of the MediaBrowser | Imports into that row’s folder (the All / Random / external source rows are excluded) |
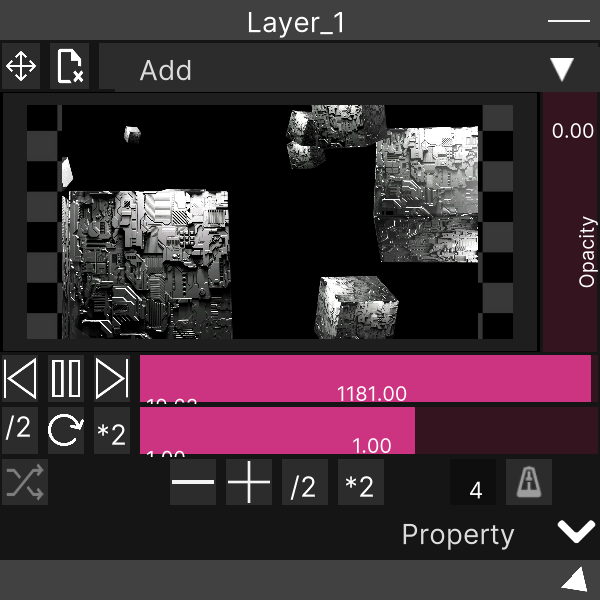
| A layer row in the Layer Hierarchy | Imports into the Temp folder, then assigns the first item to that layer (that is, playback starts just from the drop) |
| The preview area of the Layer window | Same as above |
| The preview area of a ContentPlayer node | Same as above |
When you drop directly onto a layer, only the first item is assigned even if you drop several. The rest are imported into the
Tempfolder, so you can call them up from the MediaBrowser. TheTempfolder is created automatically when it is first needed.
Dropping onto a group row only performs the import. Groups do not hold video, so no assignment happens. The clips go into the library (
Temp).
Dropping onto the thumbnail area while
Allis shown creates folders automatically. Since there is no defined destination folder, clips are sorted into folders named after each file’s parent directory name (if the parent directory name cannot be obtained,Uncategorizedis used). If you already know which folder you want them in, select that folder before dropping, or drop directly onto the folder row on the left.
You can drop whole folders
When you drop a directory, it is scanned recursively including subfolders, and only files with supported extensions are picked up. Unsupported files are silently ignored, so it is fine to drop a folder where clips and other documents are mixed together.
The display during import
Once an import starts, a counter with a spinner such as ◐ 12/40 appears just to the left of the FPS display in the top right of the screen.
Hovering over it shows the breakdown by type (Video: 8/30 / Image: 4/10) and the name of the file being processed.
If you dropped directly onto a layer, that layer row is filled with blue for the duration of the import.
Imports by drop have no completion dialog. They are done when the counter disappears.
Finished content appears in the MediaBrowser right away. No restart and no rescan are needed.
Dropping the same file twice does not re-run the analysis. Already analyzed files are skipped, but they are still added to the destination folder. When you want the same clip in another folder as well, dropping it again is the quickest way.
You can also drop onto detached (external) windows. Even in a window separated from the main window, drop target detection works the same way.
Thumbnails for images are not created at import time. Videos and shaders get their thumbnails at the same time as the import, but images are listed without a picture. Running MediaBrowserCache → RegenerateMissingThumbnails in the menu bar generates them.
The original files are not copied
An import creates only thumbnails and a cache of the analysis results; the video files themselves stay where they are. The library records the absolute path of the original file.
- If you move or delete an original file, that clip’s thumbnail becomes
⚠ MISSING - Right-clicking in the MediaBrowser →
Delete from Libraryremoves only the registration in the library (the original file remains; the confirmation dialog also says(The original file will not be deleted))
You can change where thumbnails and caches are stored (that is, SynapseRack’s working folder). See Specifying the path for loading VJ clips (Source Directory).
MediaBrowser
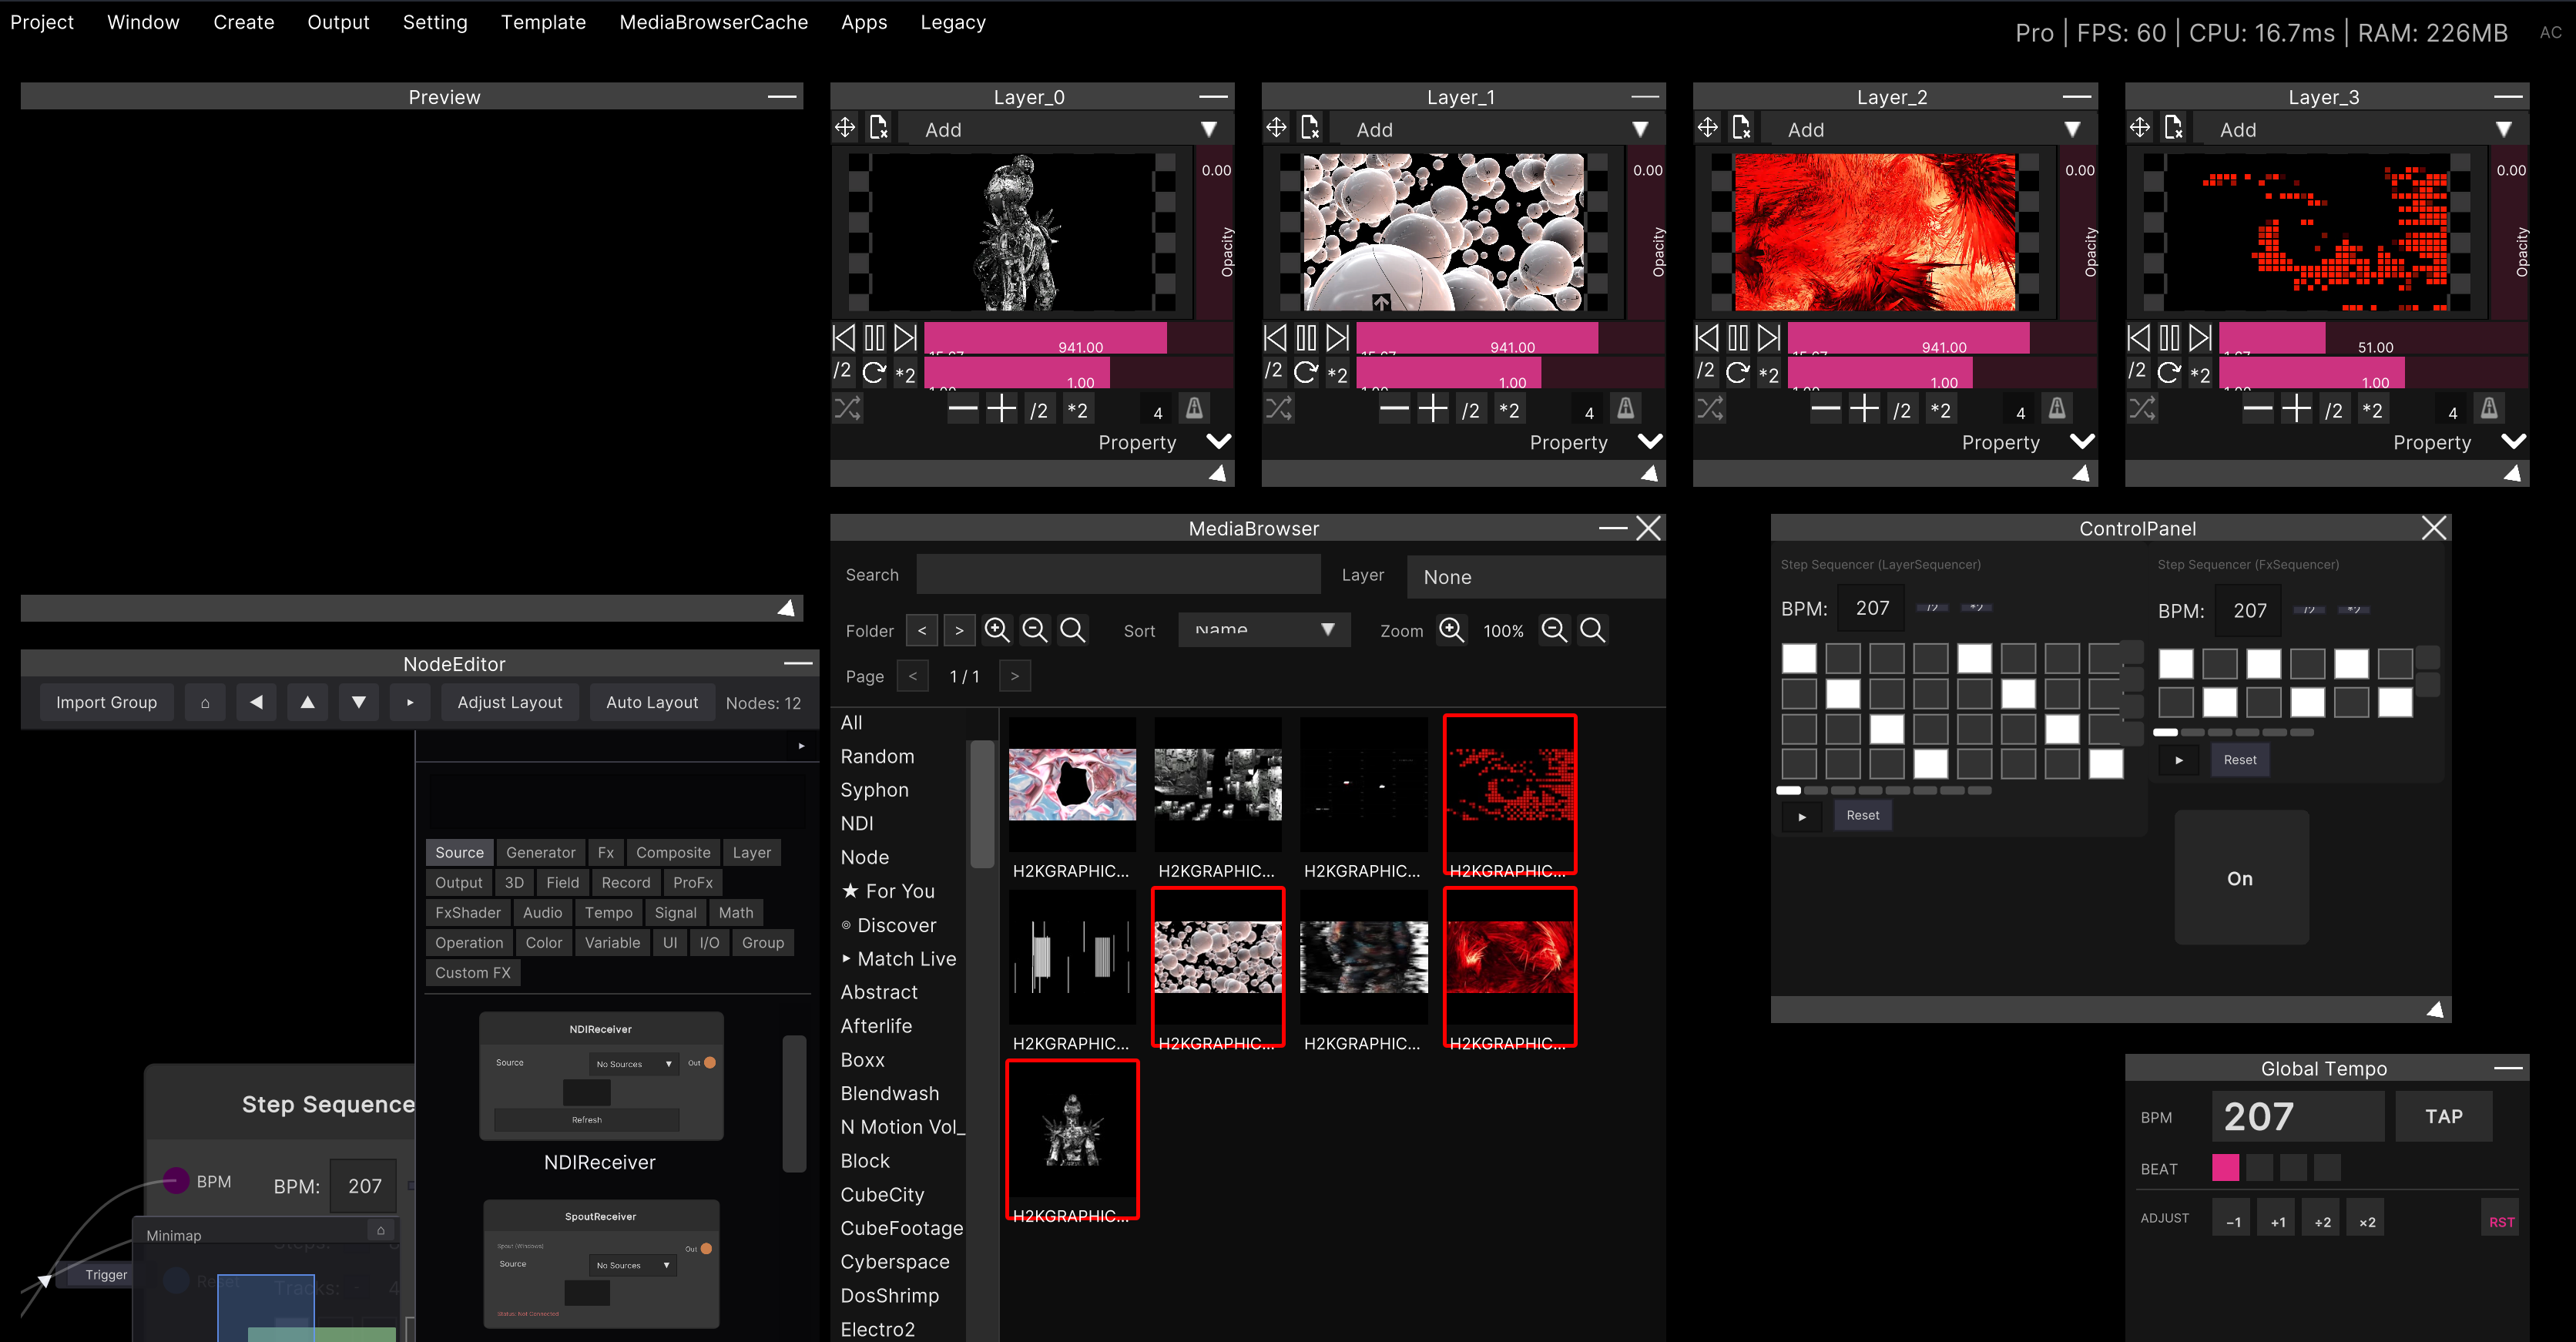
This is the window that lays out your imported clips and sends them out to layers. Open it with Create → MediaBrowser in the menu bar. You can open as many as you like.
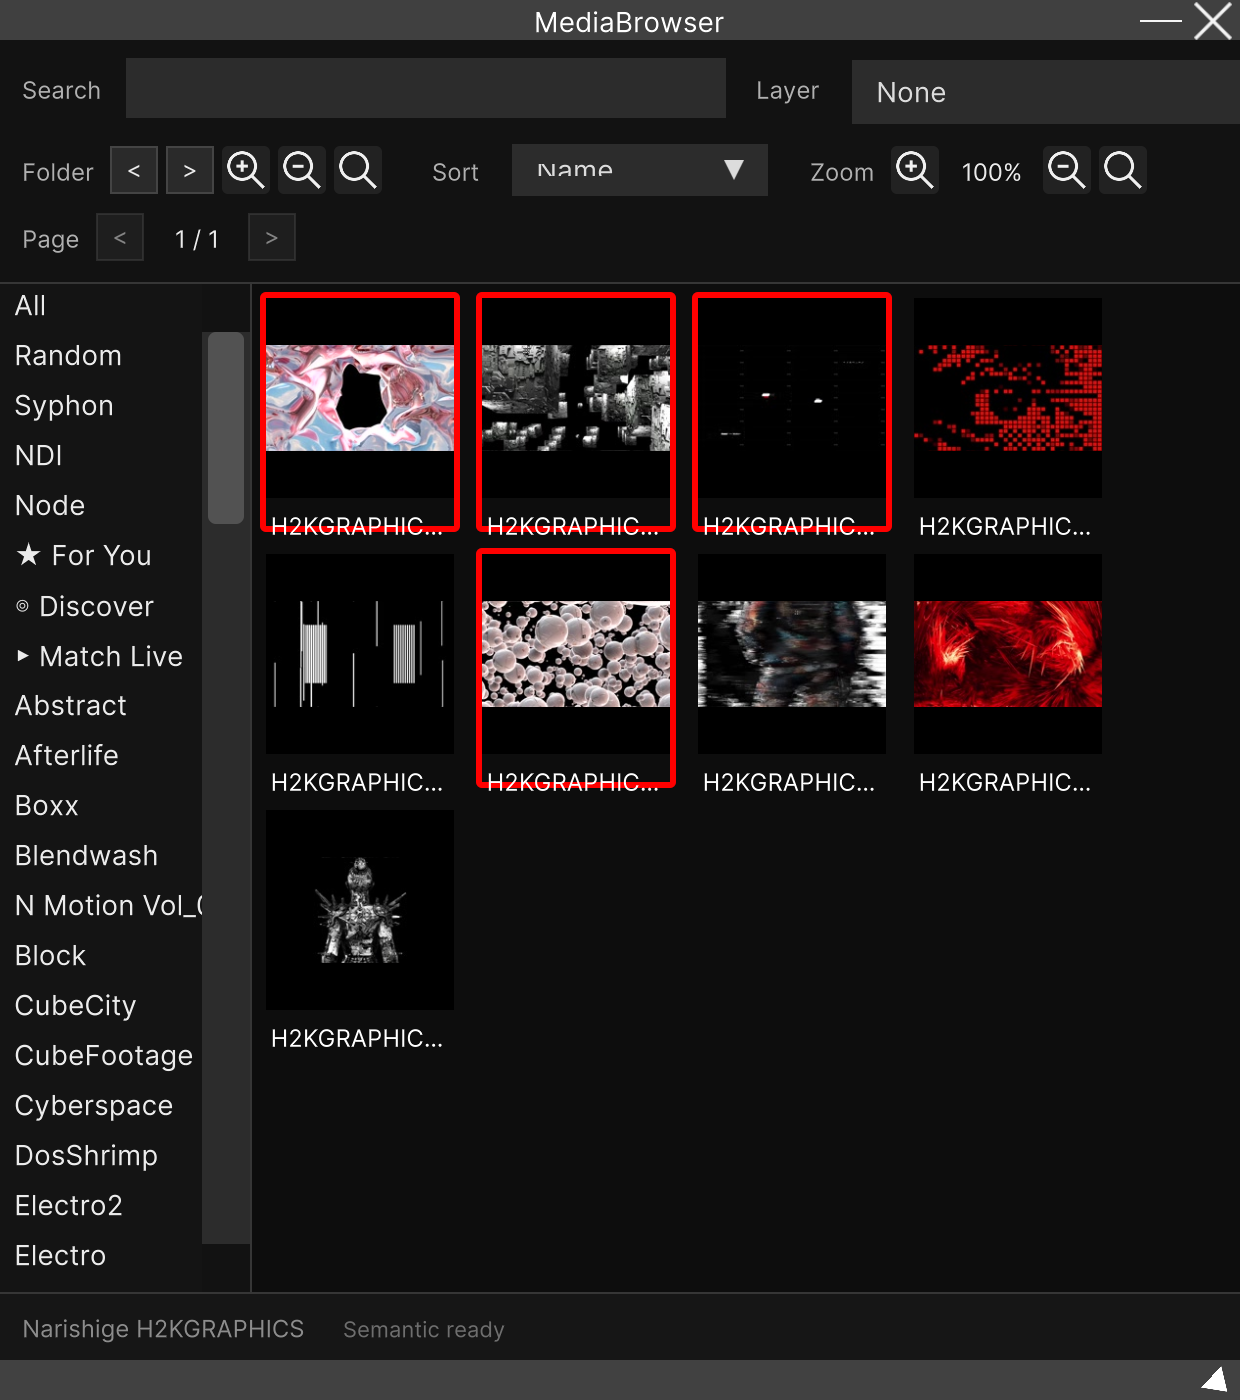
On the left is the folder list, on the right the thumbnail grid, at the top search, sorting and zoom, and at the bottom the current folder name and the selection bar.
Click to send to a layer
Clicking a thumbnail assigns it to a layer on the spot. There are two ways the destination is decided.
| Destination | How it is decided |
|---|---|
| Fixed | Choose the target from the Layer dropdown at the top of the window. From then on, clicks always go there |
| Case by case | When the dropdown is None, the clip is assigned to every layer whose Preview toggle is on |
When you have fixed a destination in the dropdown, it takes priority over the Preview toggle. When “I turned on Preview but it shows up on a different layer”, the dropdown is usually set to something other than
None.
Once the assignment is done, the Preview toggle resets by default. If you want it to stay on, turn on
Keep layer selection after assigning in
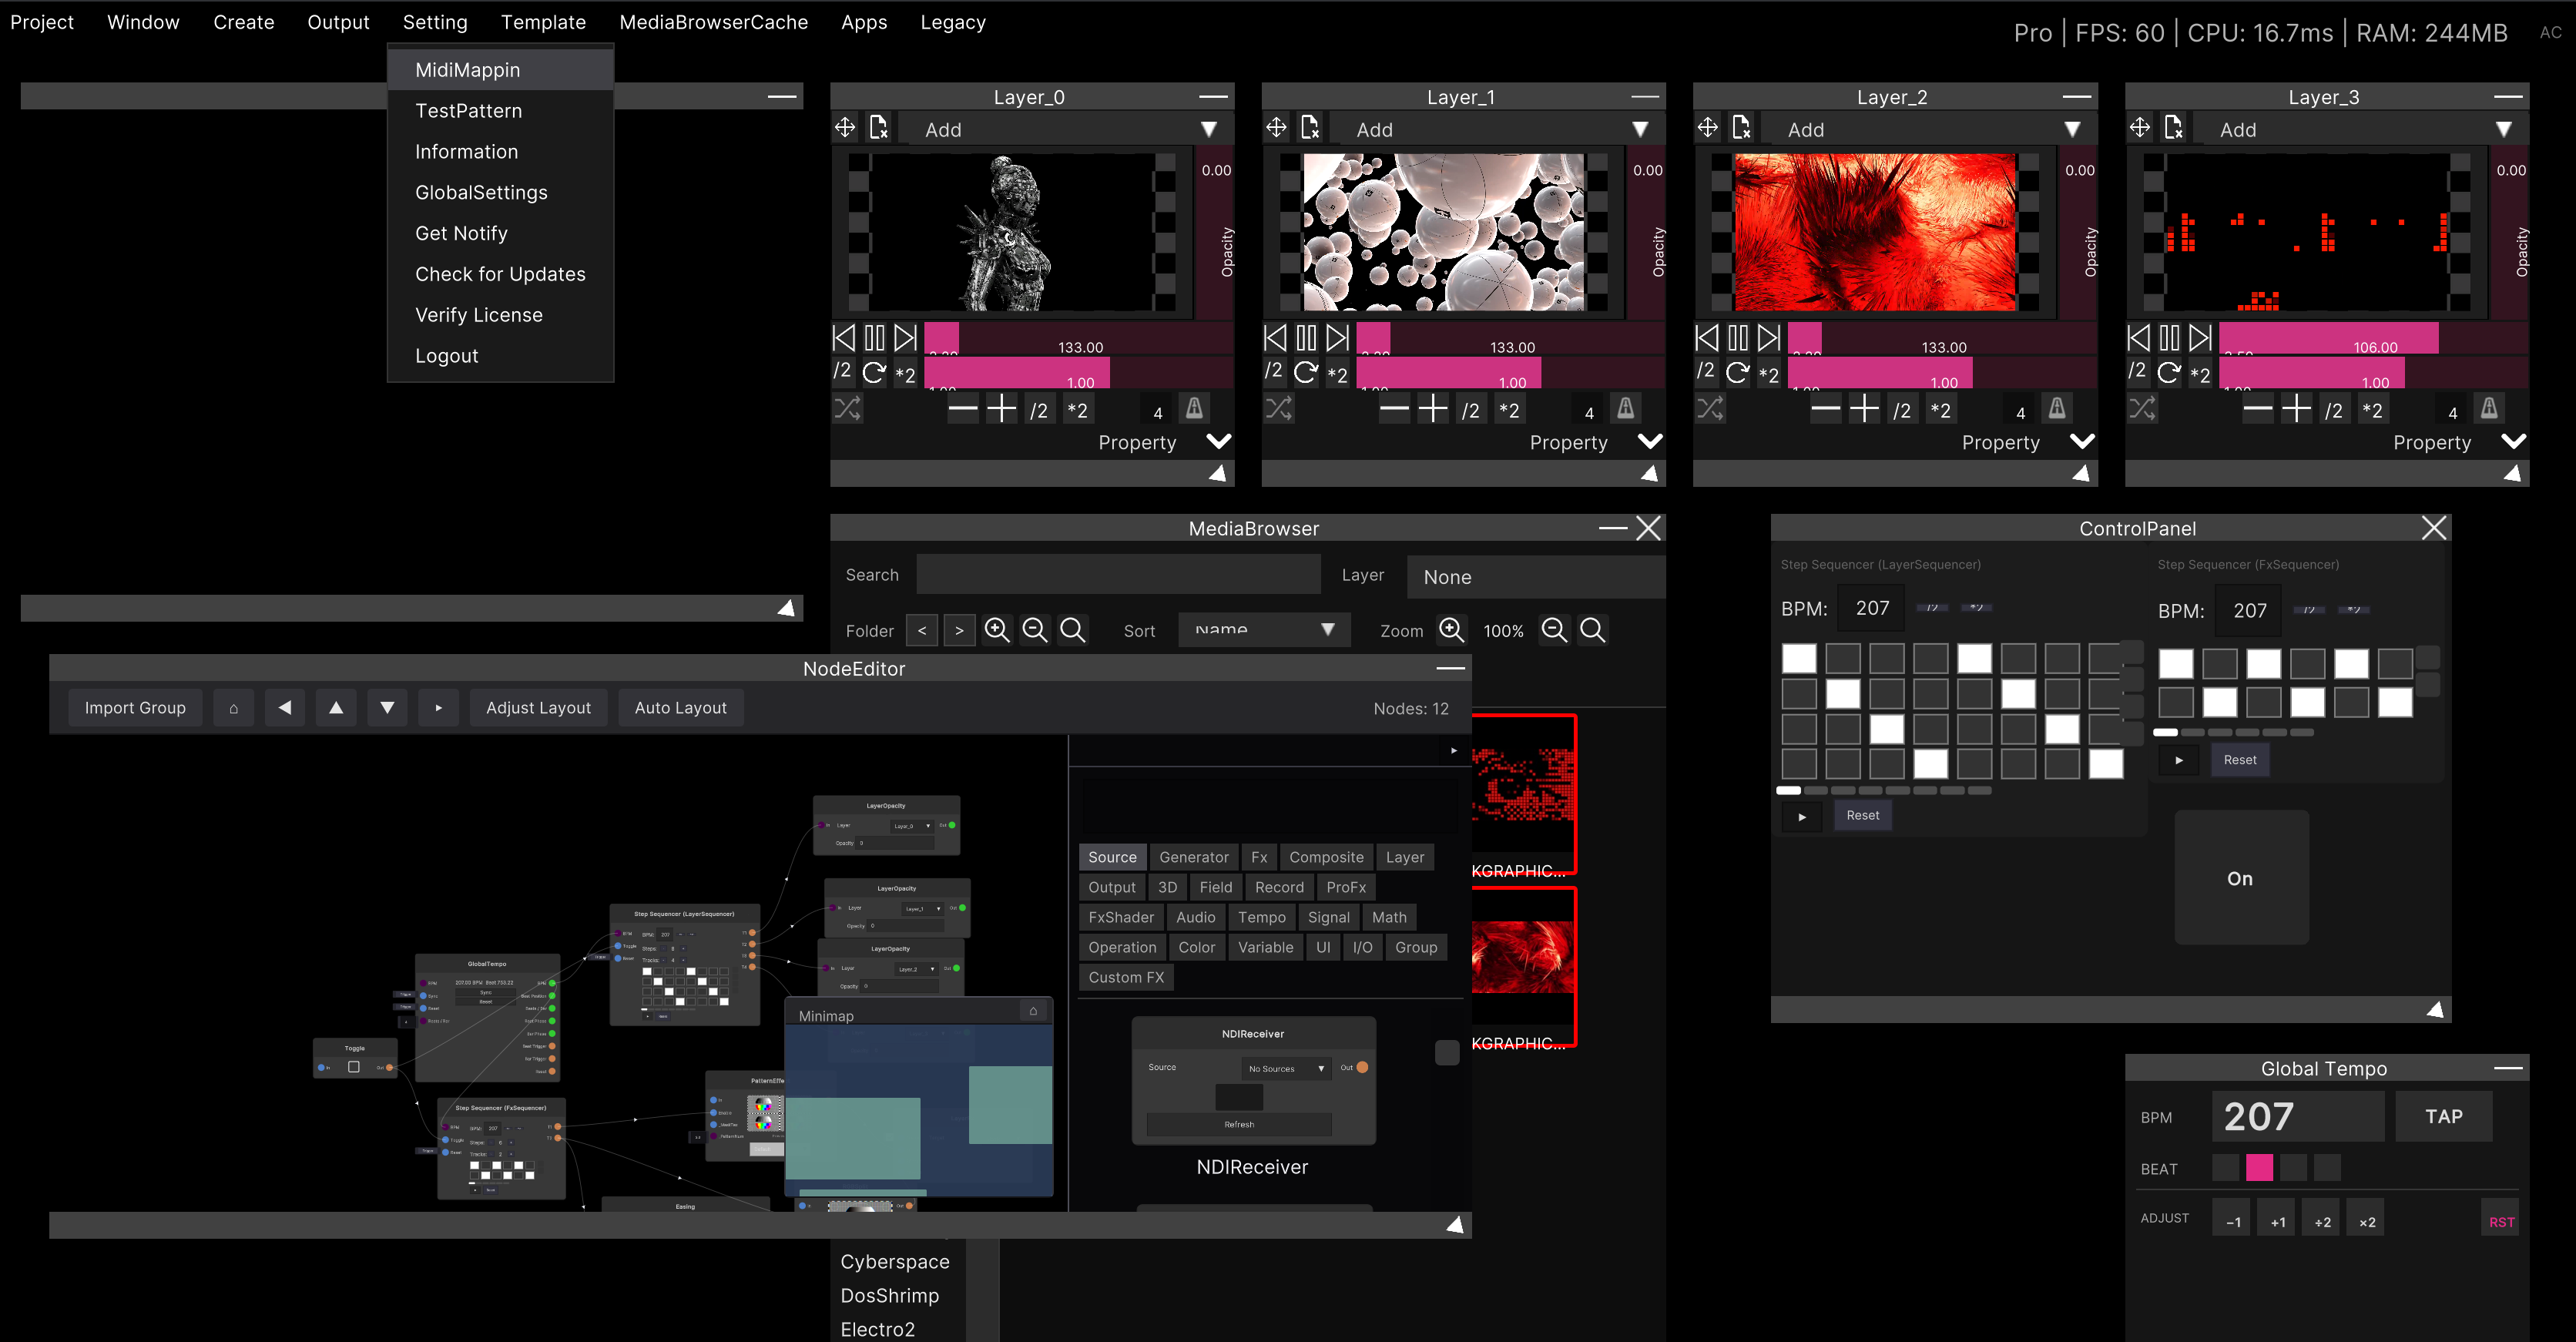
Setting → GlobalSettings → System → Interface.
You can also drag thumbnails and drop them onto a layer row or a preview (even with multiple items selected, only the first one is assigned). While dragging, a ghost of up to three stacked thumbnails follows the cursor, and with a multiple selection a badge shows the count.
Dragging inside the app cannot cross into a detached window. Once you detach the MediaBrowser into its own window, you can no longer drag onto layers in another window (assignment by clicking, and drops from the OS, work without any problem).
Selection and bulk operations
| Action | What it does |
|---|---|
| Click | Select and assign to a layer |
| Ctrl/Cmd + click | Toggle the selection on and off (no assignment) |
| Shift + click | Range selection (no assignment) |
When you select two or more items, a selection bar appears at the bottom where you can use Move (move to a folder) / Tag / Regen (regenerate thumbnails) / Delete / Clear.
Right-clicking brings up the same bulk menu.
Organizing with folders
Right-clicking empty space or a normal folder in the folder list brings up New Folder.
Right-clicking an existing folder offers Rename / Delete plus a choice of sorting mode.
| Menu | What it does |
|---|---|
| Sort: Manual | Keeps the order you arranged yourself |
| Sort: File Name | Sorts by natural order of file name (item2 → item10) |
If you drag thumbnails to reorder them in a Sort: File Name folder, it switches to Sort: Manual without asking
(it carries over the visible order at that moment, so the screen does not move). To go back to name order, select Sort: File Name again.
Dragging a thumbnail onto a folder row and dropping it performs a reference copy by default (the clip stays in its original folder and also shows up in the destination). Holding Alt (Option on macOS) while dropping makes it a move instead (only when the source is unambiguous, that is, when a specific folder is being shown).
The same clip can live in several folders. There is only one actual entity. Only the references increase, so the library does not end up with duplicates. When you want to remove it from just one of them, show that folder and use right-click →
Remove from this folder(removing the last remaining reference moves it toUncategorized).
Reading the thumbnails
| Appearance | Meaning |
|---|---|
| Red border | In use on some layer (the folder row turns red too) |
| Blue border | Selected |
⚠ MISSING | The original file cannot be found |
| ⚠ / ✕ in the top right | The playback badge (described below) |
Hovering shows a tooltip with the file name, the codec display name, 1920x1080 · 30fps · 1:23 and any notes.
The grid holds 64 items per page, and you page through it with Page at the top. Zoom changes the thumbnail size, and Sort sorts by Name / Date / Type.
If you do not like the picture on a thumbnail, right-click → Update Thumbnail switches it to a different frame.
Other right-click menus
| Menu | What it does |
|---|---|
| Move to… | Choose a folder and move the clip |
| Edit Tag | Add and remove tags (approving the auto tags described below happens here too) |
| Delete from Library | Delete from the library (the original file is not removed). If the clip is in use, you are asked whether to stop playback and delete it |
| Open File Location | Opens the location of the original file in your OS file manager |
Searching
When you type into Search at the top, the filtering runs about 0.3 seconds after you stop typing.
The moment you start a search the folder selection is cleared, and the search runs across all folders.
It matches on file names, tags you added yourself, and auto tags as a partial match (case insensitive).
Searching in natural language
You can also search by writing words in the same search box. There is no mode to switch and no prefix required. The partial-match results come first, and behind them candidates are appended in order of closeness in meaning.
- Both Japanese and English work (a multilingual model is used as is, with no translation step in between)
- The judgment is based on a single thumbnail image. It does not look at the flow of the whole video or at audio
- The
sim: 0.13in the tooltip is the similarity score. With this model, around 0.10 to 0.15 counts as “a good match”
The state of index building is shown at the bottom of the window.
| Display | Meaning |
|---|---|
Semantic ready | The index is built and you can search at any time |
Indexing 120/2000 | Index building is in progress (the rest can still be found by ordinary partial match) |
Semantic: models not found | Natural language search is unavailable (check the settings below) |
The index is built little by little in the background. By default it picks up new clips every 60 seconds and automatically pauses when frames get heavy, so importing during a live show does not get in the way of your performance.
The index is built from the thumbnails. Clips without a thumbnail do not enter the index. If clips that show
⚠ MISSING, or clips whose thumbnail generation failed, do not come up in searches, try theRegenerateMissingThumbnailsdescribed below.
Recommendation folders
When natural language search is enabled, three recommendation folders are listed in the folder list.
| Folder | Contents |
|---|---|
| ★ For You | Clips similar to the ones you use often |
| ◎ Discover | Clips that fit your recent flow but that you rarely use |
| ▶ Match Live | Clips similar to the video you are showing right now (updated every 4 seconds by default) |
Auto tags
At the same time the index is built, tag candidates are attached to each clip.
They appear as ✨ Suggested inside right-click → Edit Tag, and clicking one turns it into a proper tag (when there are two or more candidates, ✨ Approve all also appears).
Candidates you have not approved still come up in searches.
Settings
These are gathered under Setting → GlobalSettings → System → MediaBrowser.
| Setting | Description |
|---|---|
| Enable semantic features | Turns natural language search, auto tags and recommendations on and off. Changes take effect after a restart |
| Index update interval (seconds) | The interval at which the index is rebuilt (10 to 3600 seconds, default 60) |
| Rebuild index | Discards the index and builds it again (it is rebuilt automatically in the background) |
For You / Discover / Match Live | Display of the recommendation folders |
| Match Live update interval (seconds) | The update interval for Match Live (1 to 60 seconds, default 4) |
Turning off a recommendation folder does not remove it from a browser that is already open. Adding or removing folders themselves takes effect from the next MediaBrowser you open (changes to their contents are immediate).
The browser’s own display stays in English.
Semantic ready/Indexing n/m/★ For You/✨ Suggestedand so on are not localized.
Importing a whole folder at once
You can also import without using drag & drop. Choosing a folder with MediaBrowserCache → ImportFromDirectory in the menu bar creates one folder named after the folder you chose, and puts everything inside it (subfolders are picked up recursively as well).
When it finishes, the result is shown in a dialog.
Import completed from:
/Users/you/Movies/VJ

12 imported (2 with warnings, 1 unsupported)
3 already cached (skipped)
with warnings… clips that got a ⚠ (an unverified codec, and so on)unsupported… clips that cannot be played on this OSalready cached… the ones skipped because they were already analyzed
Supported formats
Extensions that can be imported
The import process accepts the following extensions. Anything not listed here is ignored even if you drop it.
| Type | Extensions |
|---|---|
| Video | .mp4 .mov .avi .mkv .webm .flv .wmv .m4v .mpg .mpeg |
| Image | .png .jpg .jpeg |
| Shader | .hlsl |
Bring HAP clips in as
.mov(or.mp4). Files with a.hapextension are not included in the import targets. Whether the content is HAP is decided by the codec analysis at import time, not by the extension.
Being able to import is not the same as being able to play. For example
.mkvcan be imported, but it cannot be played whatever codec is inside (it gets a ✕).
Playback badges
Because the codec inside is inspected at import time, the result is shown in the top right of the thumbnail.
| Badge | Meaning |
|---|---|
| (none) | Verified in practice with no problems |
| ⚠ | A conditional or unverified codec |
| ✕ | Cannot be played on this OS. Converting to HAP is recommended |
The reason appears when you hover over the thumbnail. Having no badge is the normal state.
Codecs
- Video (common to macOS / Windows): HAP / HAP Alpha / HAP Q (recommended), H.264, Apple ProRes (Proxy / LT / 422 / HQ / 4444), Motion JPEG (4:2:0), AV1, MPEG-1 / MPEG-2
- Video (macOS only): HEVC (H.265), VP8
- Video (Windows only): MPEG-4 (DivX/Xvid), WMV / VC-1, FLV, DNxHD / DNxHR, CineForm
- Containers: mp4 / mov / m4v / avi / webm / flv / wmv / mpg / mpeg (mkv is not supported)
- Images: png / jpg
- Audio inside clips: AAC / MP3 / PCM / Vorbis / Opus / FLAC / AC-3 and others
For stability and performance in real-time playback, the HAP family and H.264 are recommended. For clips with an alpha channel, please use HAP Alpha. For how to convert, see What is the Hap codec.
HEVC / VP8 / VP9 currently cannot be played on Windows. This is due to a known issue in the playback engine, and a ✕ badge is shown. Please convert to HAP.
The bundled sample clips
On first launch, the bundled sample videos are placed and imported automatically, and appear in the MediaBrowser
as the Narishige H2KGRAPHICS folder (the folder name is the name of the artist who provided them).
If you have deleted them, you can get them back with
“Reinstall sample clips” at the very bottom of the Template menu in the menu bar (they do not come back automatically).
Menus for when you run into trouble
MediaBrowserCache in the menu bar has menus for maintaining the library.
| Menu | What it does |
|---|---|
| CheckMissingFile | Lists clips whose original file cannot be found (up to 20 are shown) |
| RegenerateMissingThumbnails | Rebuilds only the clips whose thumbnails are missing |
| ClearAllCache | Deletes all import results, thumbnails and the search index (with a confirmation. The original video files are not deleted) |
Restart the app after
ClearAllCache. A message saying to restart and load again appears once it has run. The original files are safe, so importing them again gets you back to where you were.
Related
- Media Browser — the reference for the window itself (MIDI assignment and so on)
- Specifying the path for loading VJ clips (Source Directory) — change where thumbnails and caches are stored
- What is the Hap codec — the recommended codec and how to convert
- Receiving and sending Spout — video input other than files
- Loading Shader (.hlsl) files — working with shader clips