Output to a projector
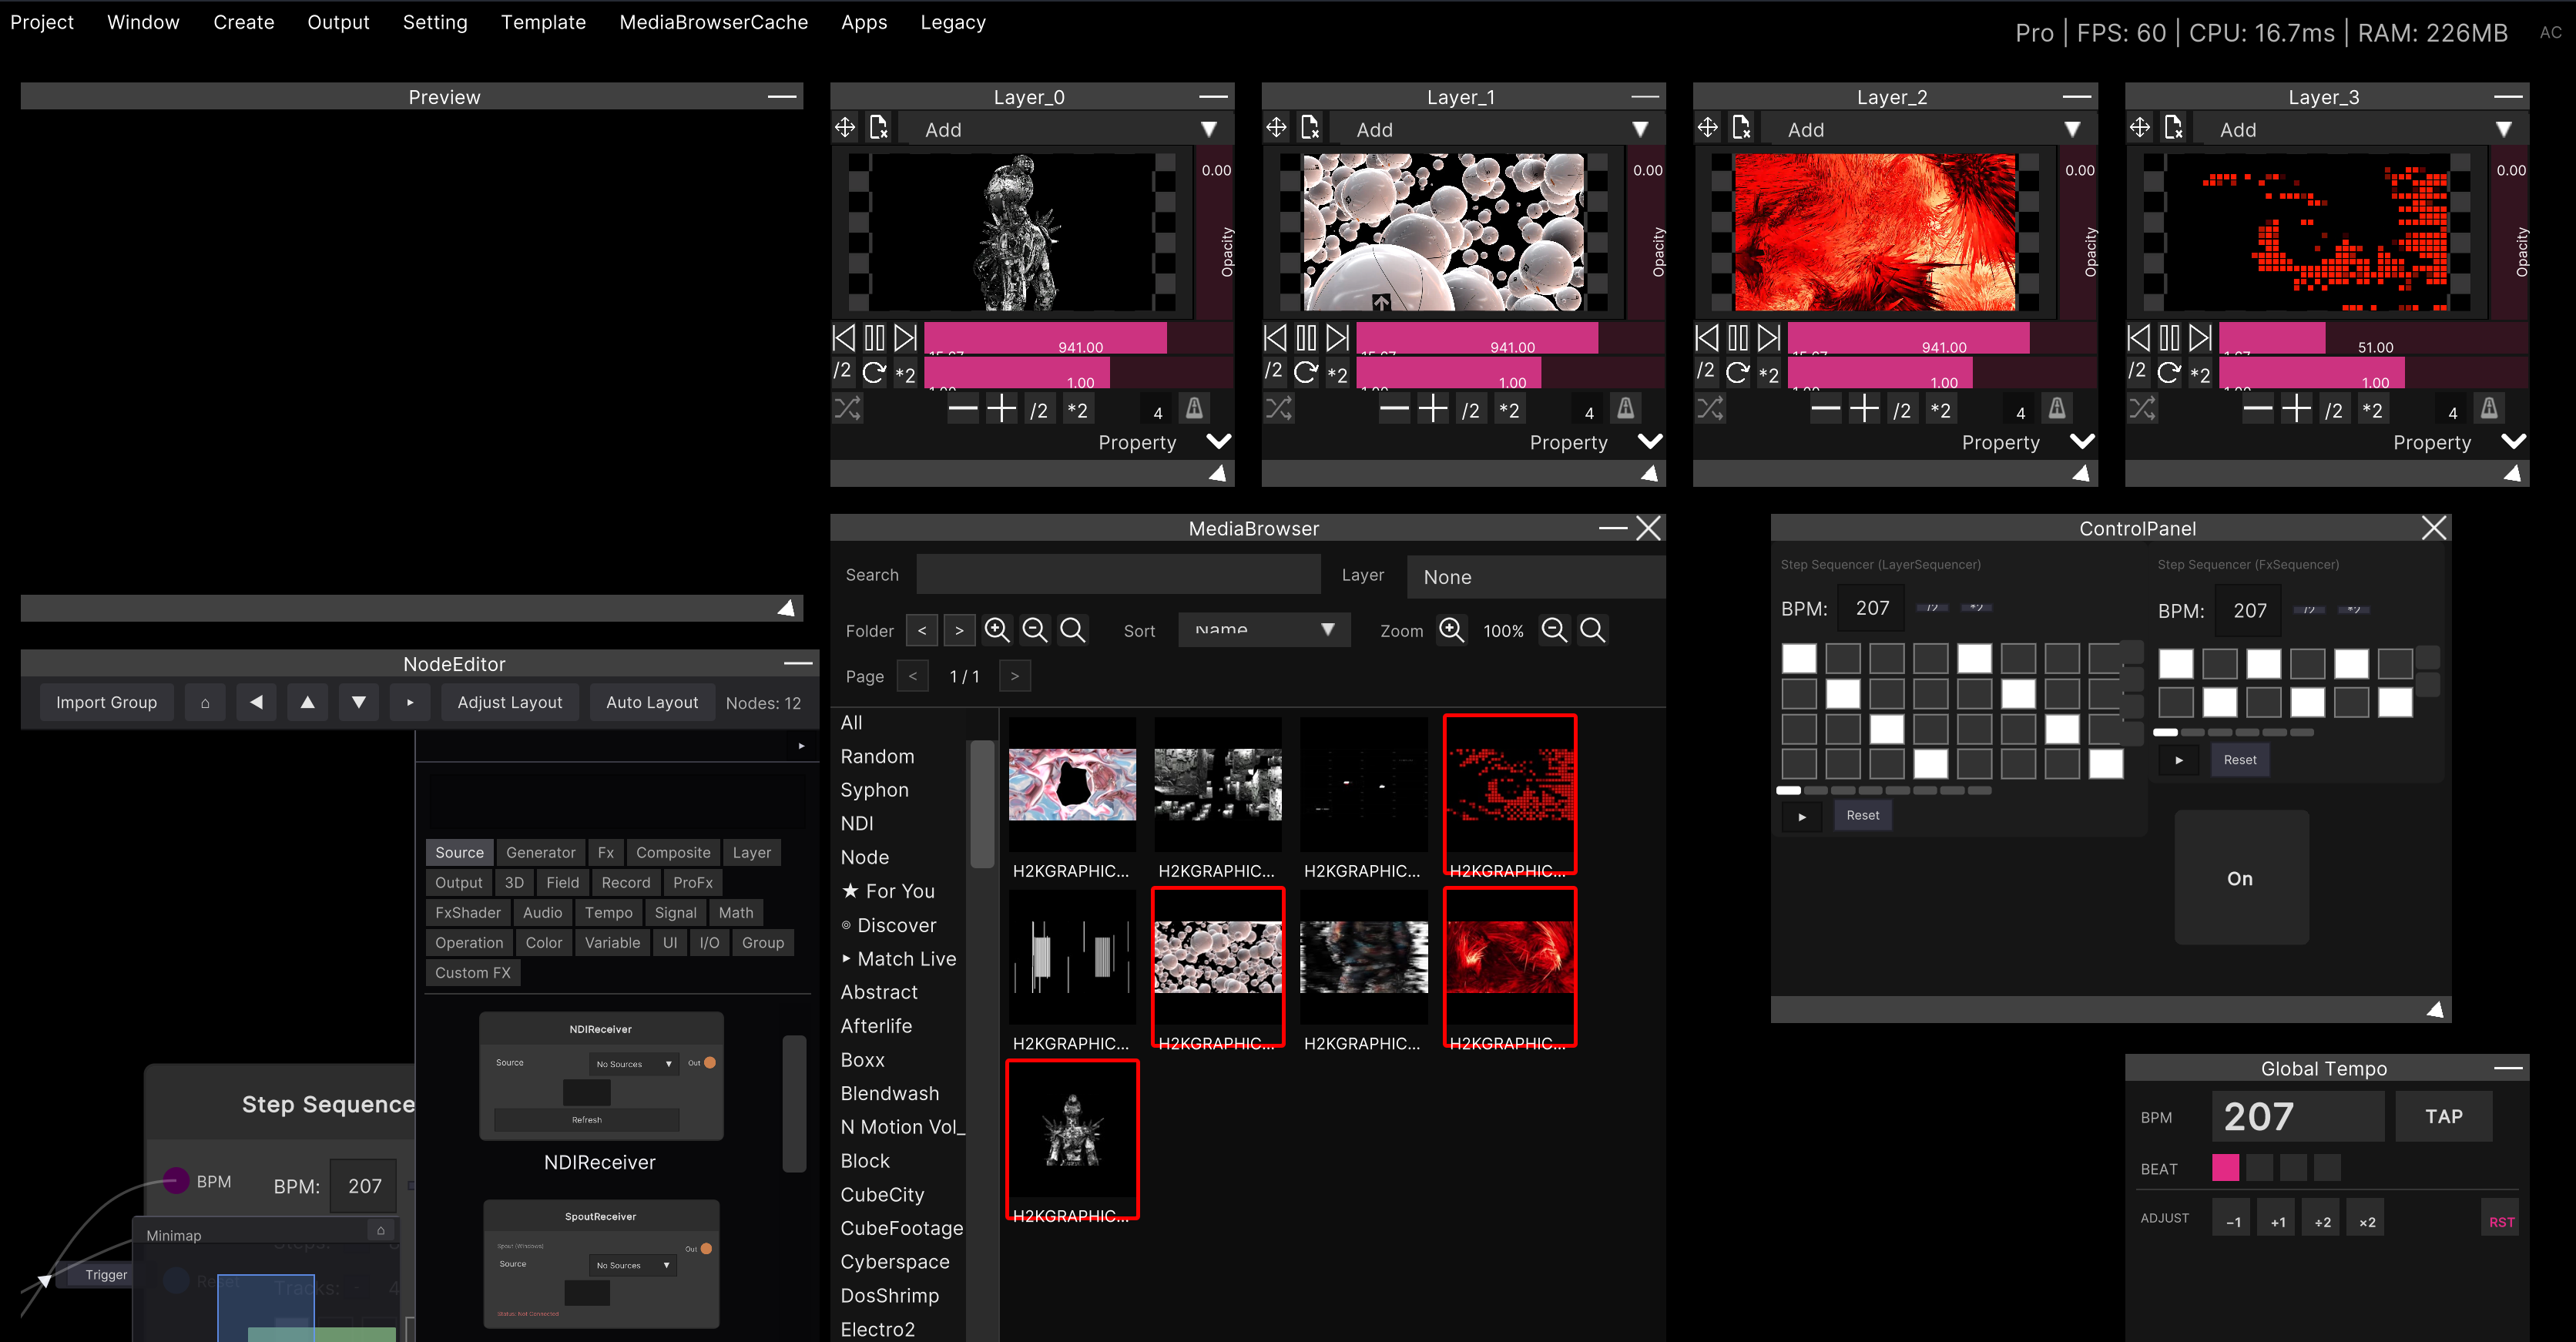
SynapseRack’s main window is a control screen. What you put on the projector is a separate window that takes only the picture of the master output out of it.
There are four exits.
| Exit | When it suits |
|---|---|
| Display output (Output menu) | The easiest and the one for the show. Fullscreen straight to a chosen display |
| The output window (bundled) | When you prefer a window you can also make fullscreen by hand |
| Detaching a window (F10) | When you want another monitoring screen at hand on a second monitor |
| Spout / Syphon / NDI | When handing it to other software such as Resolume, MadMapper or OBS |
Whichever you use, what appears is only the master output with every layer composited. The menu bar and the node editor do not appear.
First, decide the resolution
Open Setting → GlobalSettings in the menu bar and choose Output on the left.
Enter numbers in Width / Height under Resolution and press Apply below to confirm. The
default is 1920 × 1080.
This resolution is saved in the project. The other items in the Settings dialog (language, OSC, MIDI and so on) are per-PC settings, but the output resolution alone is saved together with the
.synapse, so reopening the project brings the same resolution back.
Pressing Apply rebuilds the master output and every layer at the new resolution together. The Preview’s aspect ratio follows on the spot.
Method 1: Fullscreen straight to a display (Output menu)
The Output menu in the menu bar lists the connected displays.
- Choose Master:
and the master output goes fullscreen on that display, with no frame - Choose Mapping:
and the mapping output of SynapseMapper goes out instead - The item currently outputting is marked with ●
To stop, choose None in the same menu, press Esc with the output screen focused, or press Cmd+T / Ctrl+T.
- Cmd+T / Ctrl+T is an on/off toggle for the output. It remembers the last display used, so you can kill the output in one stroke mid-set and bring it back with the same key (it works even while the output window has focus)
- Only one output can be on at a time. Turning on another stops the previous one
- If the display disappears (cable pulled and so on), the output stops automatically. When the same display comes back, the output resumes on its own (after an app restart, the auto-restore toggle below takes over)
- After a restart, turning the output back on by hand is the default. Turning on the auto-restore toggle in Setting → GlobalSettings restores the previous output destination at launch (a per-machine setting, off by default)
Method 2: Bring up the output window (bundled)
Output → Create Output Window in the menu bar.
A dedicated window that shows only the master output comes up separately. Its contents are a single picture, with no frame and no controls. The aspect ratio is preserved, so the picture does not distort even when the shape of the window does not match the output resolution.
Drag this window onto the projector’s screen and then make it fullscreen.
| OS | How to go fullscreen |
|---|---|
| Windows | Alt + Enter with the output window selected |
| macOS | The green button at the left of the title bar (the standard fullscreen) |
Going fullscreen fills that display’s resolution. The initial size is 1920 × 1080, and you can also resize it by hand.
The output window keeps drawing while you are operating the main window. The output window is built with a setting that does not stop it when it goes behind, so the picture on the projector keeps flowing while you build nodes or work in the MediaBrowser in the main window.
The output window merely receives the master output from the main app and displays it. The hand-off uses Spout (Windows) / Syphon (macOS). In other words, what you see in the output window is the same thing other software can receive under “handing it to other software” below.
Method 3: Detach a window and put it on a second screen (F10)
SynapseRack’s windows can be taken outside the main window as OS windows.
- Click the window you want to take out
- Press F10
The target is “the window you clicked last”. There is no visible mark, so the reliable way is to click that window once just before pressing F10.
The window becomes an OS window and can be moved freely across monitors. To bring it back, close that window (it returns to its original position inside the main window).
Detach the Preview window and put it on a second screen and you can check the master output large, right in front of you.
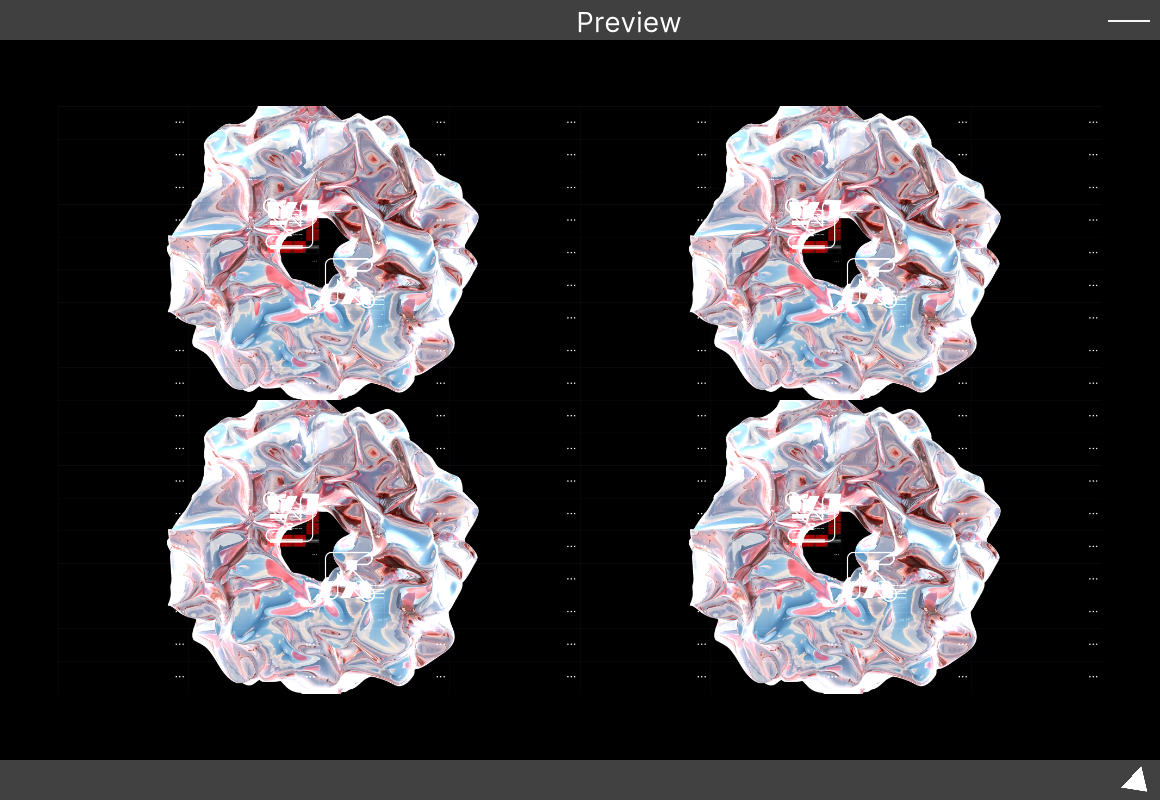
There is no feature for making a detached window fullscreen. If you are using it as the actual output surface, use the display output from Method 1. The Preview leaves margins and a frame around the video, so it does not suit going directly to a projector.
Keeping it in front
A detached window can be set to “always on top”.
| OS | Action |
|---|---|
| Windows | Right-click the title bar (or Alt + Space) → Always on Top |
| macOS | The 📌 button at the right of the title bar |
Detaching is saved in the project
Which windows you had detached, where each one was placed and at what size, and whether it was
always on top, are saved together with the .synapse.
Open the same project again and it is restored detached in the same arrangement.
Opening a different project first returns all detached windows to the main window. Only the detach information held by the project you loaded is then reproduced. Windows from the previous session never linger.
Method 4: Hand it to other software (Spout / Syphon / NDI)
For as long as it is running, SynapseRack broadcasts its master output within the same PC.
| OS | Standard | Send name |
|---|---|---|
| Windows | Spout | SynapseRackMain |
| macOS | Syphon | SynapseRackMain |
Select SynapseRackMain on the receiving side in Resolume Arena, MadMapper, OBS and the like, and
the master output arrives as it is.
Projection-mapping warp is also built into SynapseRack — see SynapseMapper. When you want to do the warping and masking in other software you already know, use this route.
This send name cannot be changed. There is no on/off either. It is always out there, so all you do is select it on the receiving side.
When you want to send a picture from partway through the graph rather than the master output, use nodes.
| Node | Where it sends |
|---|---|
| SpoutSender | Spout (Windows) / Syphon (macOS) |
| NDISender | NDI (it goes over the network, so it reaches other PCs too) |
Connect a MasterOutput node and you can also send the master output itself back out from these nodes (when you want it under a different name, or want to process it first).
A test pattern for lining things up
Pressing Setting → TestPattern in the menu bar overlays a test pattern on the master output. Press it again to remove it.
Since what it overlays is the master output, it goes out to the projector as well. Use it when adjusting focus, keystone correction and overscan.
Related
- SynapseMapper — built-in projection mapping (quad placement, warp grid)
- Preview — the window for checking the master output at hand
- Output to OBS — the procedure for handing it to streaming software
- Receiving and sending Spout — the receiving side, from other software
- Output nodes — the reference for SpoutSender / NDISender / MasterOutput