Layer Hierarchy
The window that decides the order of your Layer and Group Layer windows. The order here is exactly the compositing order of the master output.
Opening it
Menu bar: Window → Hierarchy.
Like Preview, this window exists from startup and cannot be closed. The Hierarchy entry in the menu does not “open” it — it brings it back to the center of the screen. Minimize with the − at the right of the title bar.
The most important thing: top is back, bottom is front
The top of the list is drawn first, and the bottom is drawn last. In other words, the higher the row, the further back; the lower the row, the further front. This is the opposite of Photoshop and After Effects, so it is guaranteed to confuse you at first.
A newly created layer is added at the very bottom of the list. It helps to remember it as “a layer you just made comes to the very front”.
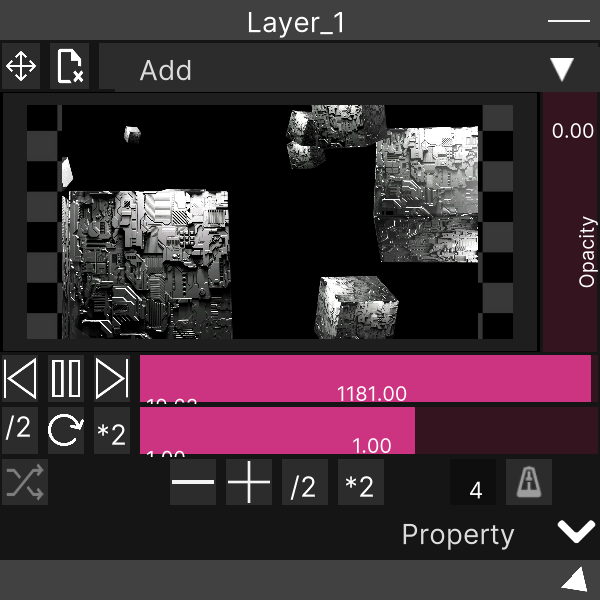
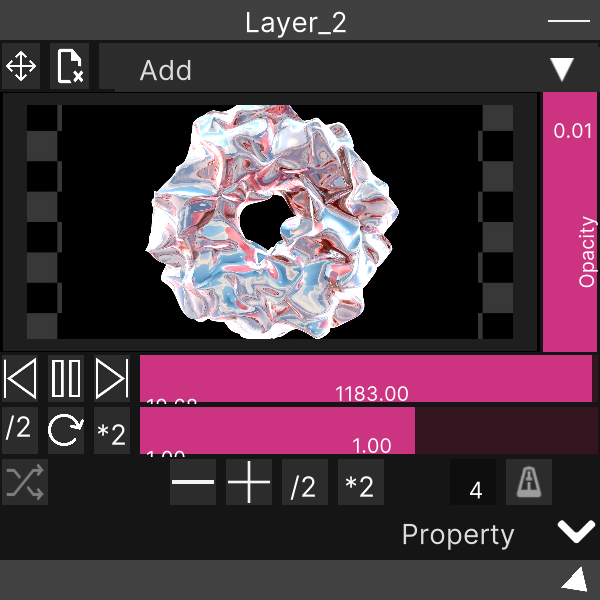
A layer you just made shows nothing. New layers are created with an opacity of 0. If a row has appeared in the Hierarchy but Preview has not changed, raise
Opacityin the Layer window first.
What is in a row
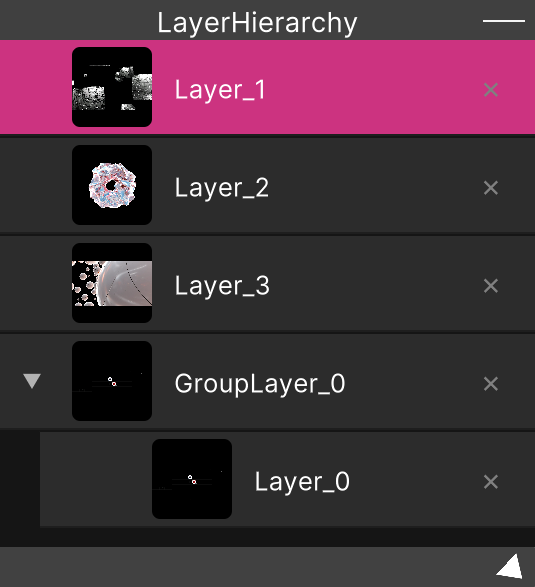
Each row has the following four items from the left. Row height is fixed at 48px.
| Element | Content |
|---|---|
| ▼ / ▶ | Expand/collapse a group. On non-group rows it only takes up space and is not displayed |
| Thumbnail | A live thumbnail showing that layer’s output (40 × 40) |
| Name | The layer name. It cannot be edited here (see below) |
| × | Delete button |
The selected row turns magenta, and the row under the mouse turns pink. Selection is always a single row — adding Shift or Ctrl does not give you multi-selection.
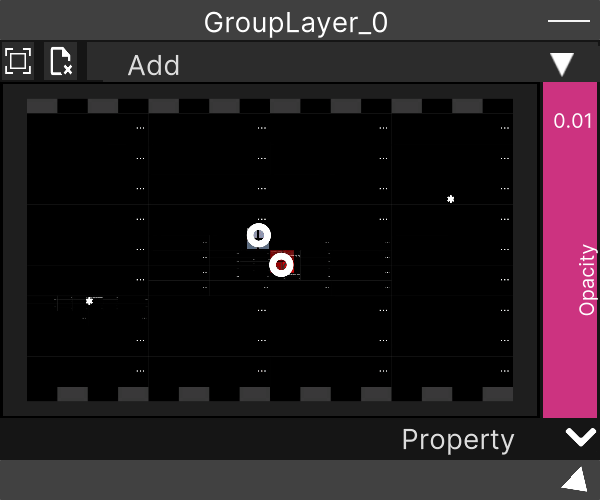
There are no visibility checkboxes, solo, lock, or layer type icons. Opacity and blend mode are operated in each Layer window.
Renaming happens in the Layer window, not in the Hierarchy. Double-click the title bar of a Layer / Group Layer window to rename it. The name text in the Hierarchy is configured not to accept clicks.
Reordering and grouping
Left-drag a row to reorder it. While dragging, the other rows dim and a cyan line shows where the row will land.
| Where you drop it | Result |
|---|---|
| The top half / bottom half of a normal row | Insert above / below that row |
| The top 20% / bottom 20% of a group row | Insert above / below that group |
| The middle 60% of a group row | Move it into that group (the frame glows light blue) |
Moving something into a group expands that group automatically.
Invalid combinations simply do nothing. You cannot drop a row onto itself, into its own descendants, or “into” a row that is not a group. There is no error or warning, so if “it won’t go in when I grab it”, it is one of these.
The drag starts the moment you press. Even when you only mean to click to select, the other rows go semi-transparent while the button is held. Releasing there just selects the row, so behaviorally there is no problem.
The Hierarchy has no keyboard shortcuts.
Deleting
Delete with the × at the right end of a row. Deleting a group deletes the layers inside it as well.
There is no confirmation dialog for deletion. Changes to the layer structure (adding, deleting, reordering and so on) can be undone by pressing
Ctrl/Cmd + Zoutside the Node Editor (Shortcuts). Take a breath before you press it.
Dropping files onto a row
Hierarchy rows are also drop targets.
- Dropping from the OS file manager — the files are imported into a folder called
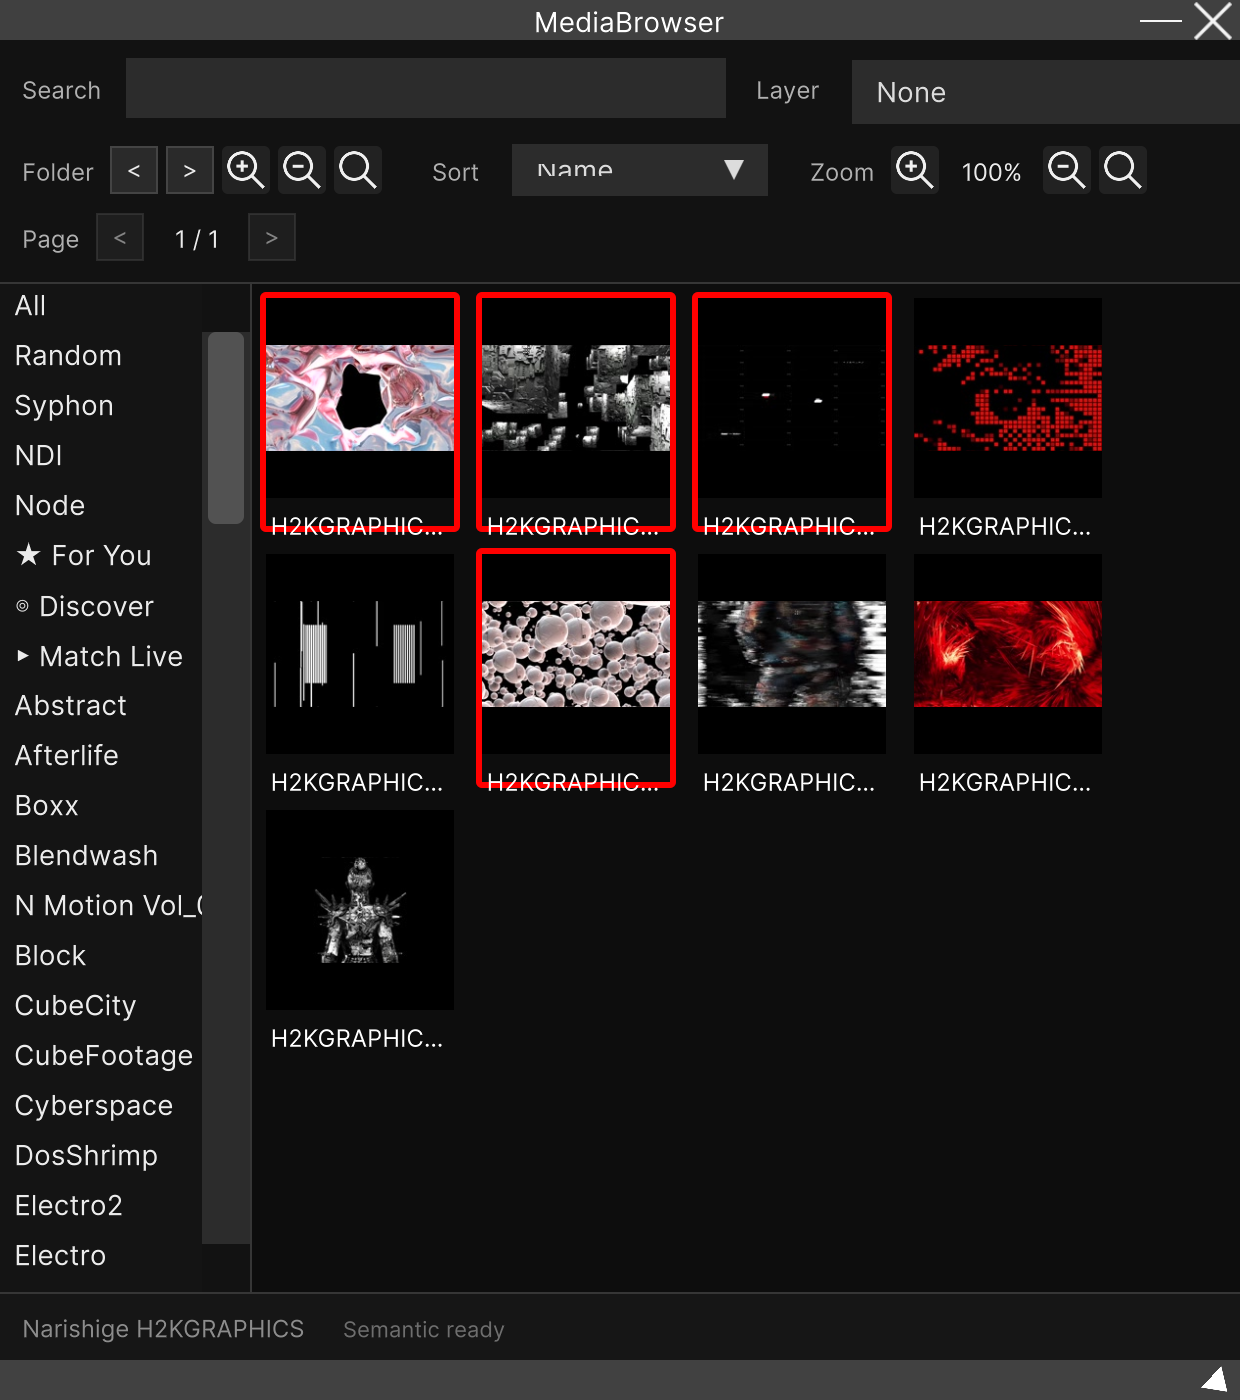
Temp, and only the first one is assigned to that layer - Dragging from the Media Browser — here too, only the first item is assigned
The target row glows with a blue frame. While importing, the inside of the frame darkens.
Dropping onto a group row does not assign the file. This is because a group layer cannot hold video directly. The import itself still runs, so the file remains in the
Tempfolder.
Related
- Layer — the window for handling a single piece of video
- Group Layer — treating several layers as a single sheet
- Preview — the result of the compositing order set here