MIDI mapping
A feature for assigning the knobs, faders and pads of a MIDI controller to the UI itself as it appears on screen. Rather than writing a dedicated mapping table, you bind things in three moves: “enter assign mode → click the UI you want to move → touch the controller”.
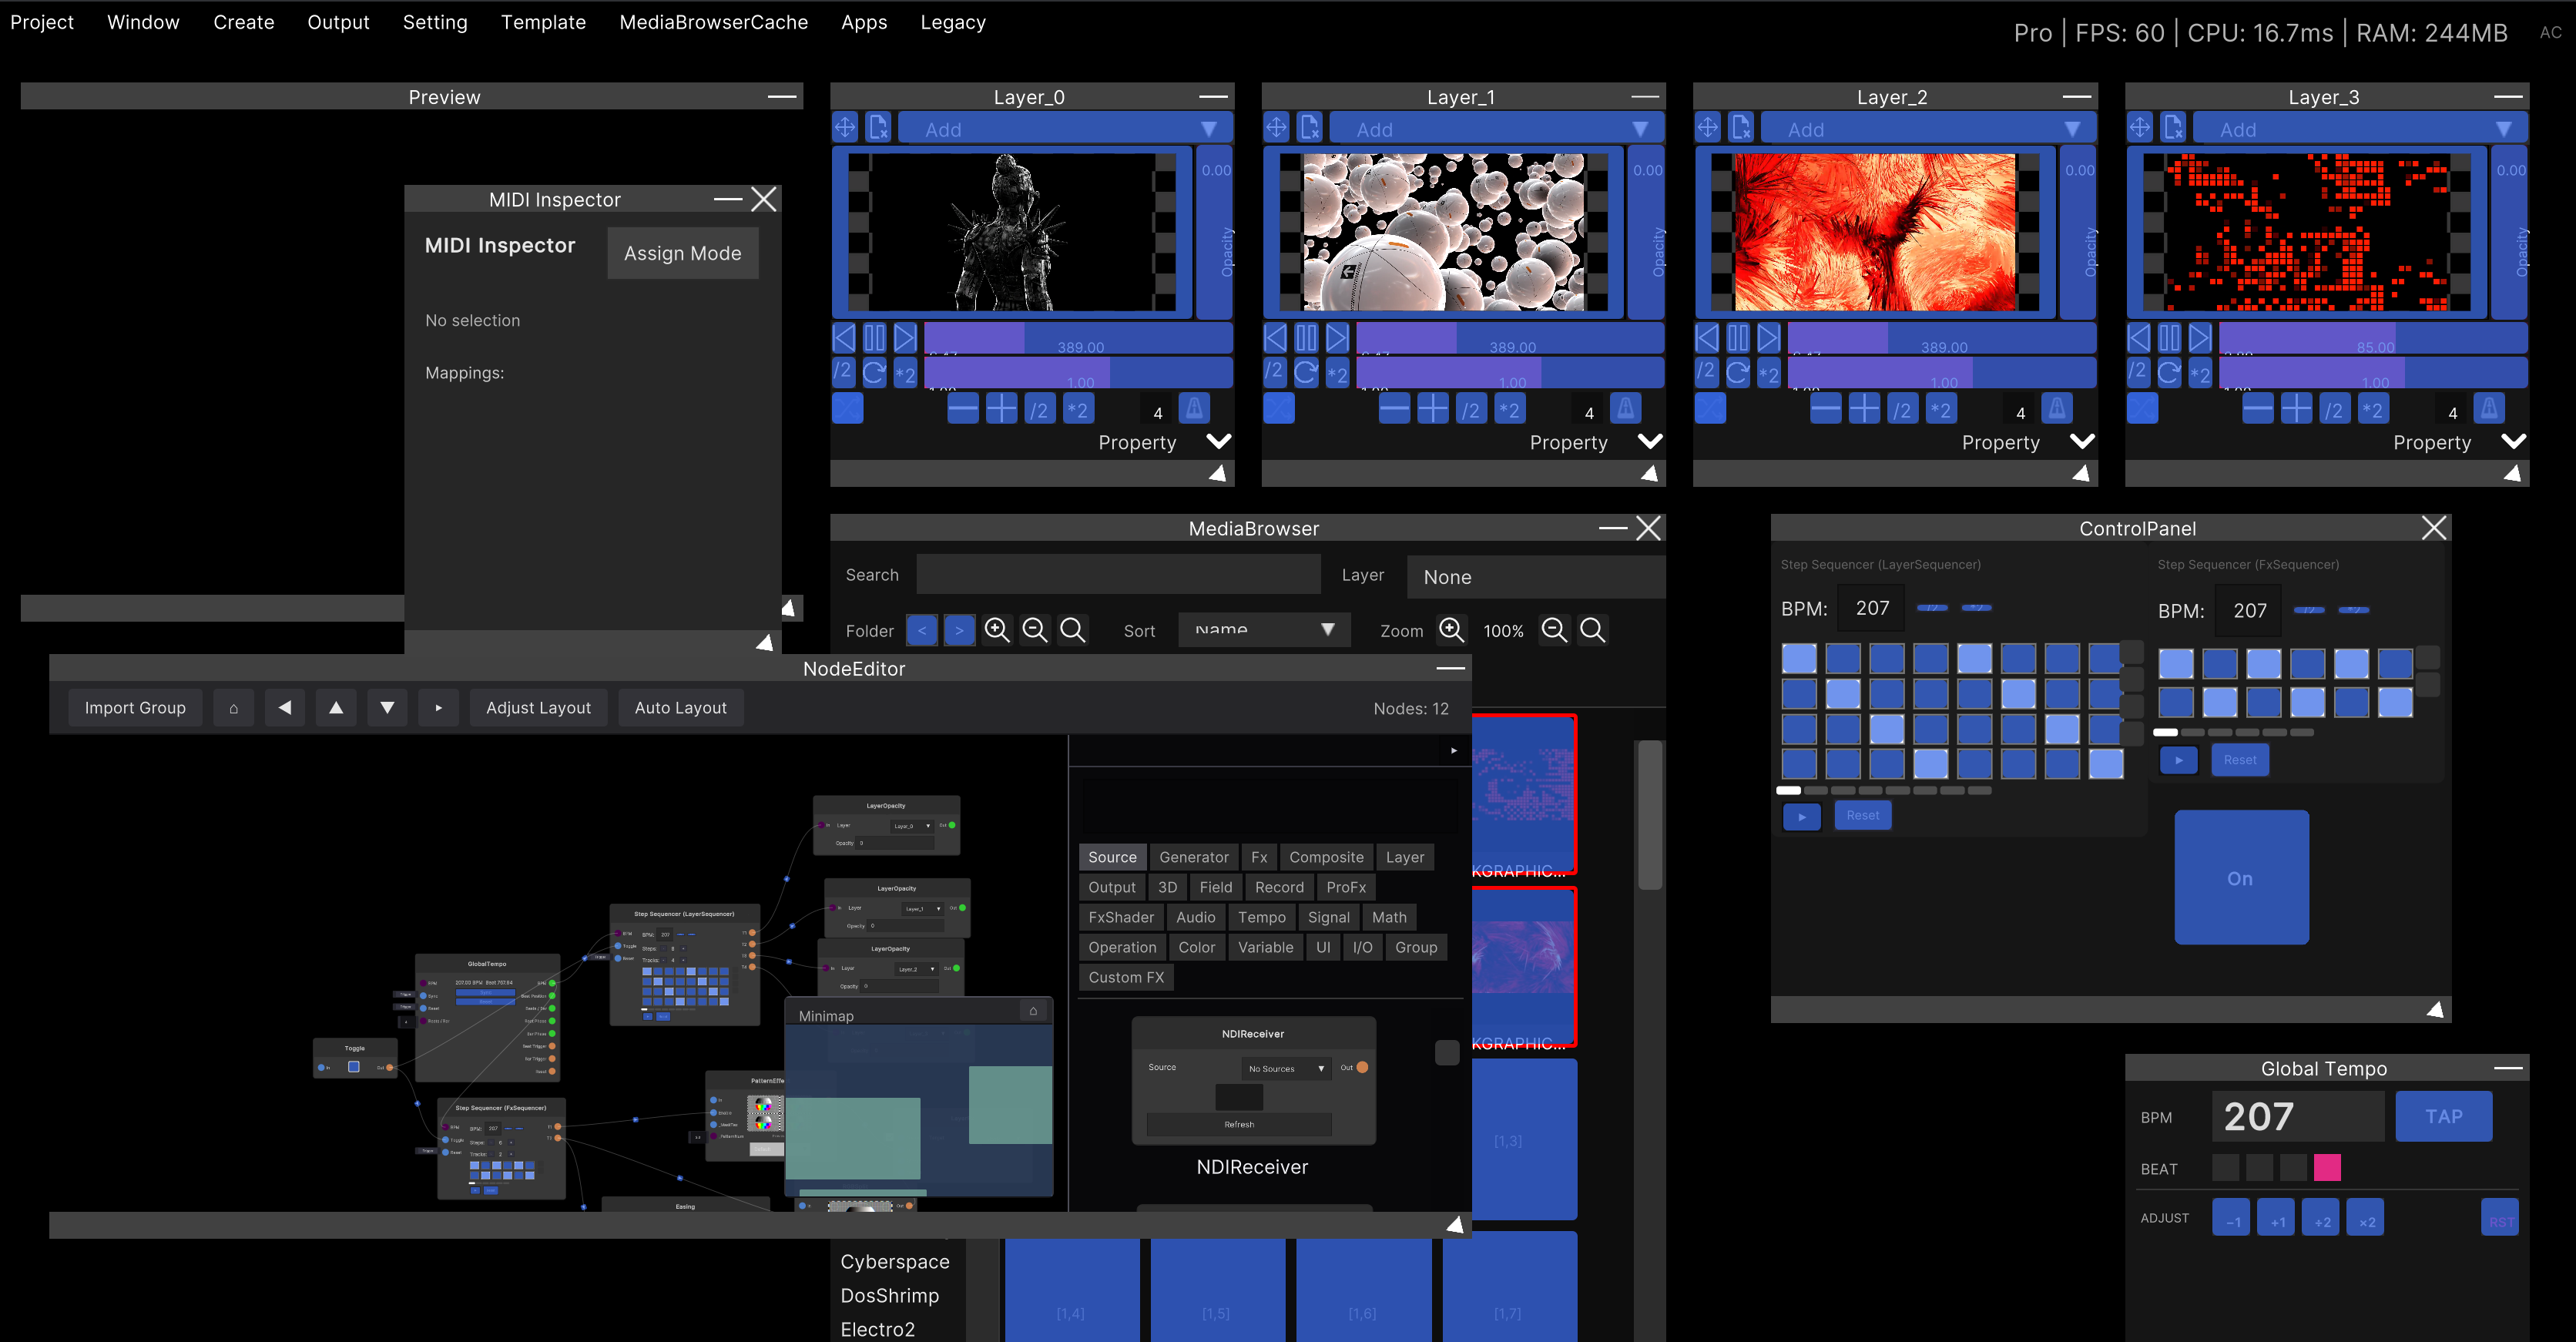
Entering assign mode
Setting → MidiMapping in the menu bar.
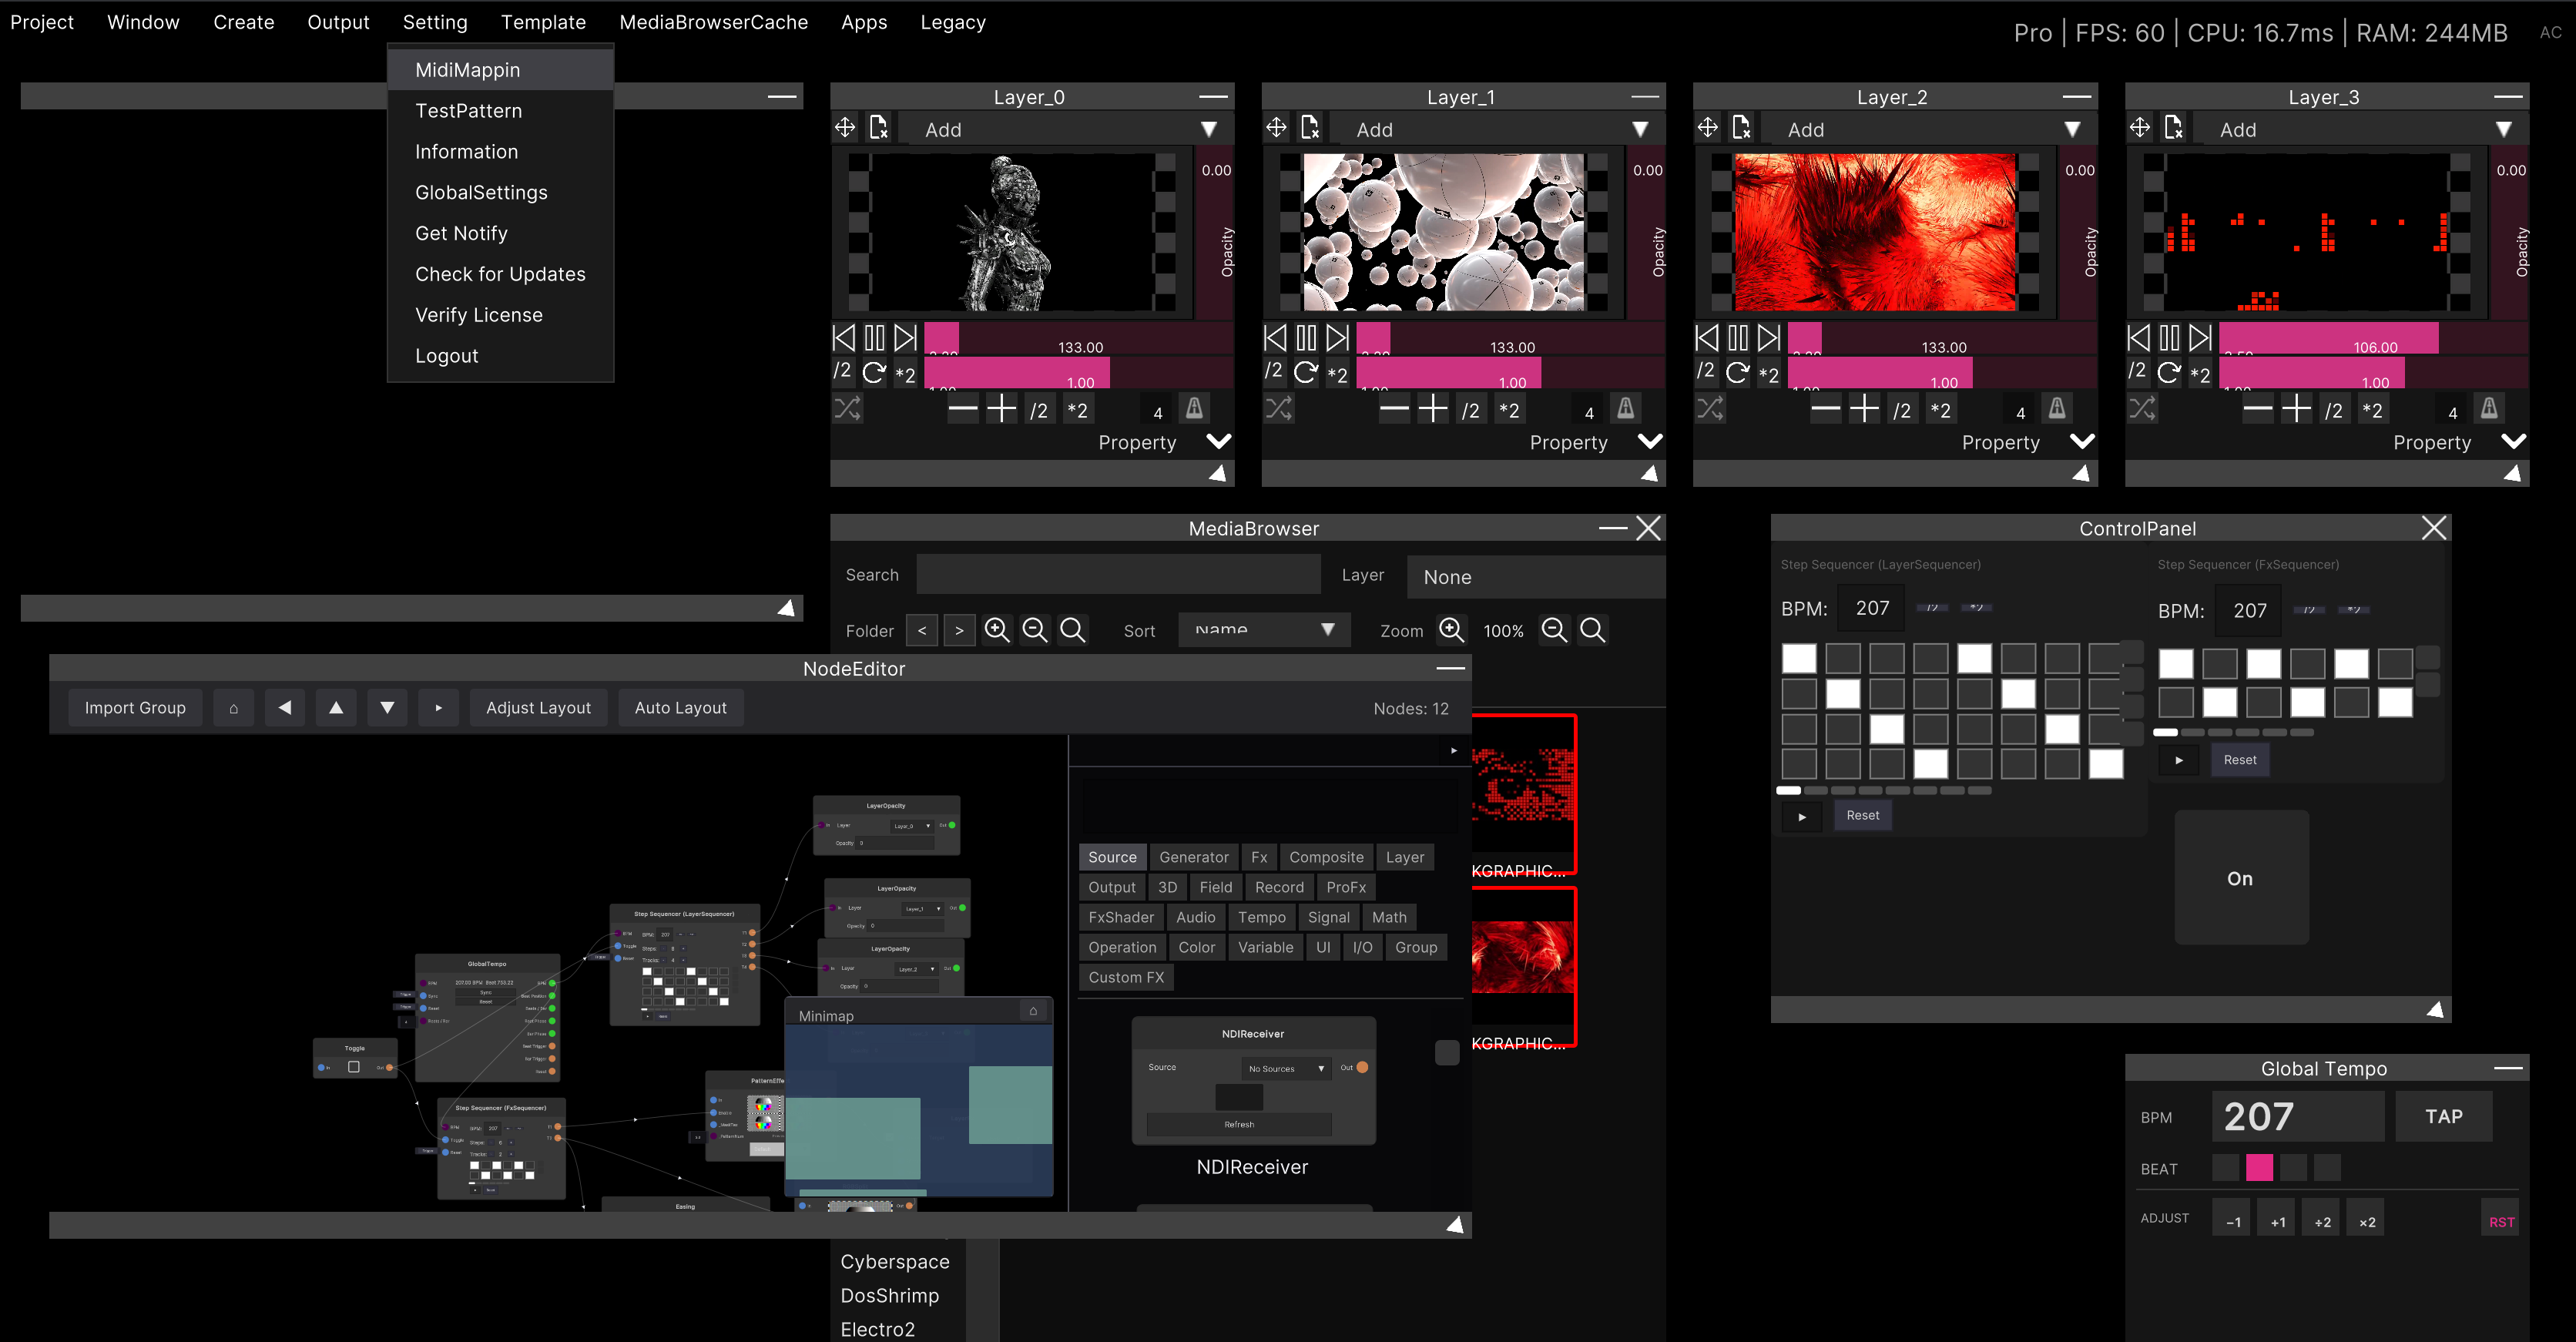
This is the on/off toggle for the mode. Turning it on:
- Covers the UI elements that can be assigned with a blue cover
- Opens the MIDI Inspector window
Anything that has not turned blue is simply not a target for assignment.
Assigning
- Click a blue UI element. If it turns red, it is selected
- In that state, turn the knob or hit the pad you want to assign
- It is done once a line is added to
Mappings:in the MIDI Inspector
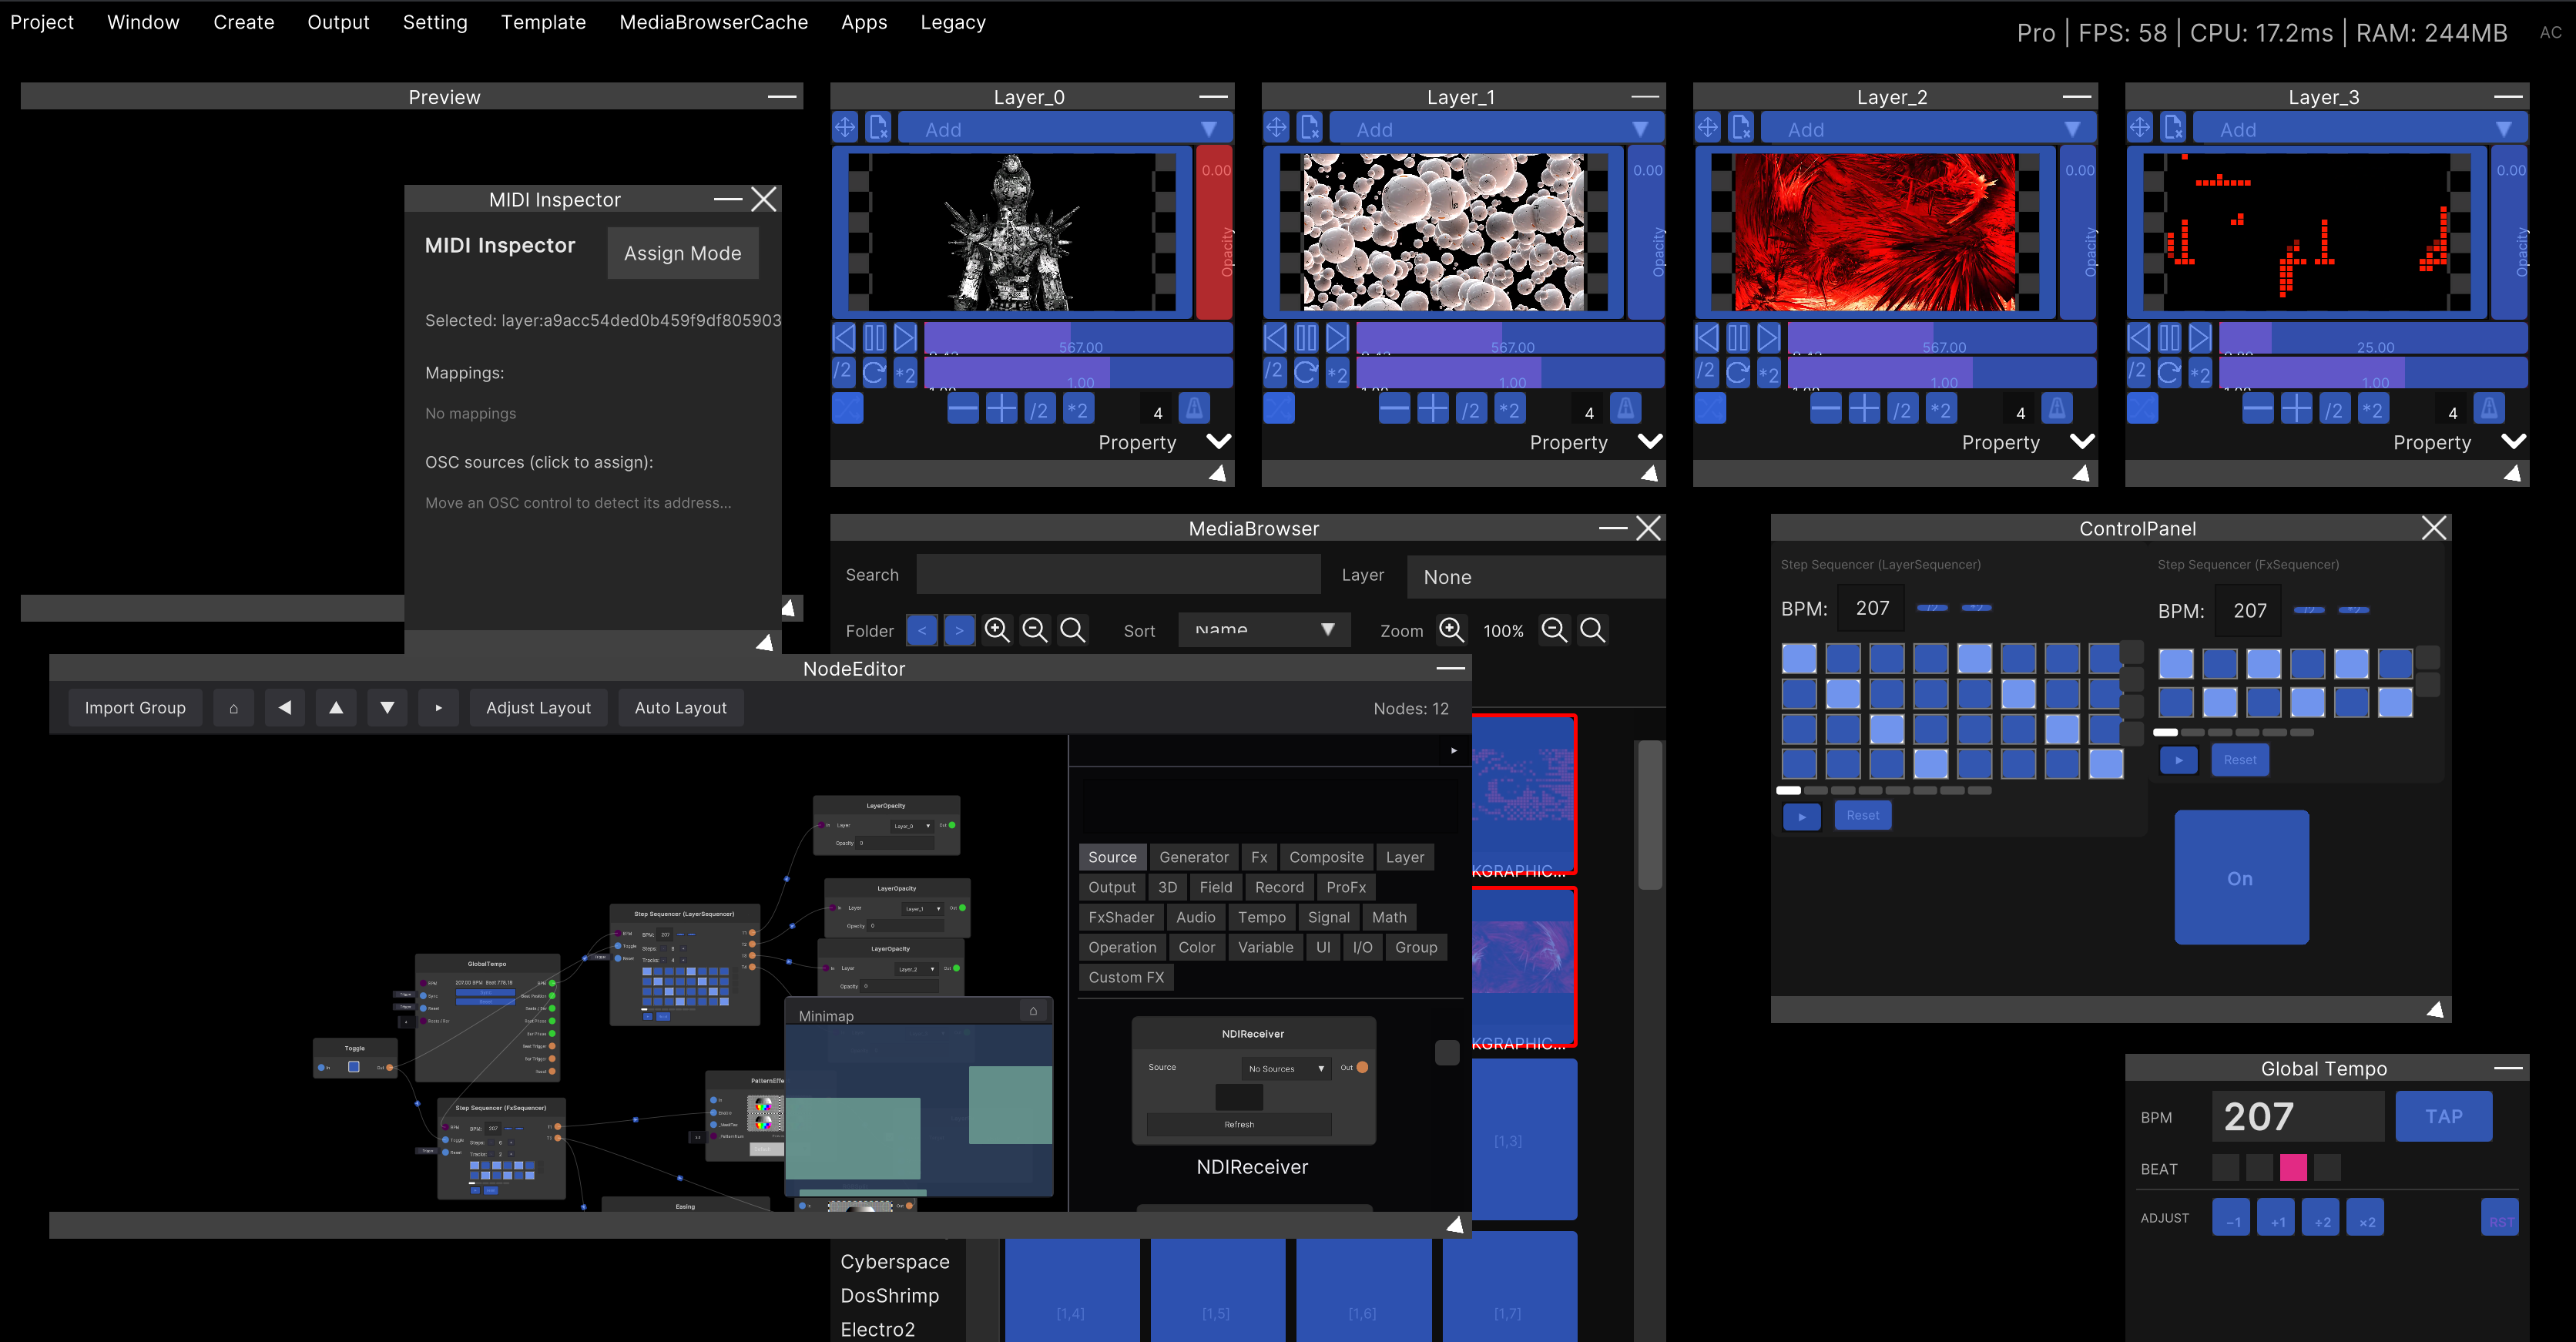
Clicking a red UI element again deselects it. Clicking a different UI element moves the selection there.
You can stack several assignments on one UI element. Move another knob while it is still selected and it is added as a second or third one (it does not overwrite). Conversely, you can assign the same knob to several UI elements and move them all at once.
Assignments are identified by channel and number only; the device name is not looked at. If two controllers send the same CC number on the same channel, moving either one moves the same UI element. The reliable approach is to turn off the devices you are not using, via the device selection described below.
How to read the MIDI Inspector
This is the window that opens during assign mode. From the top:
| Display | Content |
|---|---|
| Assign Mode (button) | Press it to leave assign mode (this window closes too) |
| Selected: | The identifier of the UI element currently selected. No selection when nothing is selected |
| Mappings: | The list of assignments already on the selected UI element. No mappings if there are none |
| OSC sources (click to assign): | The list of OSC addresses being received (see OSC input and output) |
The format of each line under Mappings: changes with the kind of signal.
| Line | Meaning |
|---|---|
CC 7 @ Ch1 | Control change 7, MIDI channel 1 |
Note 36 @ Ch1 | Note 36, MIDI channel 1 |
Key Space | The Space key on the keyboard (Keyboard mapping) |
OSC /fader [0] | The first argument of the OSC address /fader |
Channels are displayed starting from 1.
Unassigning
Pressing the × at the right end of a line removes just that assignment. There is no button to remove them all at once.
Leaving assign mode
Choose Setting → MidiMapping again, or press the Assign Mode button in the MIDI Inspector. The blue covers disappear and you are back to touching things normally with the mouse.
Closing the MIDI Inspector with × does not end assign mode. The screen stays blue, so in that case choose Setting → MidiMapping once more.
What can be assigned
| Place | Examples |
|---|---|
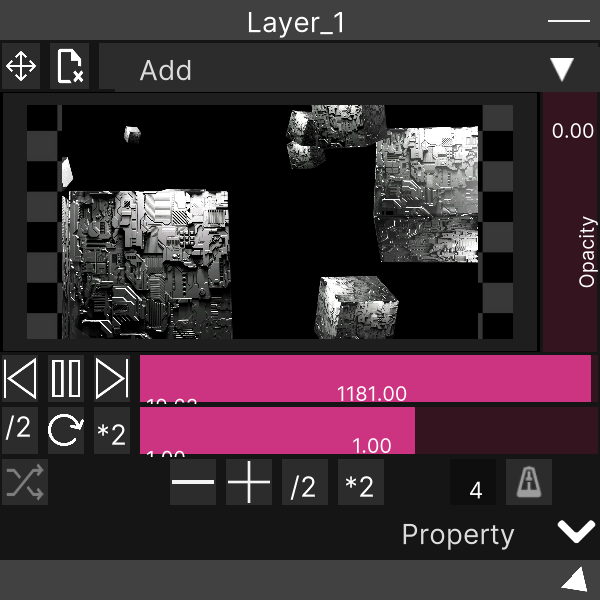
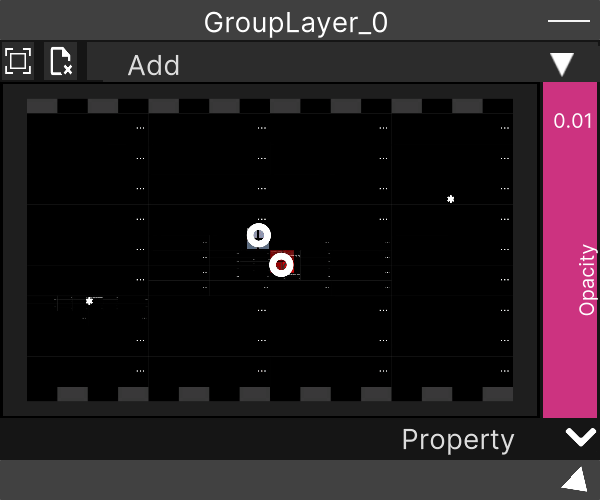
| Layer | Opacity, blend mode, play / stop, seek, ÷2 / reset / ×2 for speed, increasing and decreasing Beat, Sync, and the Preview / Stretch / FadeLoop toggles |
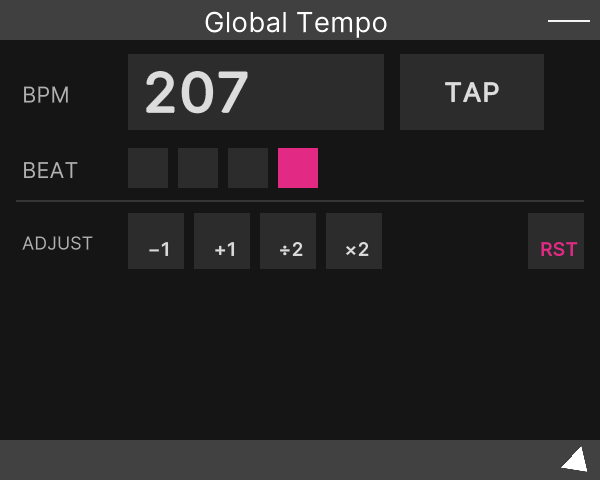
| Global Tempo | TAP / −1 / +1 / ÷2 / ×2 / RST |
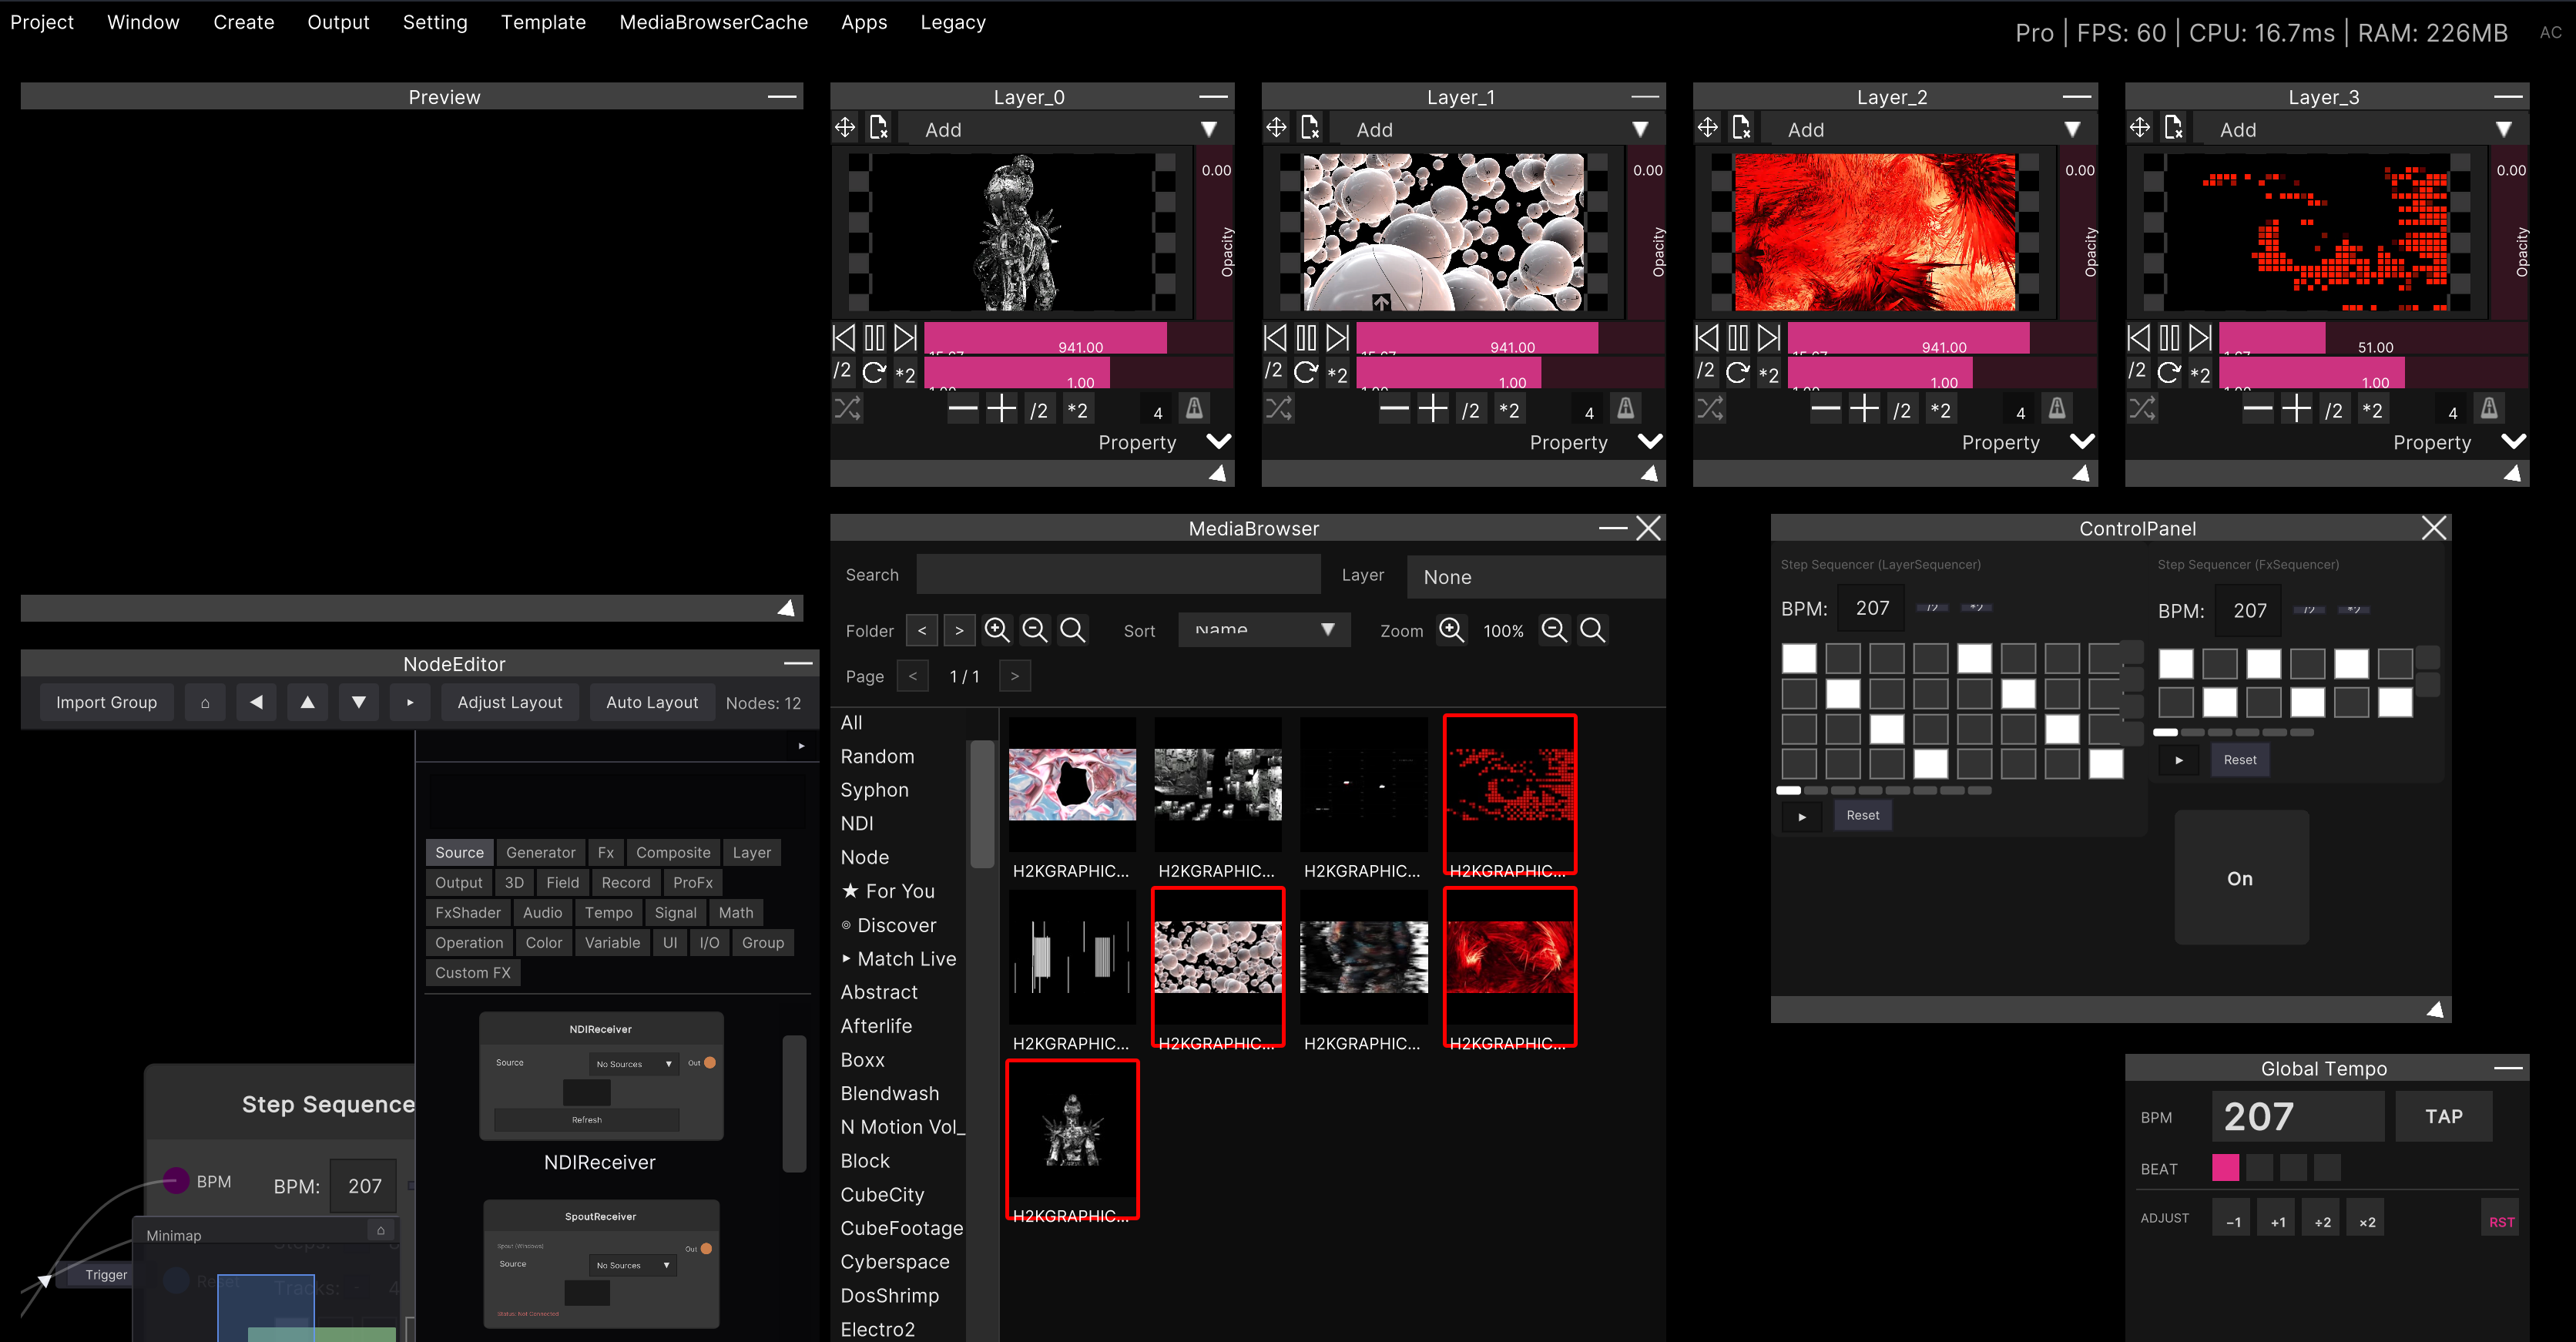
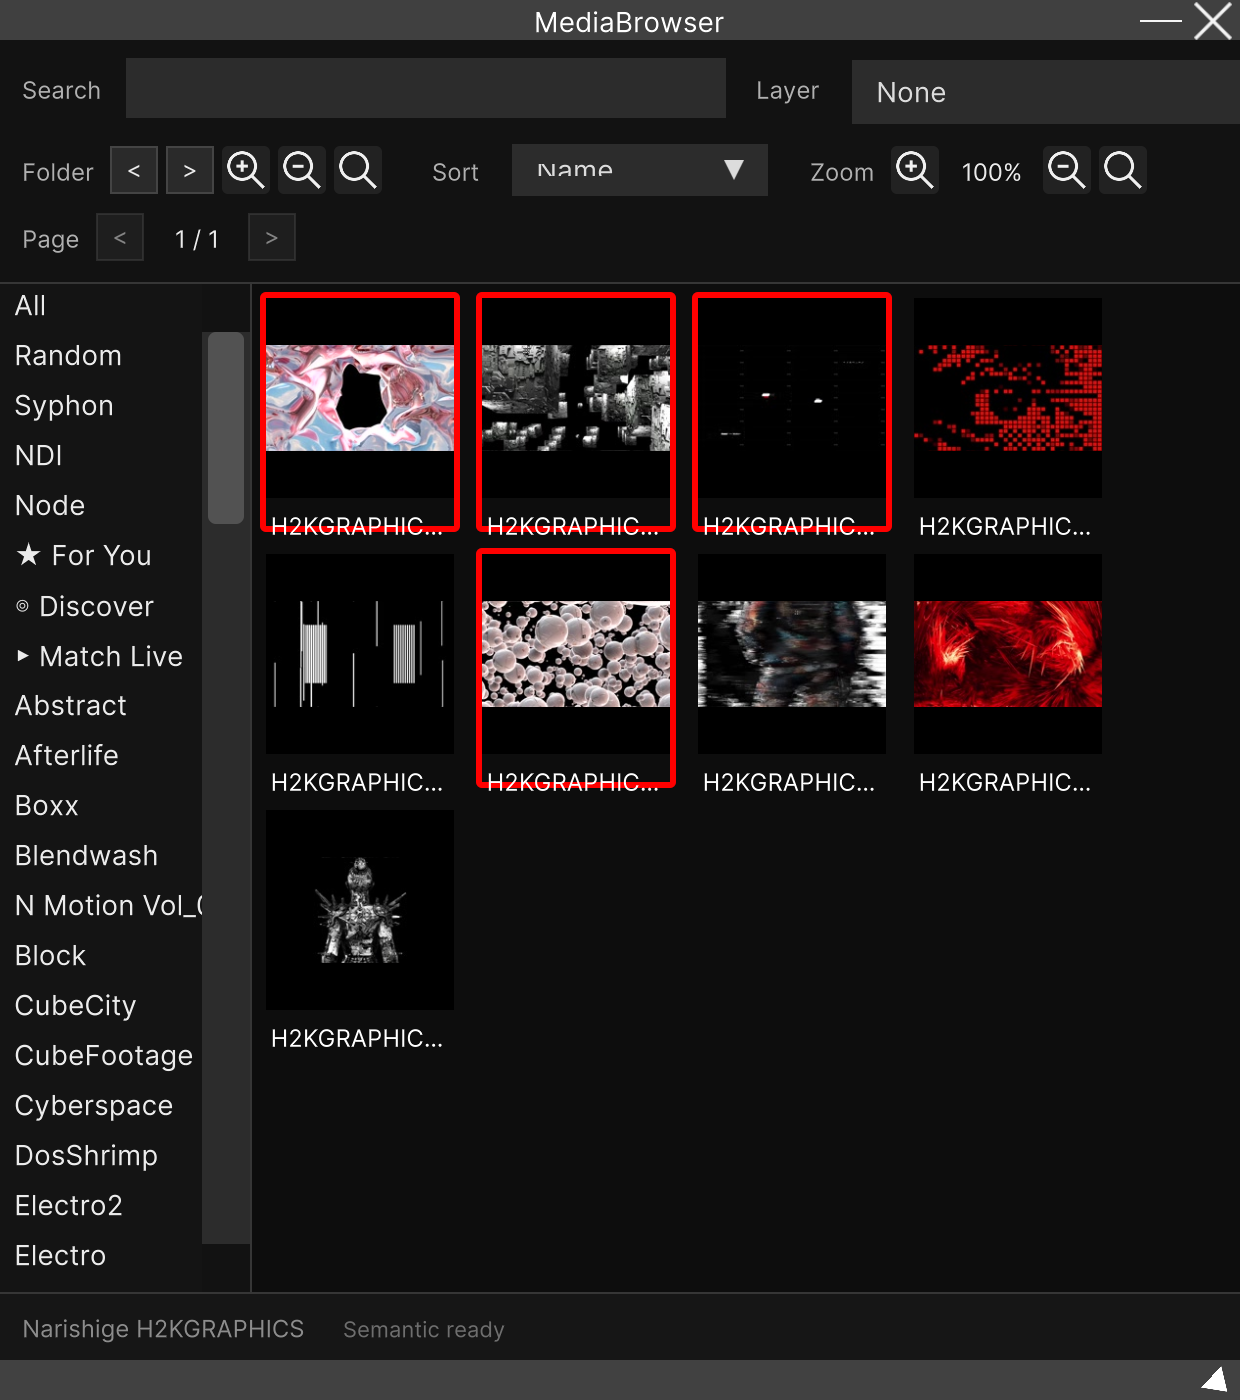
| Media Browser | Each thumbnail individually (8×8), plus previous / next folder and previous / next page |
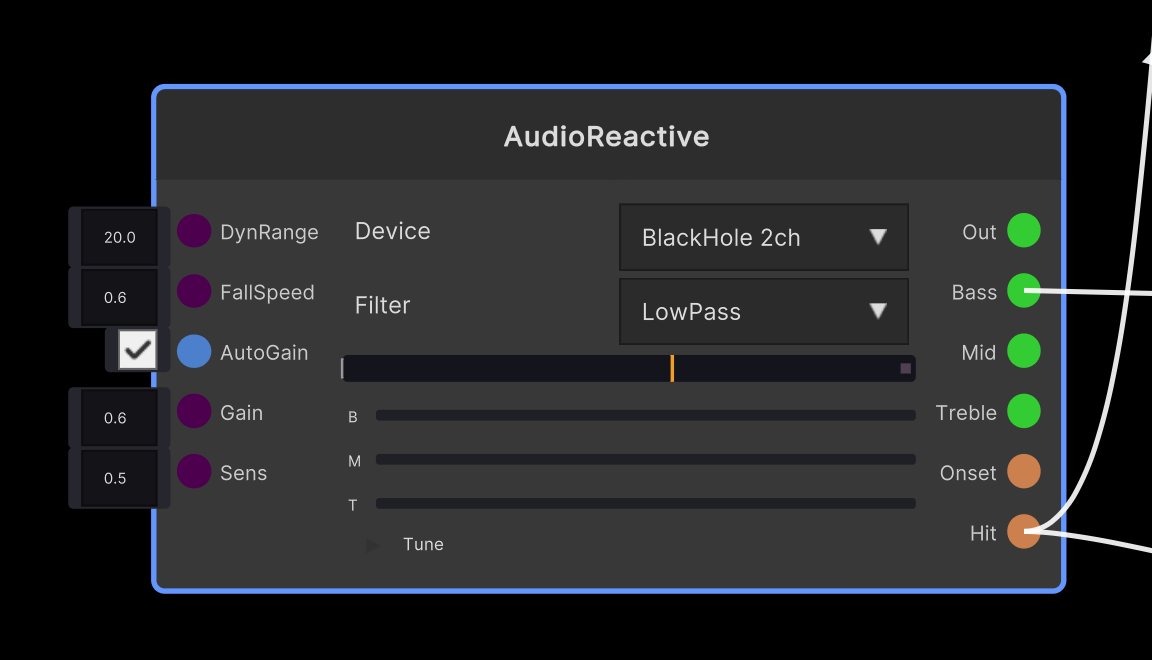
| Nodes in the Node Editor | Slider, Toggle, Button, Float, the cells and play button of Step Sequencer, and so on |
| Node UI put on a ControlPanel / Node View | A separate slot even for the same node (see the note below) |
| Widget Panel | The widgets you placed |
Even for the same node, the UI in the Node Editor and the UI on a ControlPanel are different assignment targets. The value they move is the same, so assigning it to whichever UI you normally touch is enough. There is nothing wrong with assigning both.
How values act
Knobs and faders (CC) and pads (notes) both arrive at the UI converted to 0 to 1.
| What is sent | The value the UI receives |
|---|---|
| CC 0 to 127 | 0.0 to 1.0 |
| Note on (velocity 0 to 127) | 0.0 to 1.0 |
| Note off | 0.0 |
Sliders take this value directly as their position. Buttons and toggles fire once, the moment the value crosses 0.5 from below to above (a press).
A soft hit can leave a pad unresponsive. Note velocity is also converted to 0 to 1 before being compared with 0.5, so a low velocity is not considered a press. If your controller can be set to fixed (full) velocity, that is more stable.
Assign a knob to a toggle and it switches just once as you turn it. It only looks at the moment 0.5 is crossed, so continuing to turn within the range above 0.5 does not fire it repeatedly.
Choosing which MIDI devices to use
Setting → GlobalSettings → MIDI in the menu bar.
The connected input devices are listed one per line, and any device you uncheck is ignored completely. It is the same idea as turning inputs on and off in a DAW.
| Item | What it does |
|---|---|
| The checkbox on a device name | On = receive signals from that device / Off = ignore it |
| Rescan Devices | Fetches the device list again right now |
| No MIDI input devices | The display when no input device has been found at all |
Plugging and unplugging devices is also picked up automatically and periodically. Press Rescan Devices when you have plugged something in and it does not appear.
Connect two of the same model and the second one onward gets a
#2on its name. This is a measure for when the names would otherwise be identical and indistinguishable. The order can change with plugging and unplugging, so with a two-device setup it is easier to check with just one of them plugged in.
This device on/off is saved on the machine rather than in the project. Device names differ from one environment to another, so handing your
.synapseto someone else does not carry this setting with it.
Assigning a grid of pads all at once
The thumbnails of the Media Browser are handled as an 8×8 grid, so you can lay the surface of a pad controller straight onto it.
- Entering assign mode puts a frame labeled
[row,column]even on cells with no thumbnail - Select the top-left cell
[0,0]and hit the top left of your pads - A dialog asks for the grid size; choose from 4×4 / 4×8 / 8×4 / 8×8
- Follow the instructions and hit the other three: top right → bottom left → bottom right
- The remaining cells are calculated from the layout of the four corners and assigned all at once
Leaving with Cancel partway through leaves only the single [0,0] you hit first.
Hit the four corners on the same channel and with the same kind of signal. A different channel, or mixing up CC and notes, is ignored and not recorded as the next corner.
This bulk assignment is for MIDI pads only. Assigning
[0,0]from a keyboard or from OSC does not bring up the grid dialog.
How it is saved
Assignments are saved together with the project (.synapse).
Layer assignments are saved with the layer, node assignments with that node, and the MediaBrowser’s
grid with the MediaBrowser — each as the possession of the thing it belongs to — so reopening the
project brings them straight back.
The only thing left on the machine side (settings.json) is the list of MIDI input devices you
disabled.
Related
- Keyboard mapping — assigning keys in the same assign mode
- OSC input and output — assigning OSC from the same MIDI Inspector
- Widget Panel — assigning MIDI to a control screen you laid out yourself