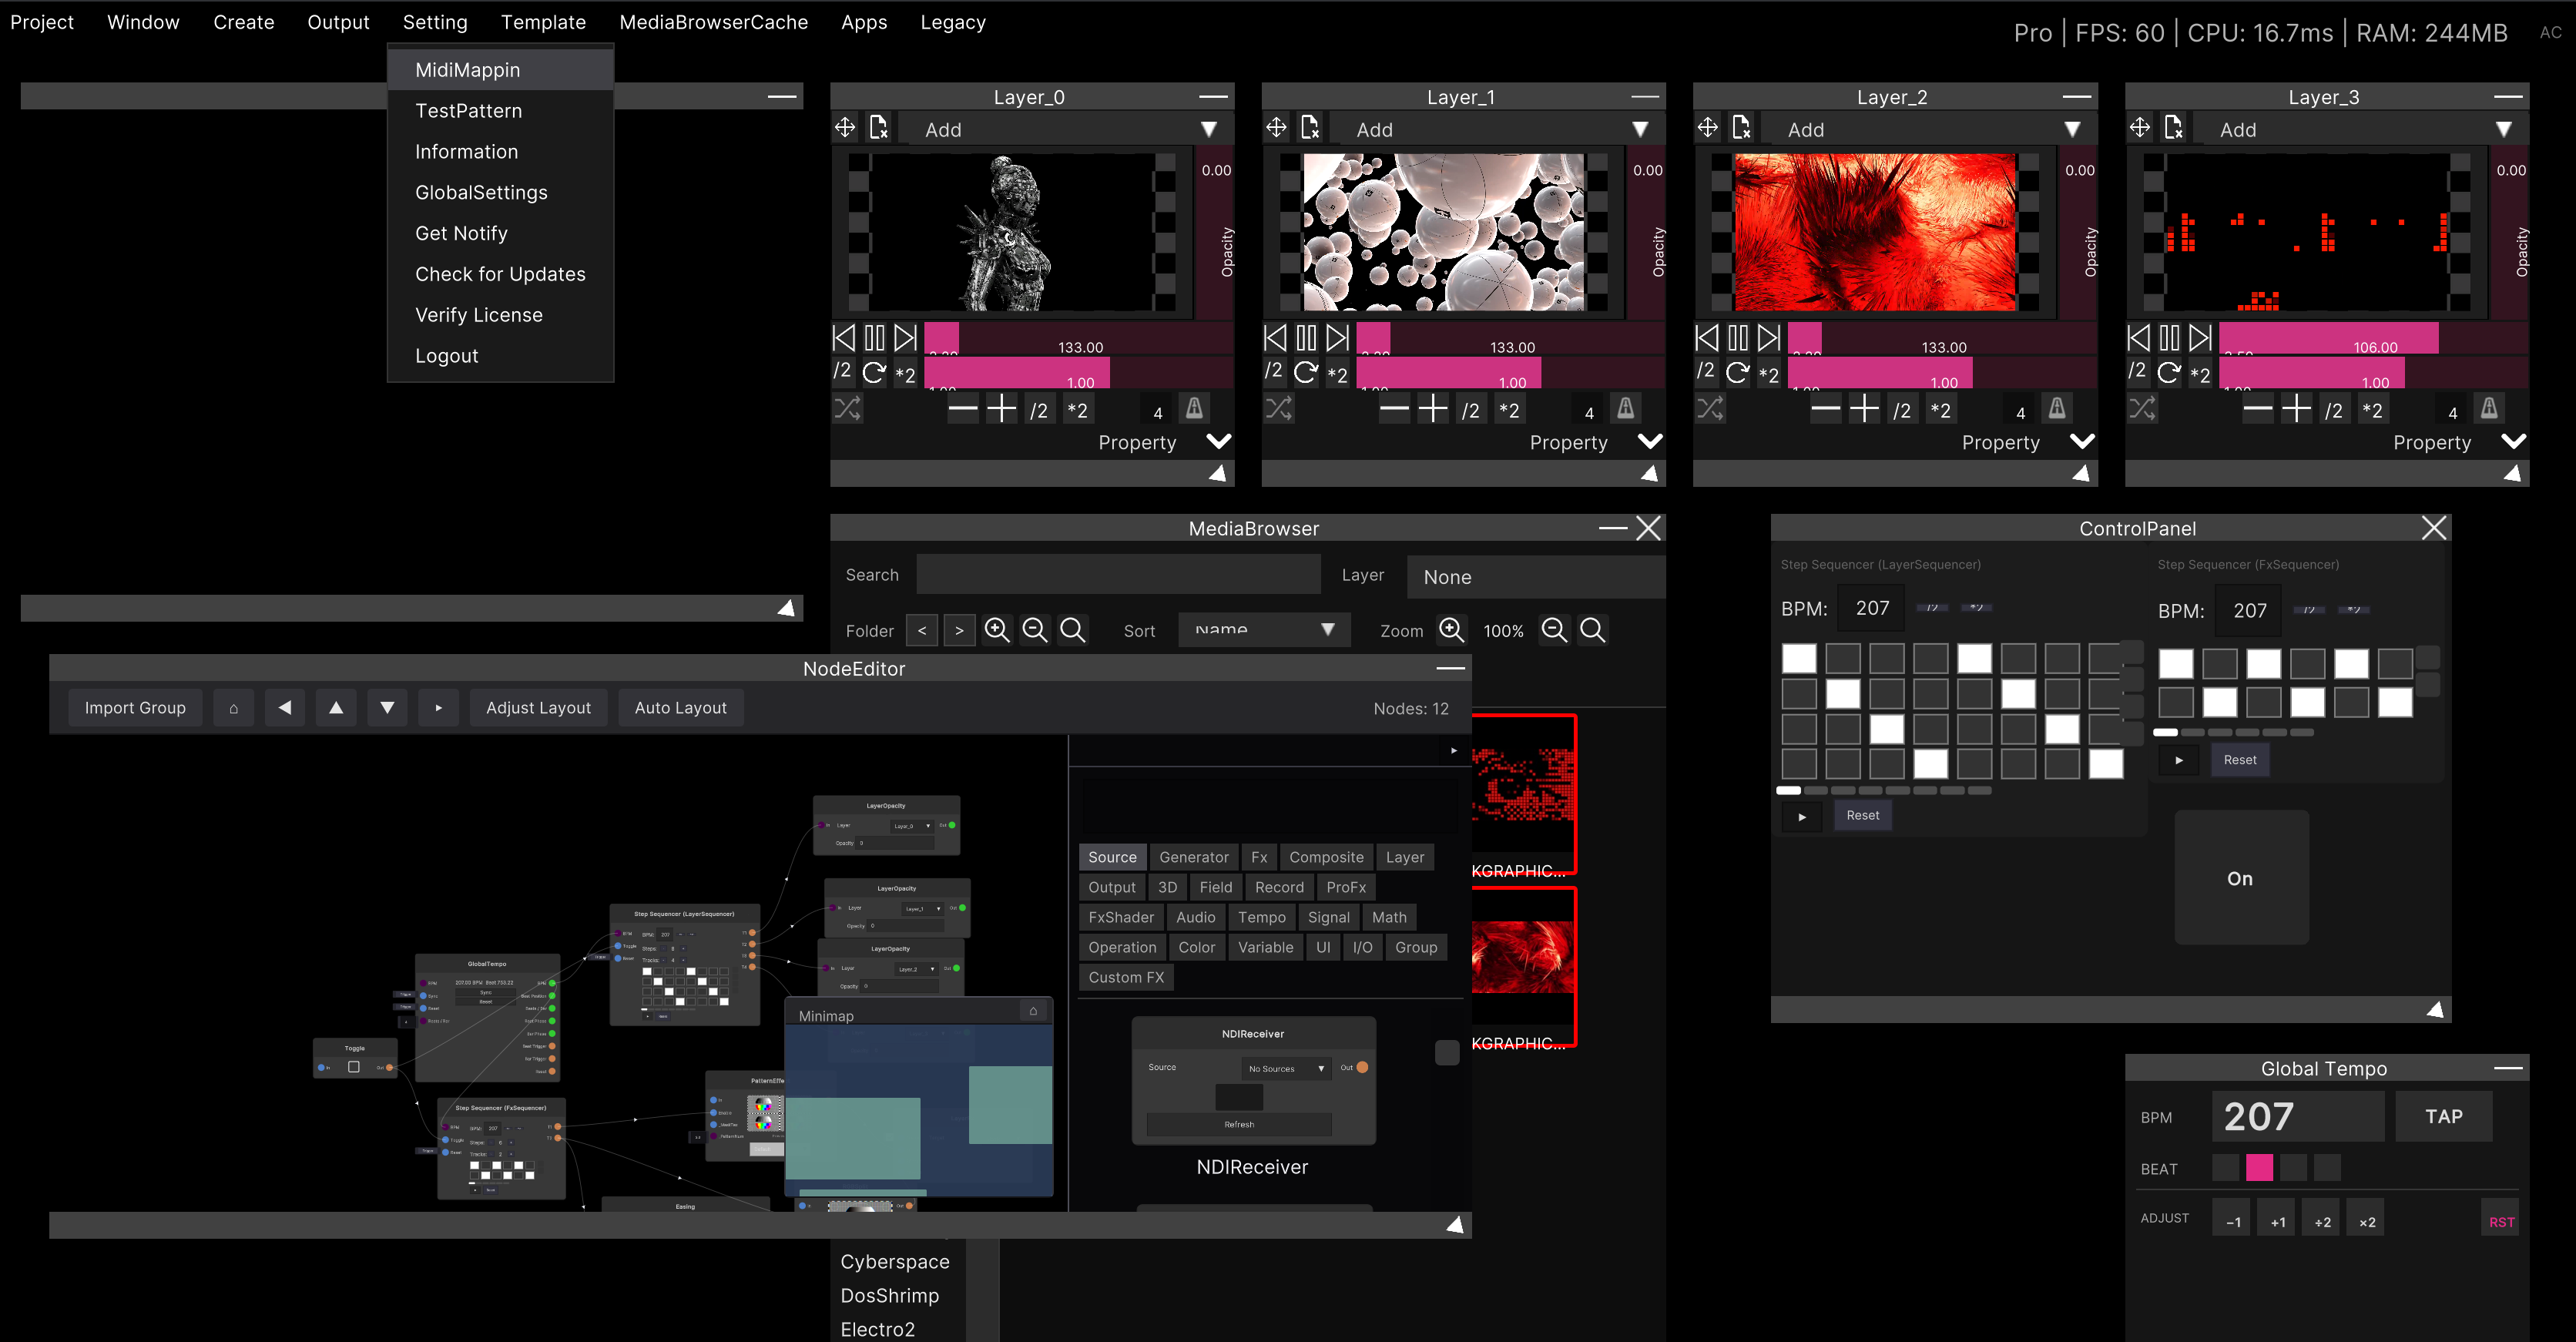
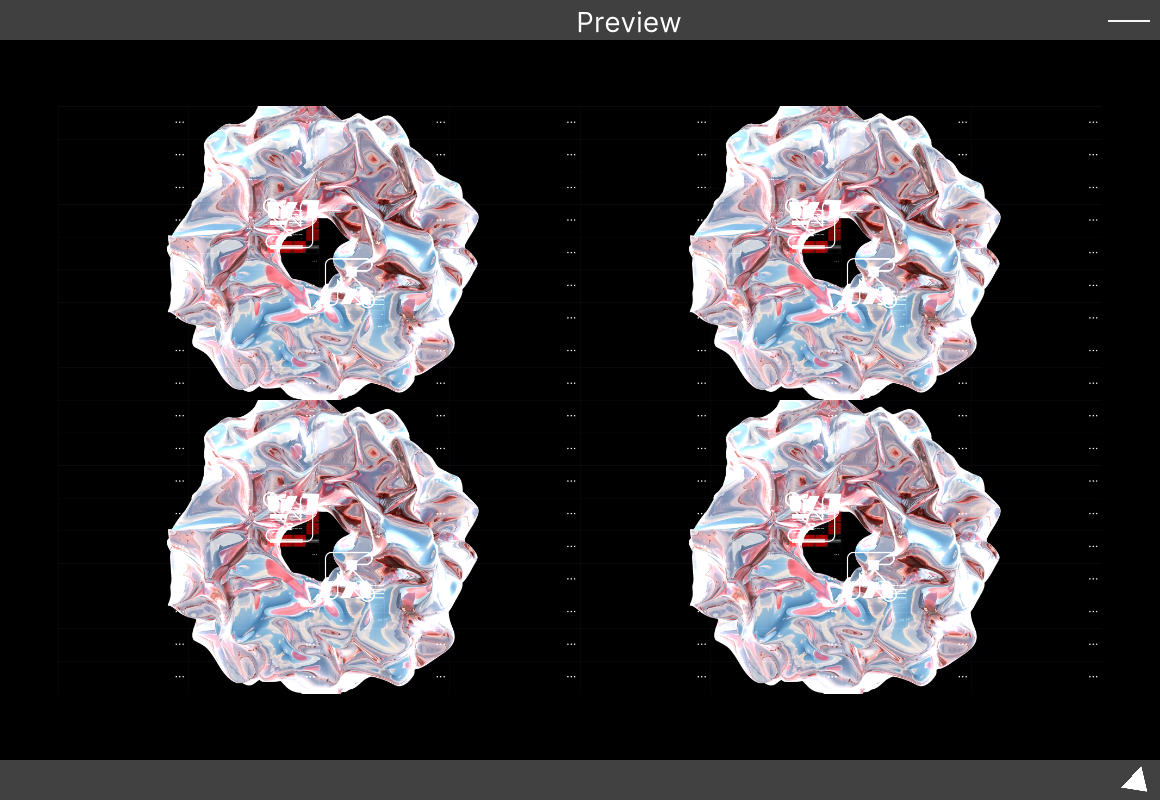
Let's VJ with a 4-layer setup!
SynapseRack has VJ material loaded from the moment you launch it, and you can start moving things right away. In this tutorial, we use the bundled template to go through “play it → swap in your own material → match it to the music → apply effects → drive it by hand → save it”. By the end you should be able to see that everything you need from a VJ application is in here.
Launching
At startup a template project for a 4-layer setup and VJ material are loaded, so you can enjoy VJing immediately (if they are not loaded, use Template → 4Layer Template in the menu).
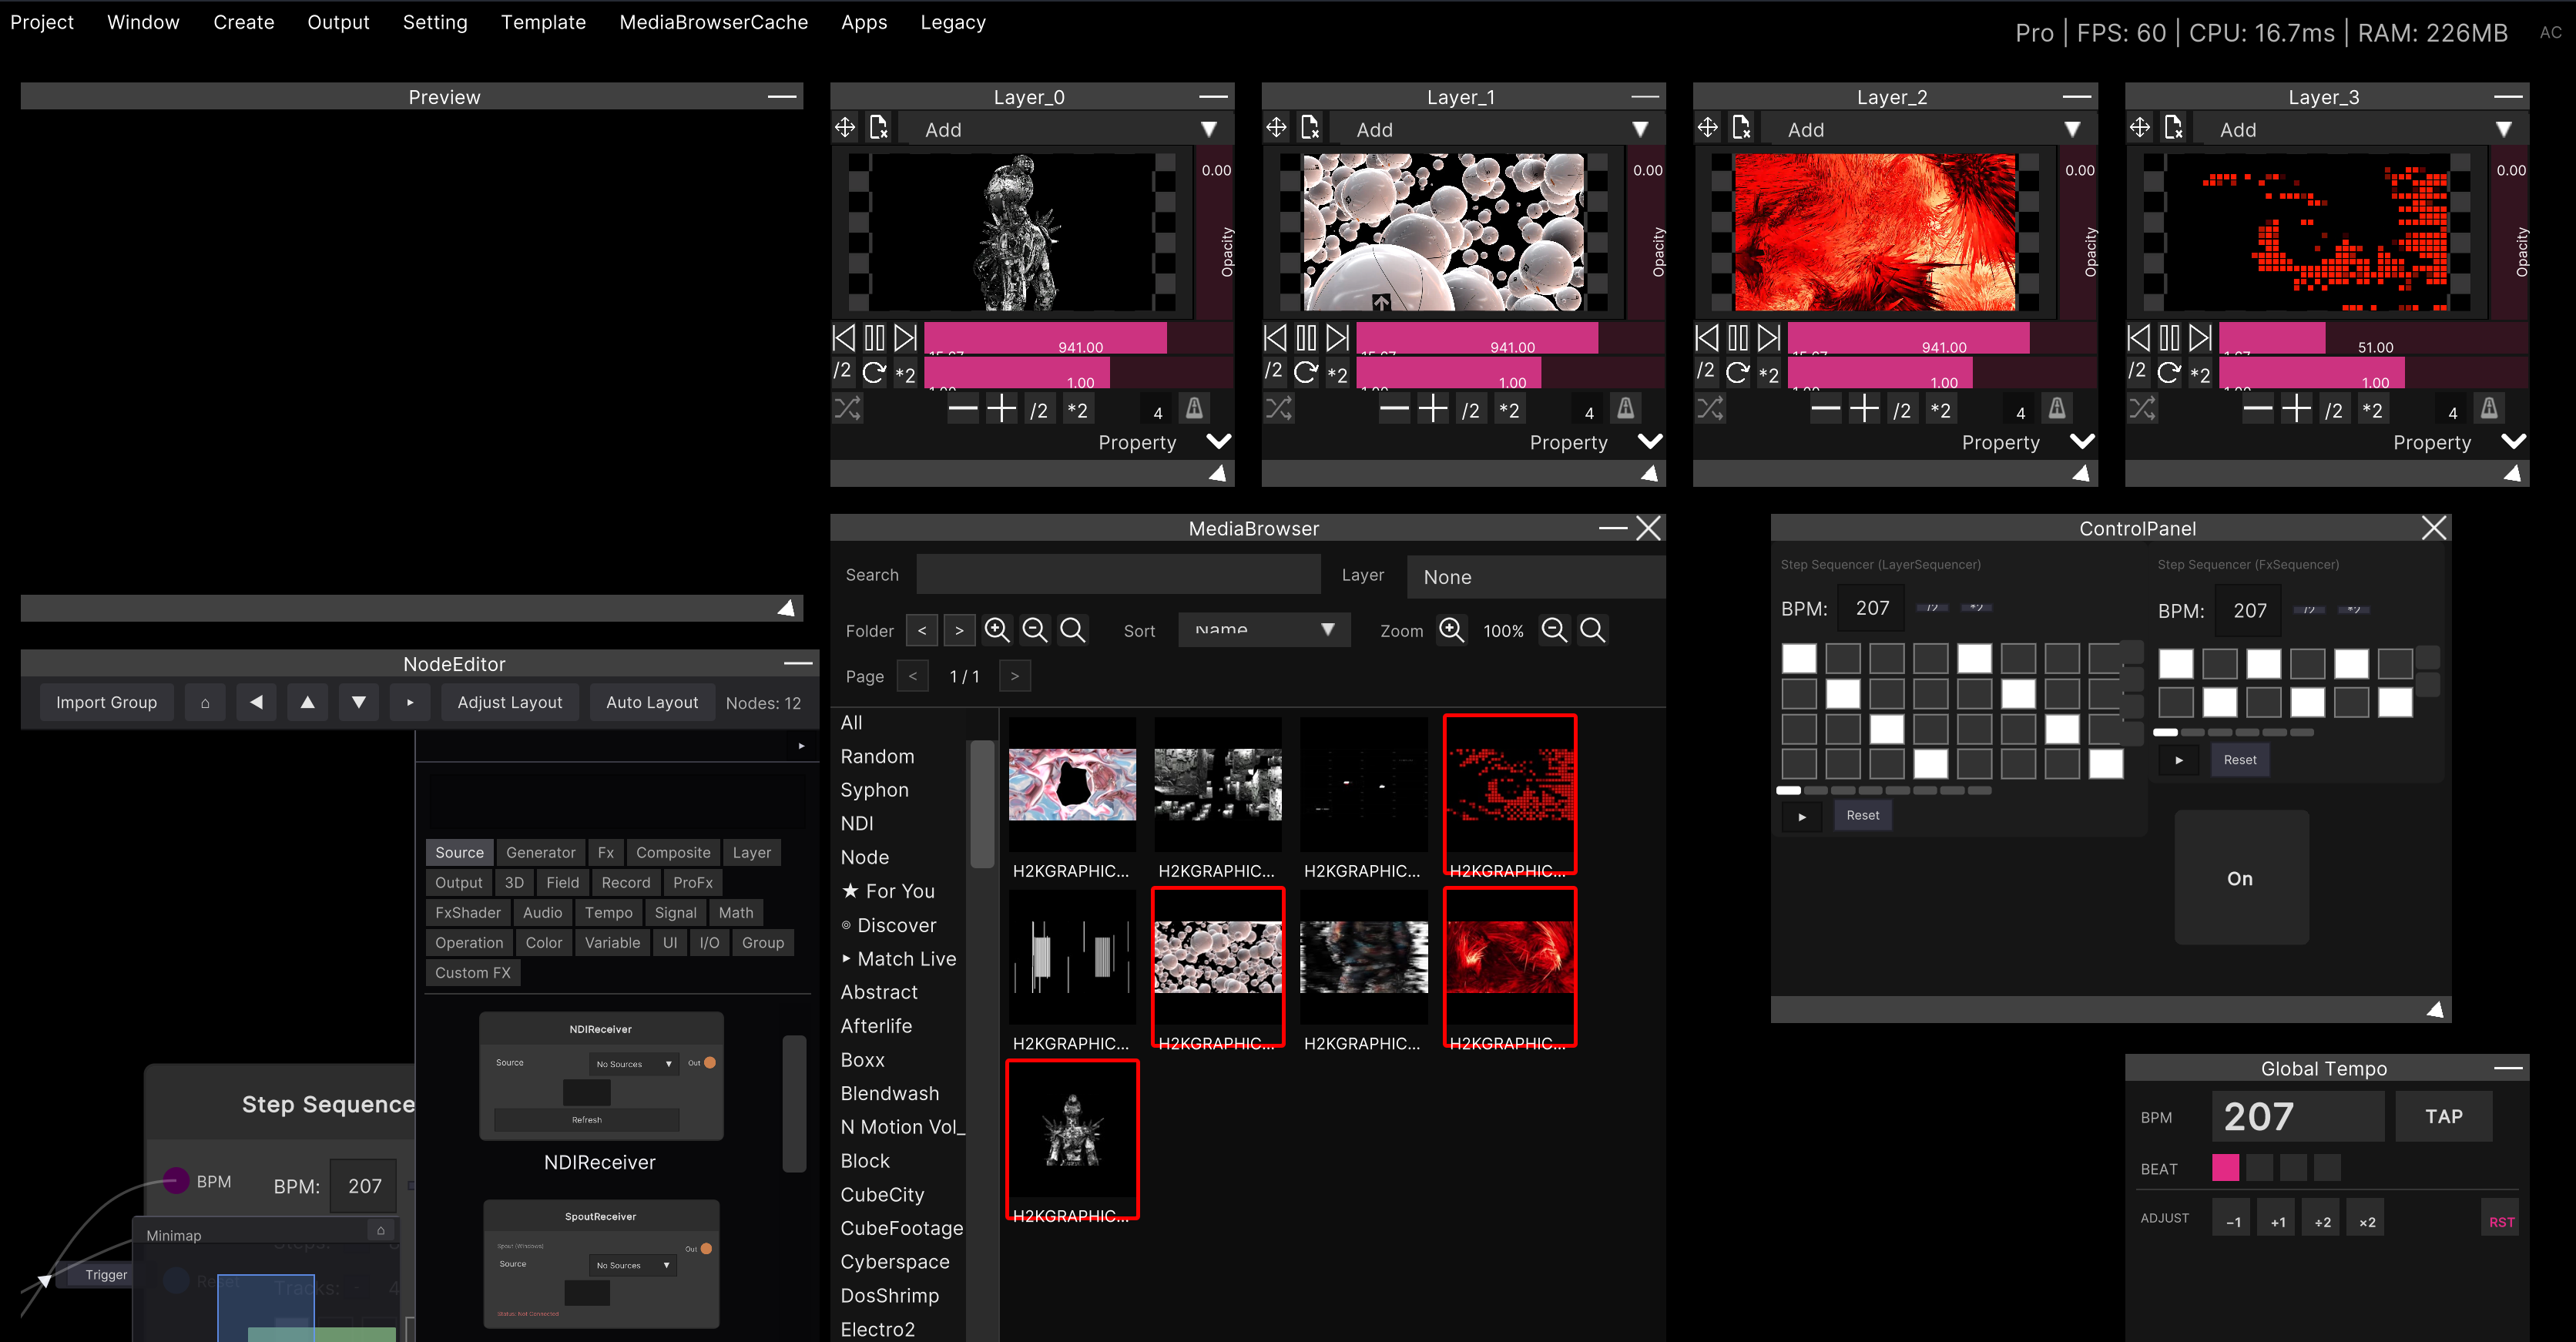
These six are the leads on screen.
| Place | Role |
|---|---|
| Preview | The final output (the picture the audience sees) |
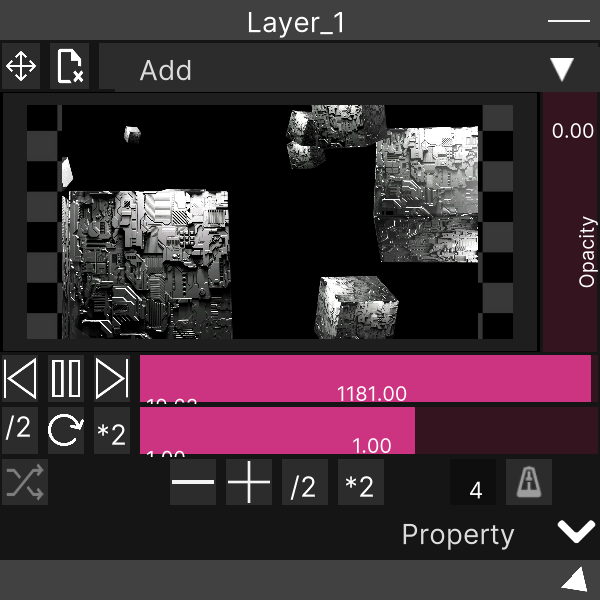
| Layer_0 to 3 | Four layers. You put video in here and stack them |
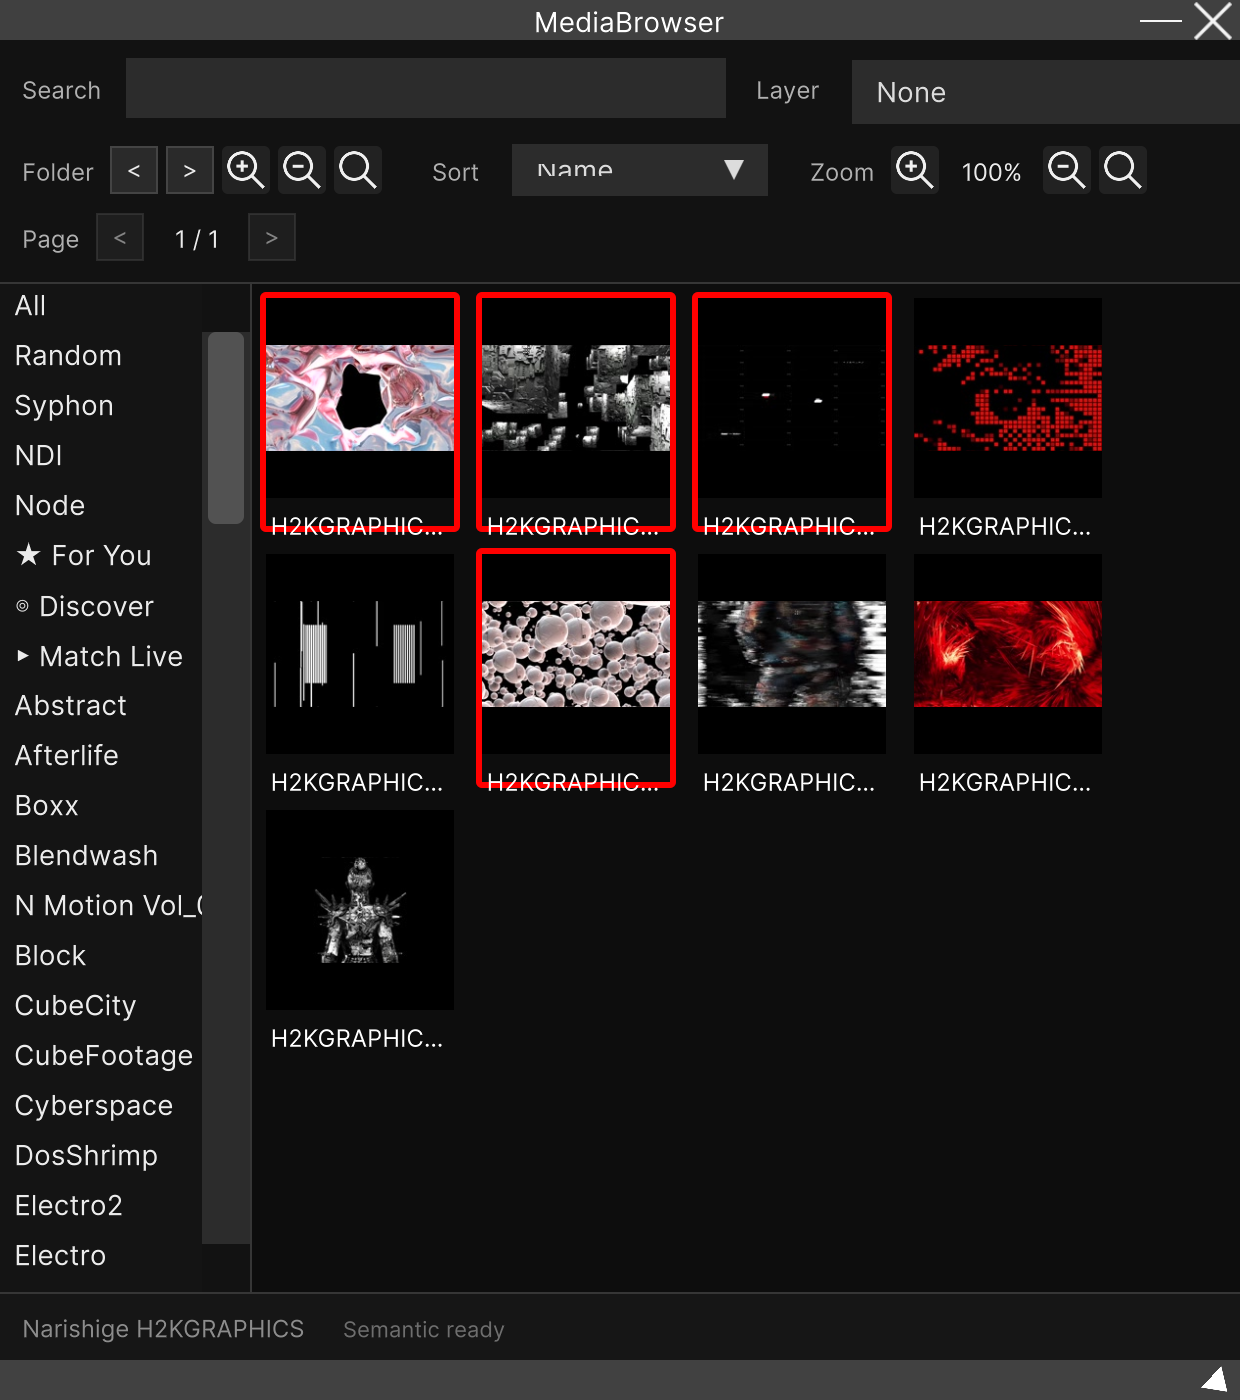
| MediaBrowser | The library of material. The VJ material for the template is in it from the start |
| Widget Panel | The panel for performing. A Step Sequencer and an “On” button are placed on it |
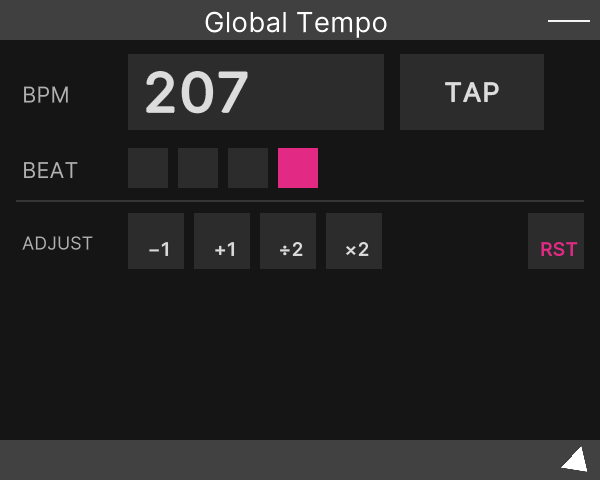
| Global Tempo | Where you match the BPM of the track |
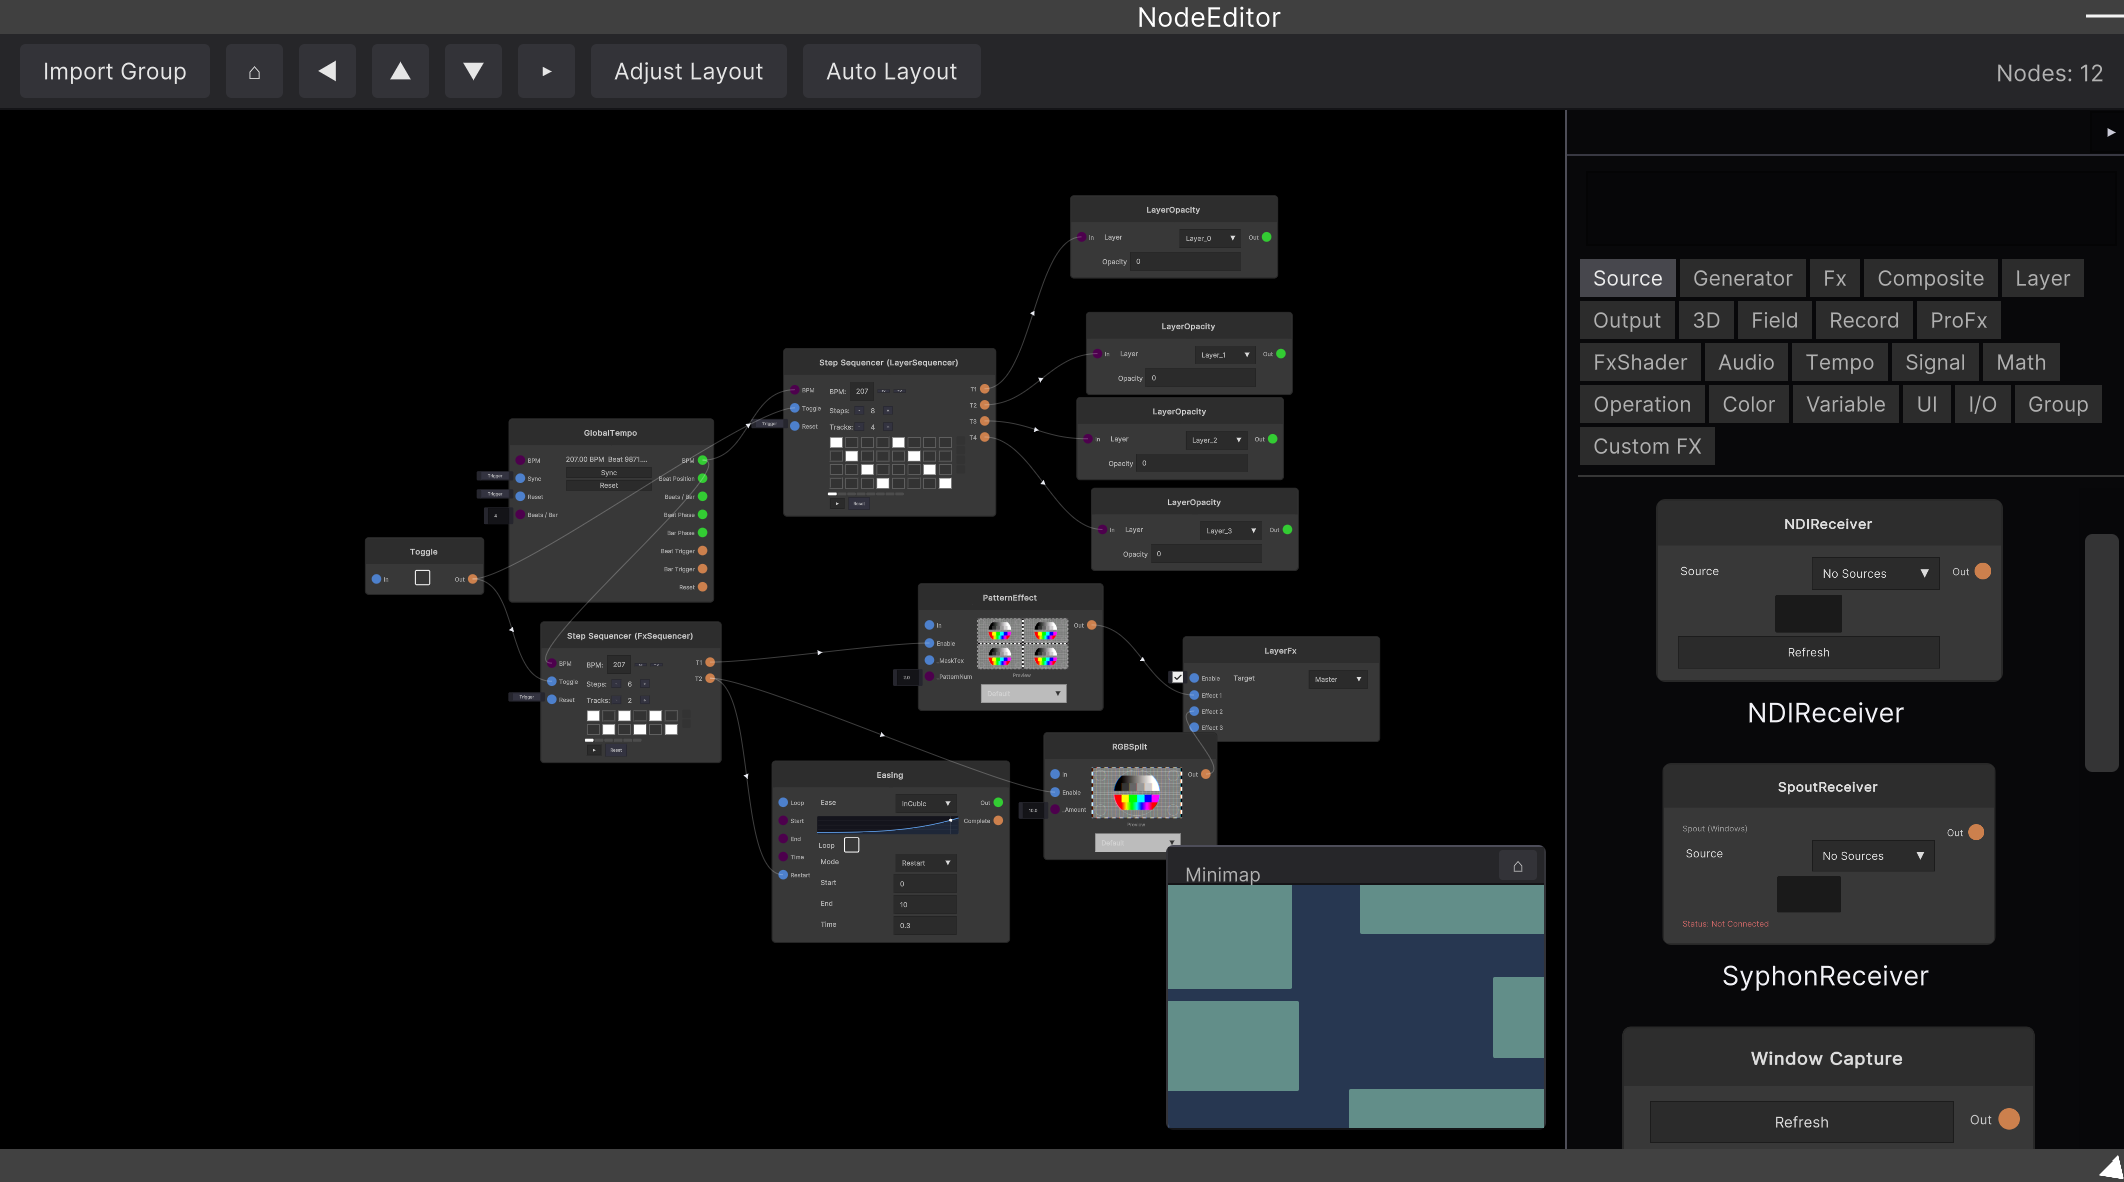
| NodeEditor | The insides of this setup (we look in later) |
First press “On” on the Widget Panel. The four layers start switching in time with the beat, and the effects start moving at the same time. This On is a toggle that starts both Step Sequencers — the one for switching layers and the one for effects — together, and it is the heart of this setup.
Swapping in your own material
There are two ways to get material in.
① Drop it straight onto a layer — drag & drop a video file onto a Layer’s preview surface and
playback starts on the spot (the material is imported automatically into the Temp folder of
the MediaBrowser). When you just want to get a particular video up, this is the fastest.
② Drop it onto the MediaBrowser — drag & drop a whole folder onto the MediaBrowser and it is organized as a library. Click a thumbnail and it is assigned to the selected layer.
Material is not copied; only a reference to the original file is registered. Moving the file makes it MISSING, so see Loading video and image files for details. Natural language search is available too, where you type words like “red” or “tunnel” into the search box to find things.
Matching the music
Tap TAP on Global Tempo four times along with the track. Once the BPM matches, the Step Sequencer’s switching and any tempo-synced effects all follow that speed. Fine adjustment is -1 / +1, and if the downbeat is off you can line it up again with RST.
For how tempo works, see Global Tempo. When you want to change the switching pattern, you can rewrite it by clicking the cells of the Step Sequencer on the Widget Panel.
Applying effects
The On you pressed earlier is already firing effects in time with the beat (the Step Sequencer on the FxSequencer side is hitting them). When you want to change how they apply, click the cells of each Step Sequencer on the Widget Panel to rewrite the pattern.
The true identity of these effects is inside the NodeEditor.
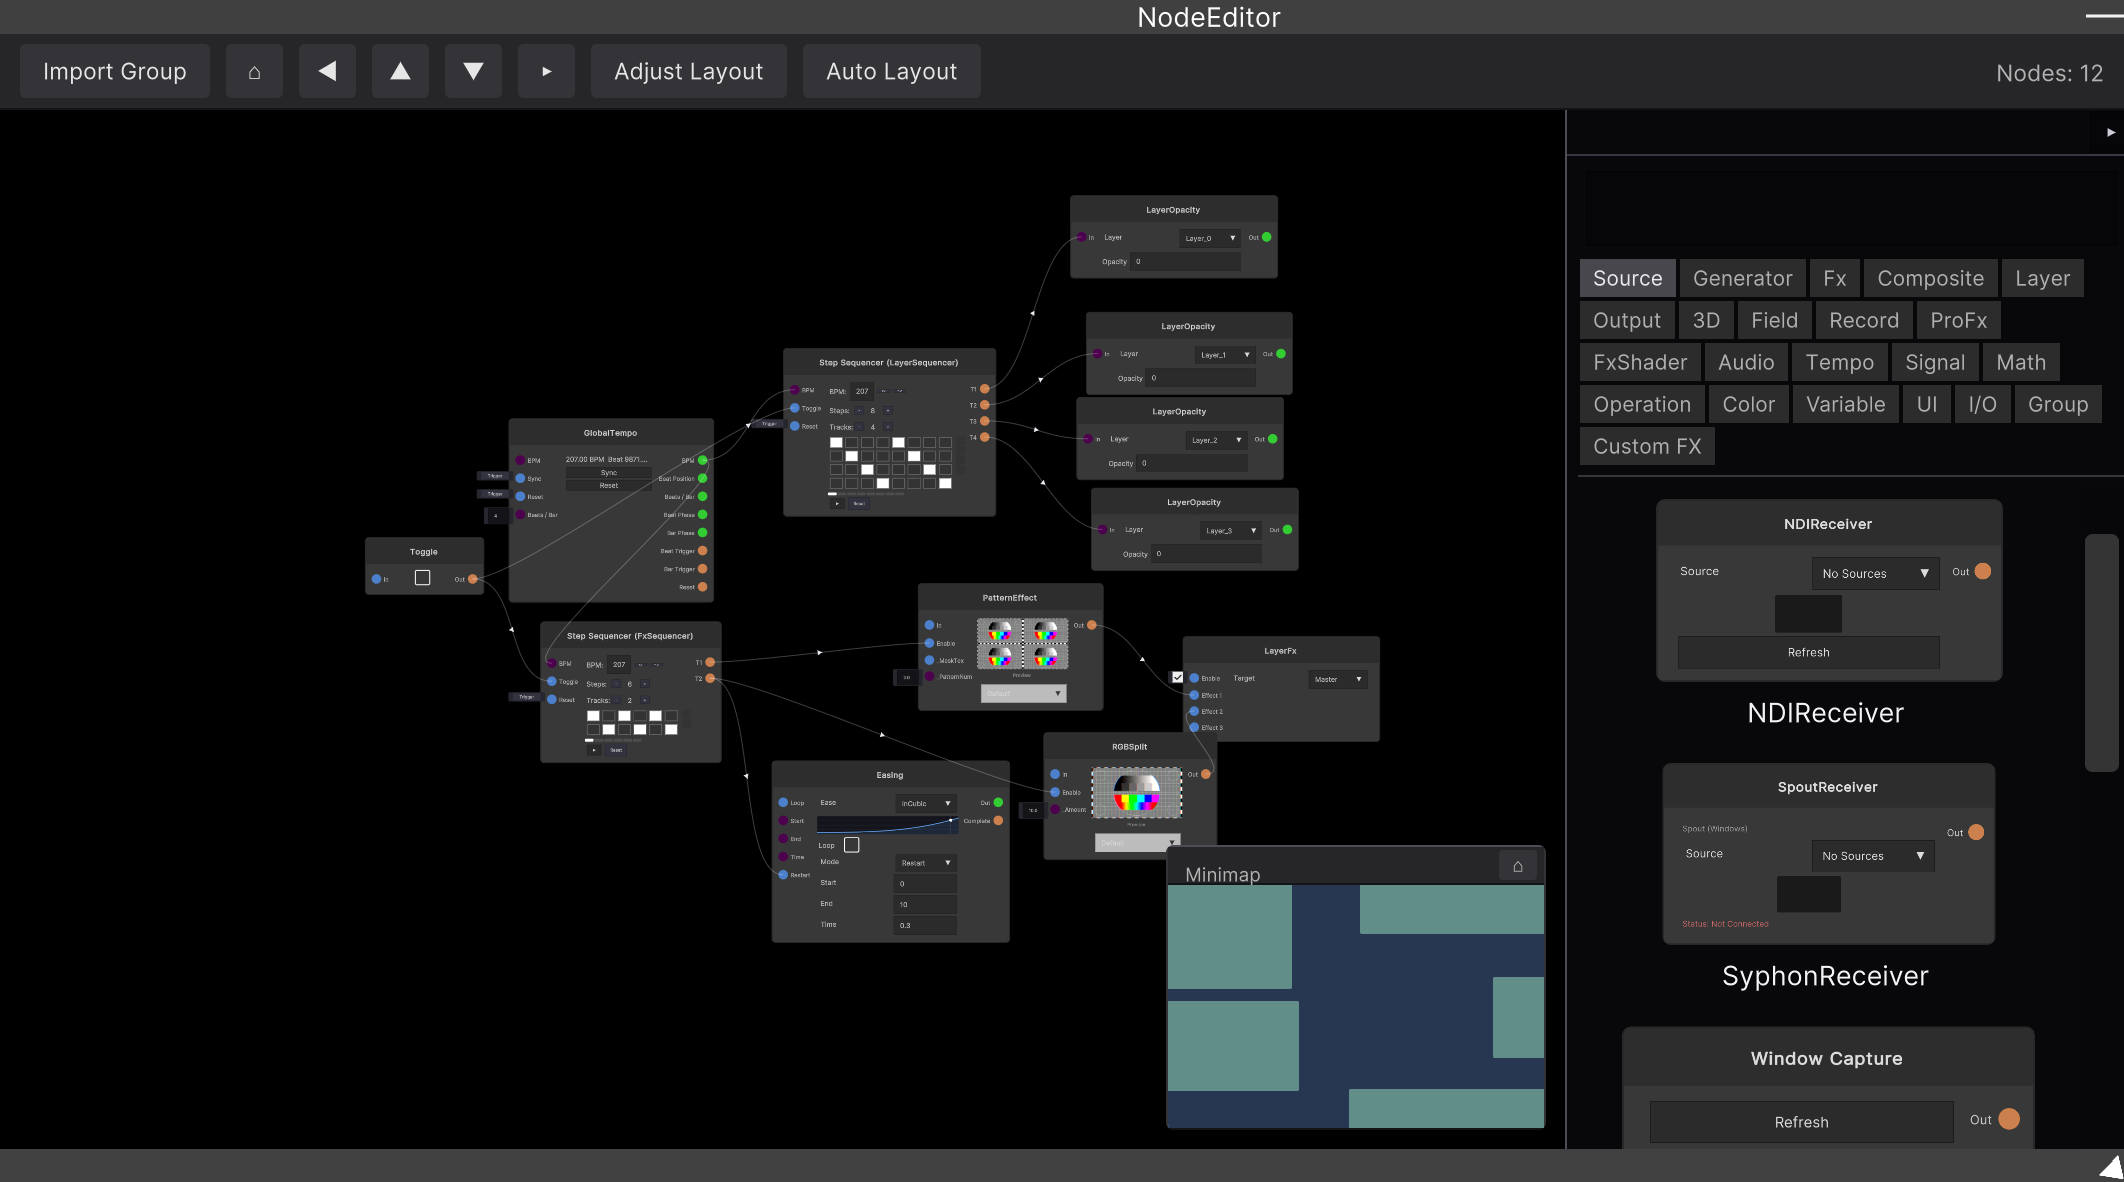
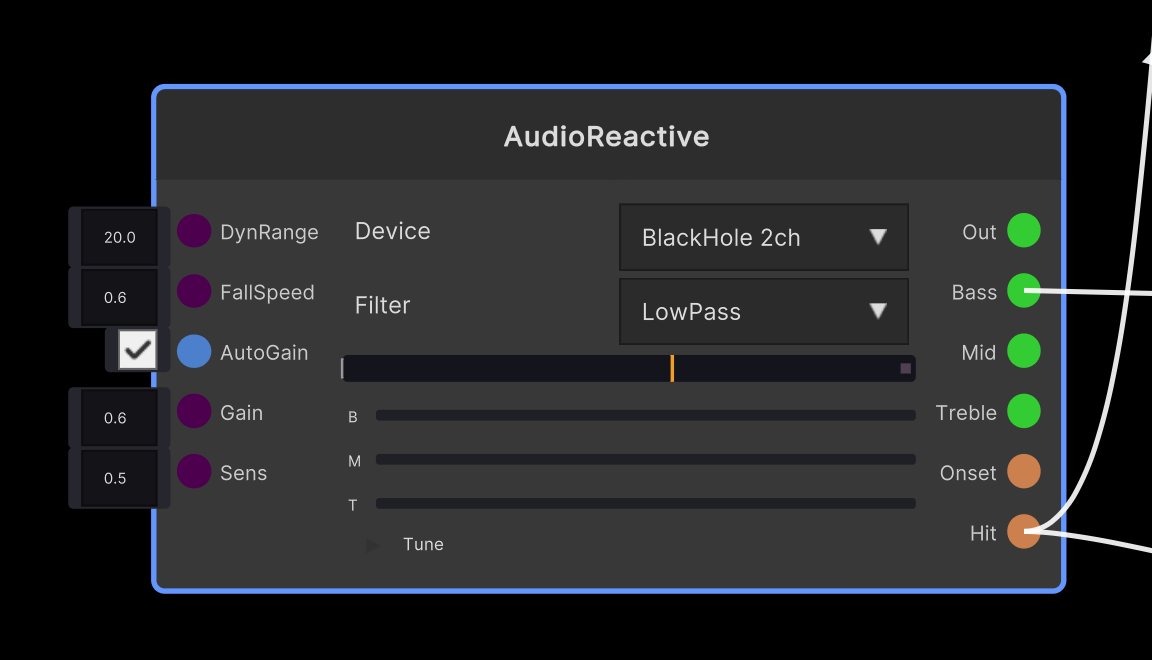
GlobalTempo drives the Step Sequencer, and its output is connected to layer opacity (LayerOpacity) and effects (LayerFx) — that is all there is to the setup. This is the heart of SynapseRack, and you can rewire all of it yourself. Swap the effects out, wobble them with an LFO, make them react to sound with AudioReactive. Every kind of node is in the catalog.
Driving it by hand
Drag a layer’s vertical fader (Opacity) and you can drive how that layer looks by hand.
If you have a MIDI controller, you can assign it to almost every control.
- Choose Setting → MidiMapping in the menu and the UI that can be assigned turns blue
- Click the UI you want to assign (for example a layer’s Opacity) and it turns red
- Move a knob or fader on the controller in that state and it is bound
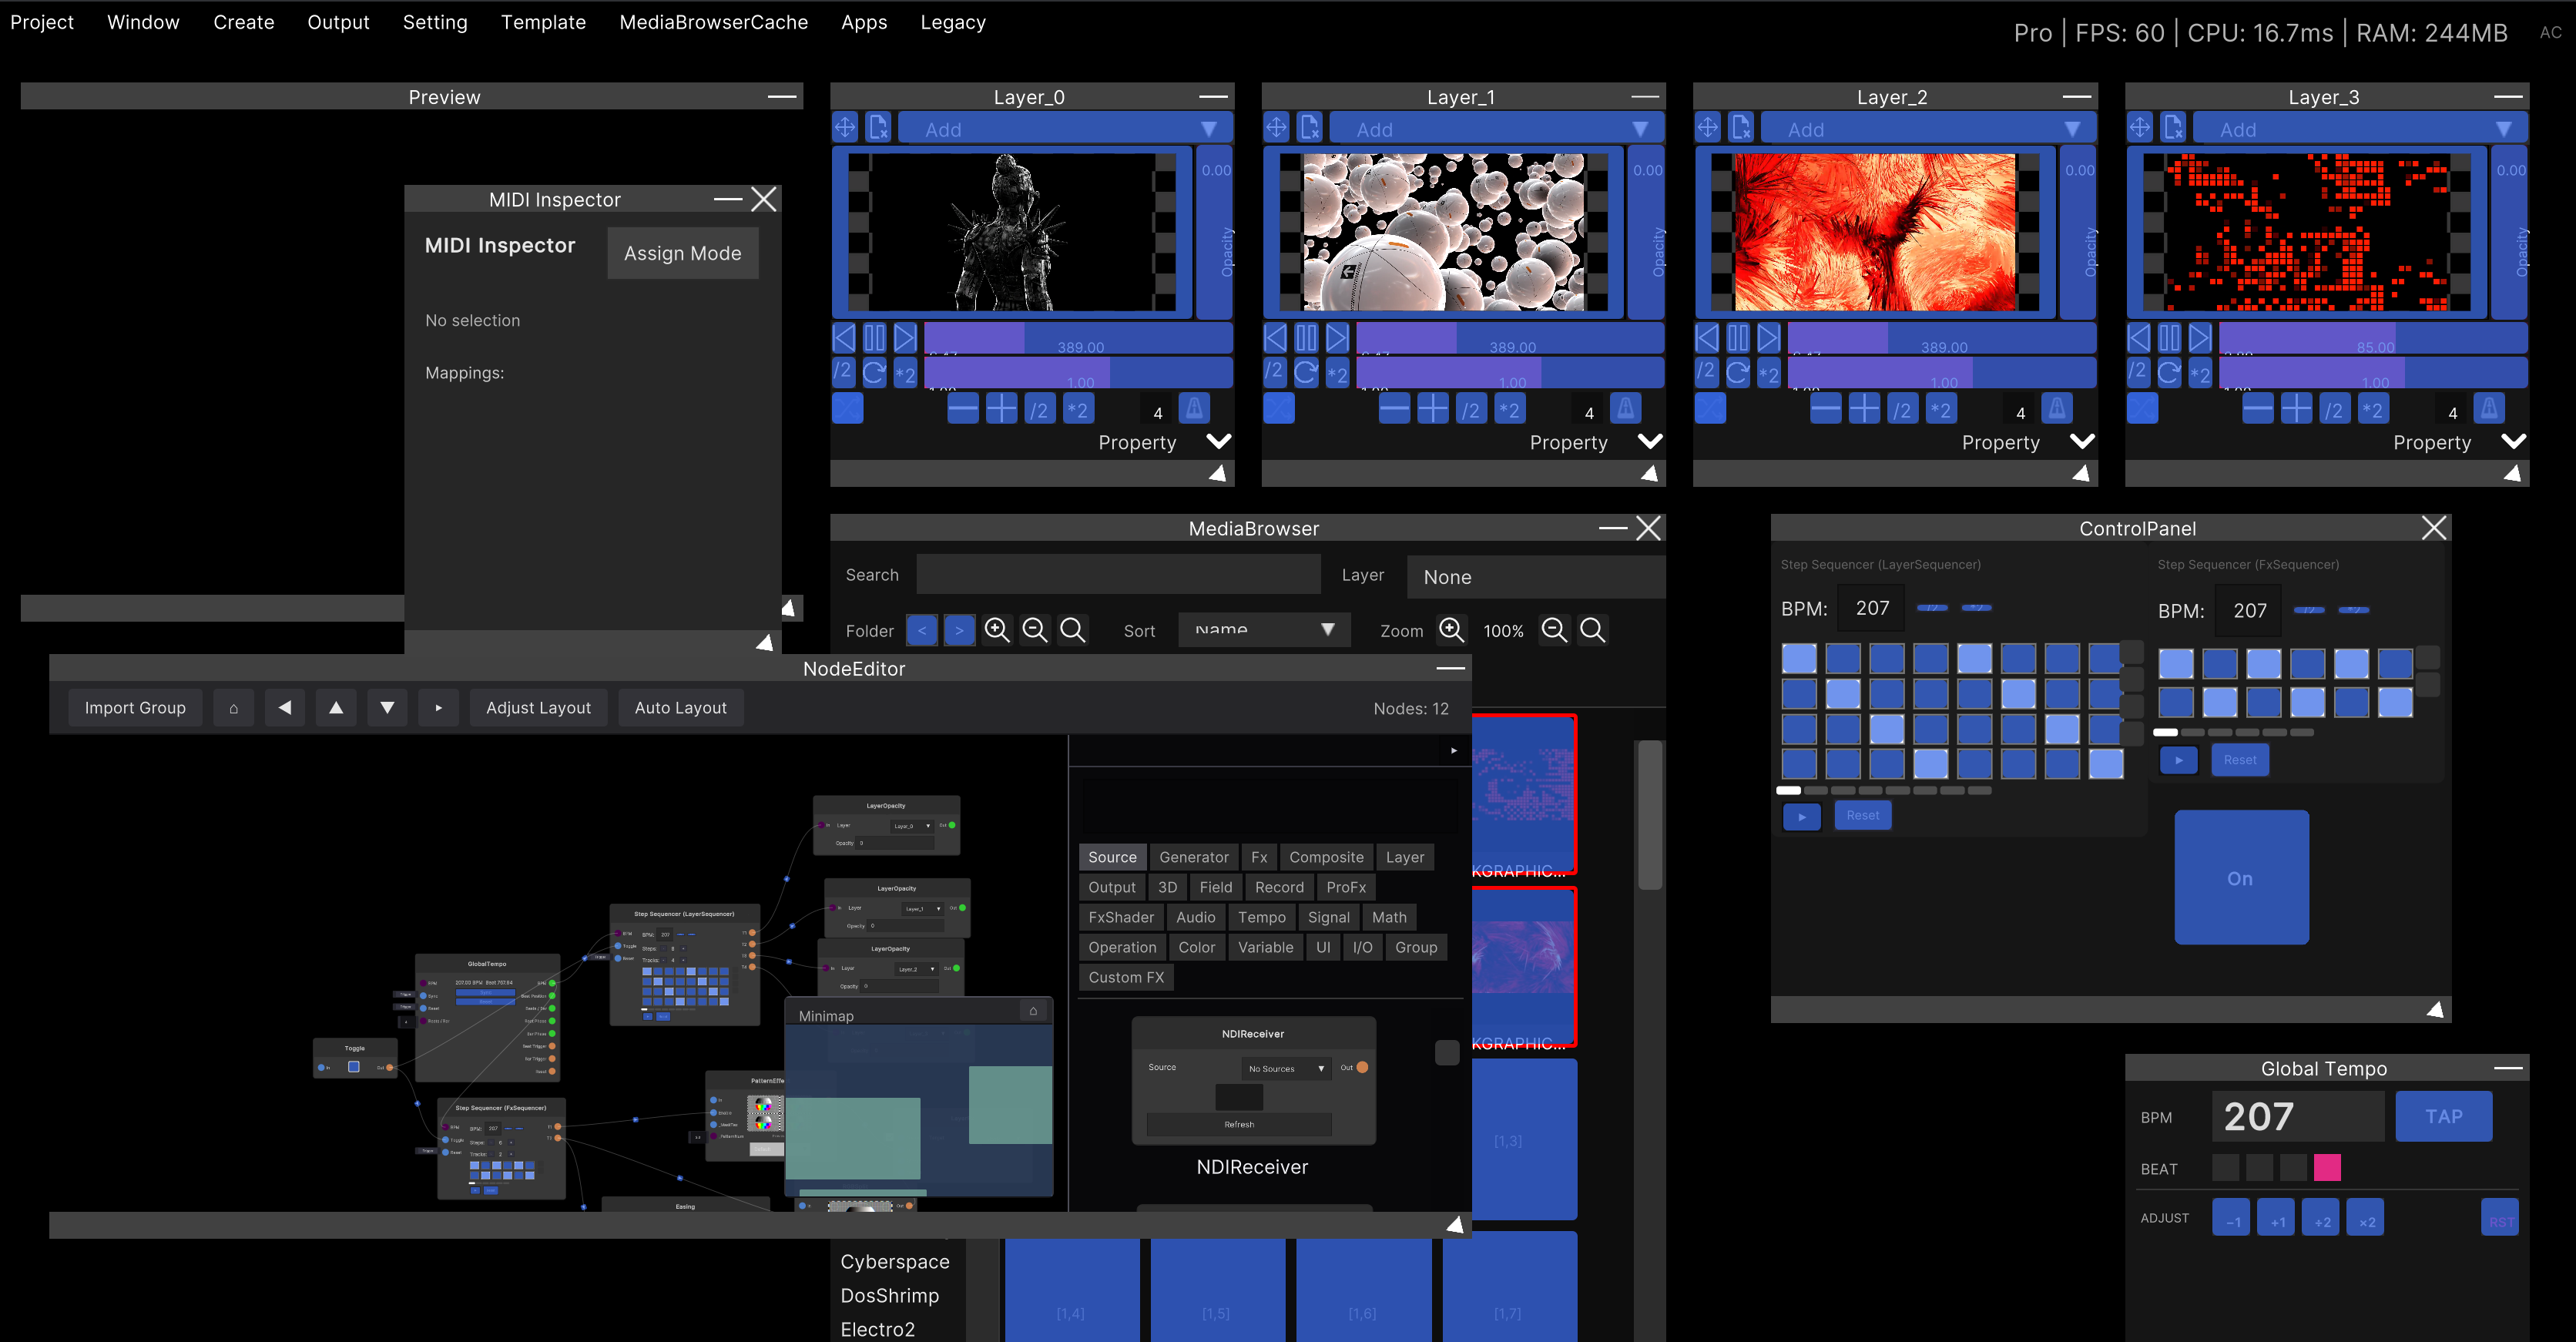
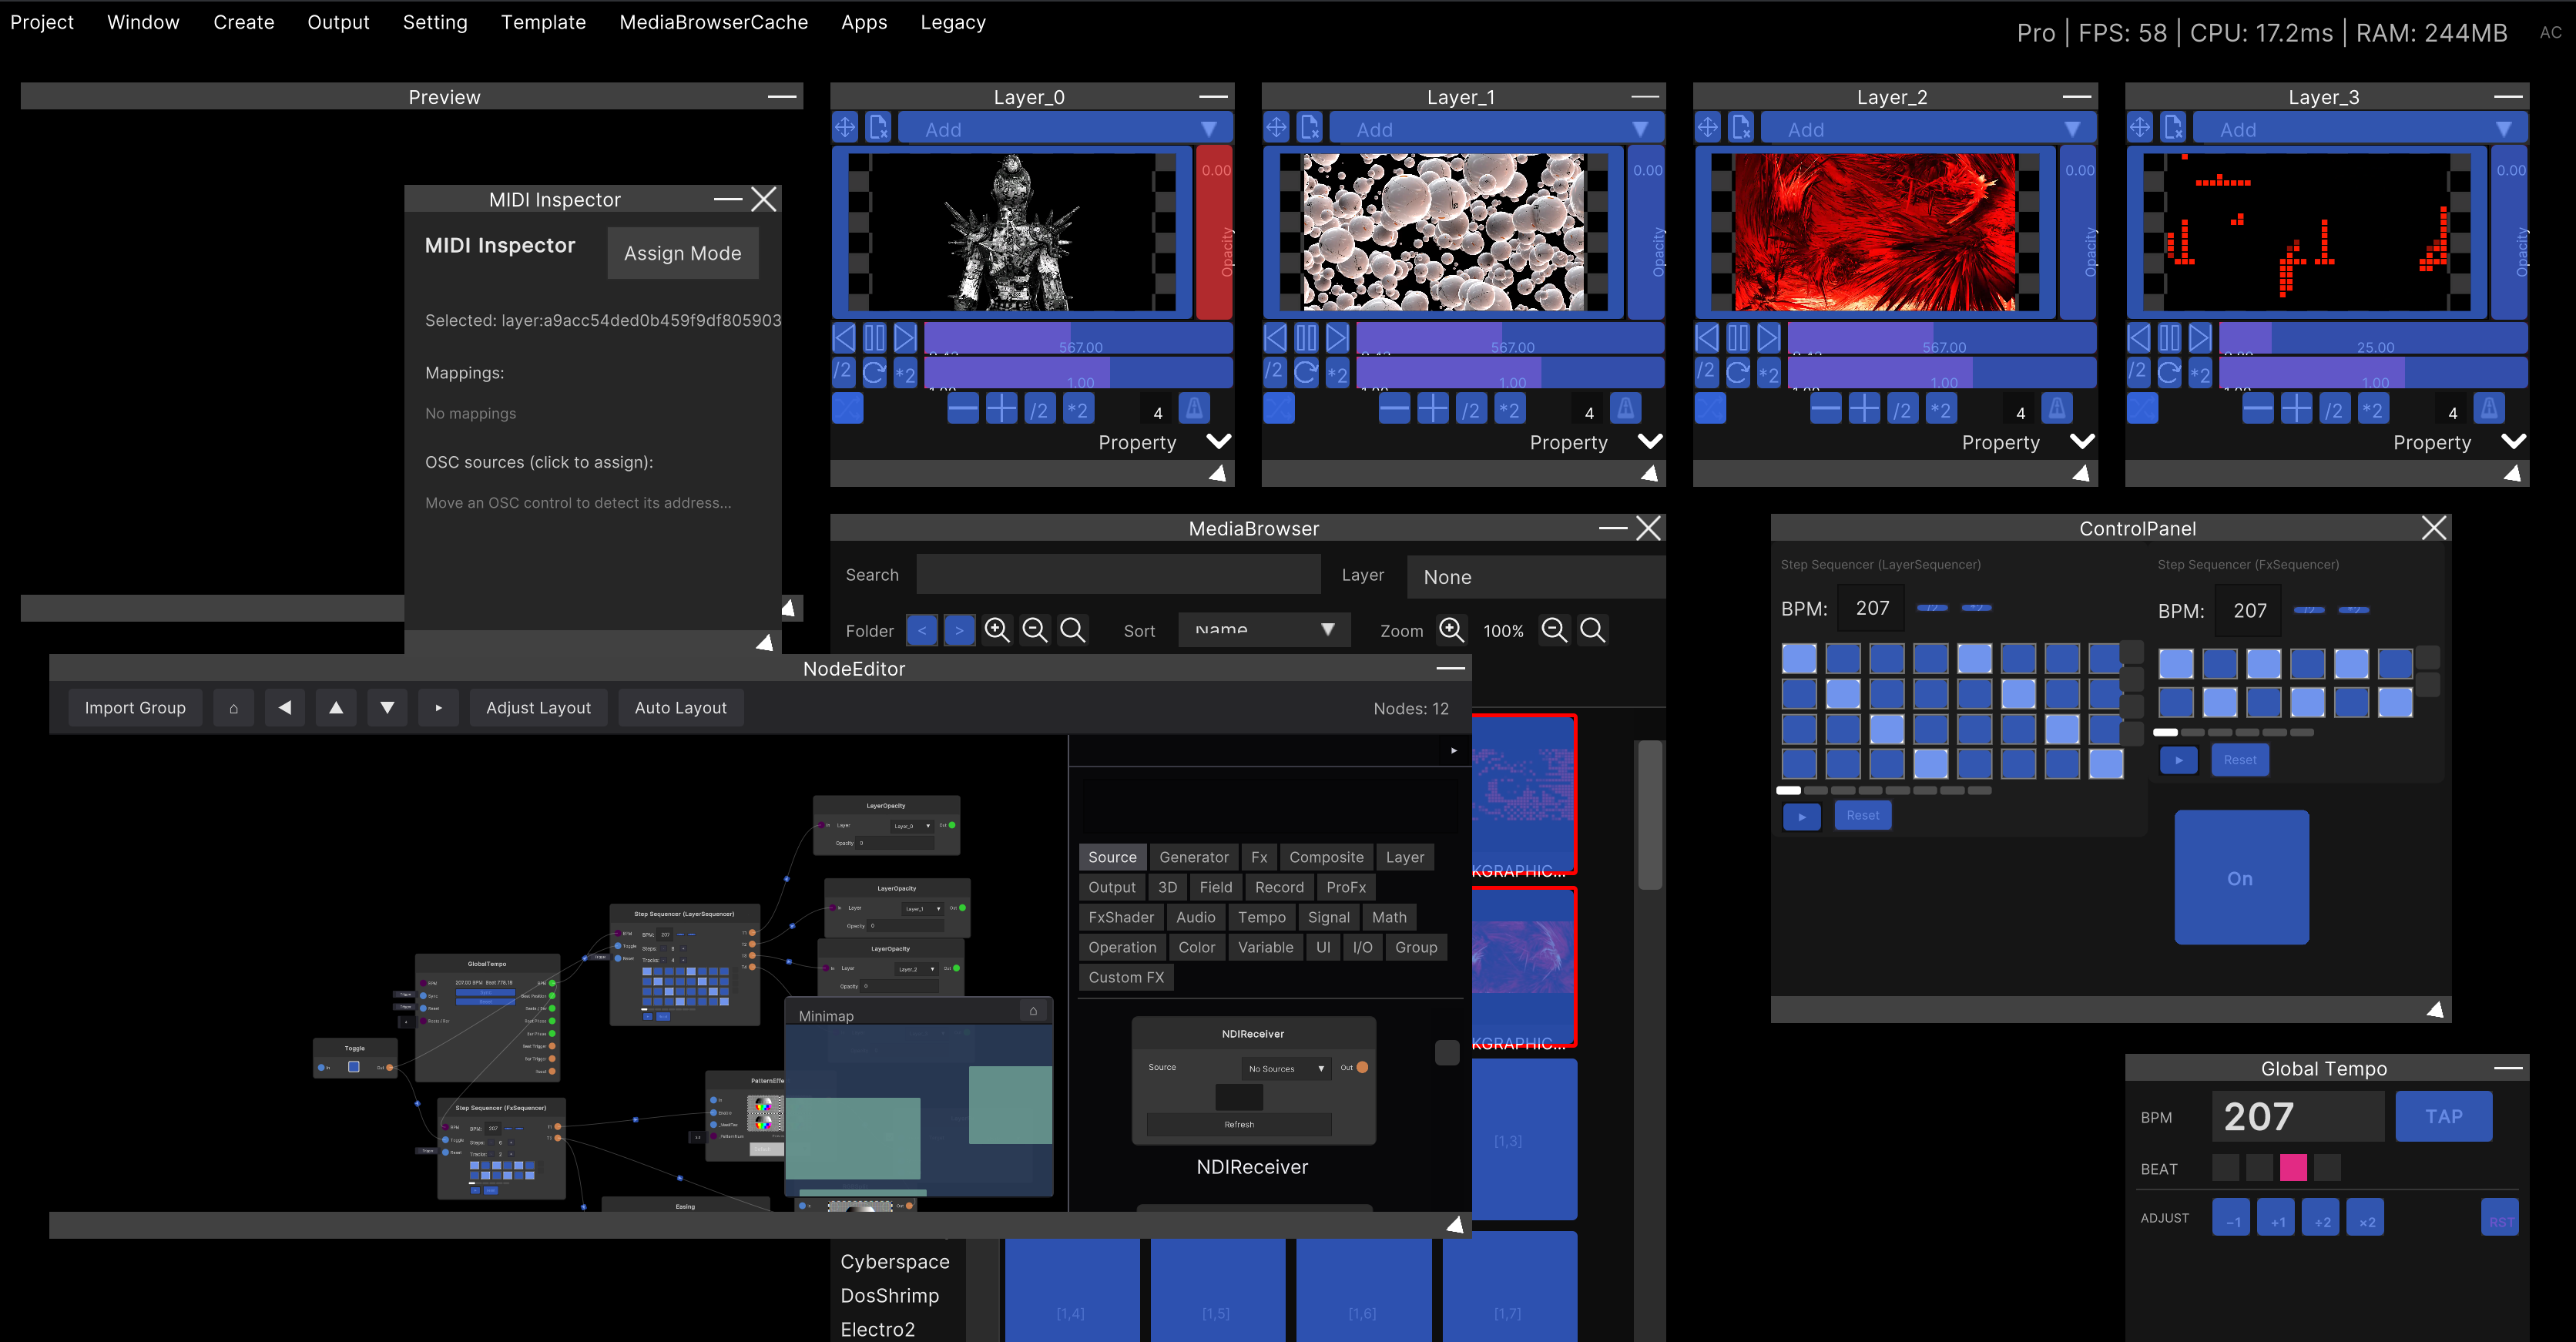
For details, go to MIDI mapping. If you do not have a controller, you can build a control panel of your own on screen with the Widget Panel.
Bringing up the screen you show the audience
Output → Create Output Window in the menu brings up an independent window with only the final output. Take it to a projector or a second display and make it fullscreen.
- Windows: put the window where you want it fullscreen and press Alt + Enter
- Mac: click the green fullscreen button at the top left of the window
For details, go to Output to a projector.
Saving
Project → SaveProject in the menu saves the layer setup and the nodes, all of it. Next time, load this file and you can pick up where you left off today.
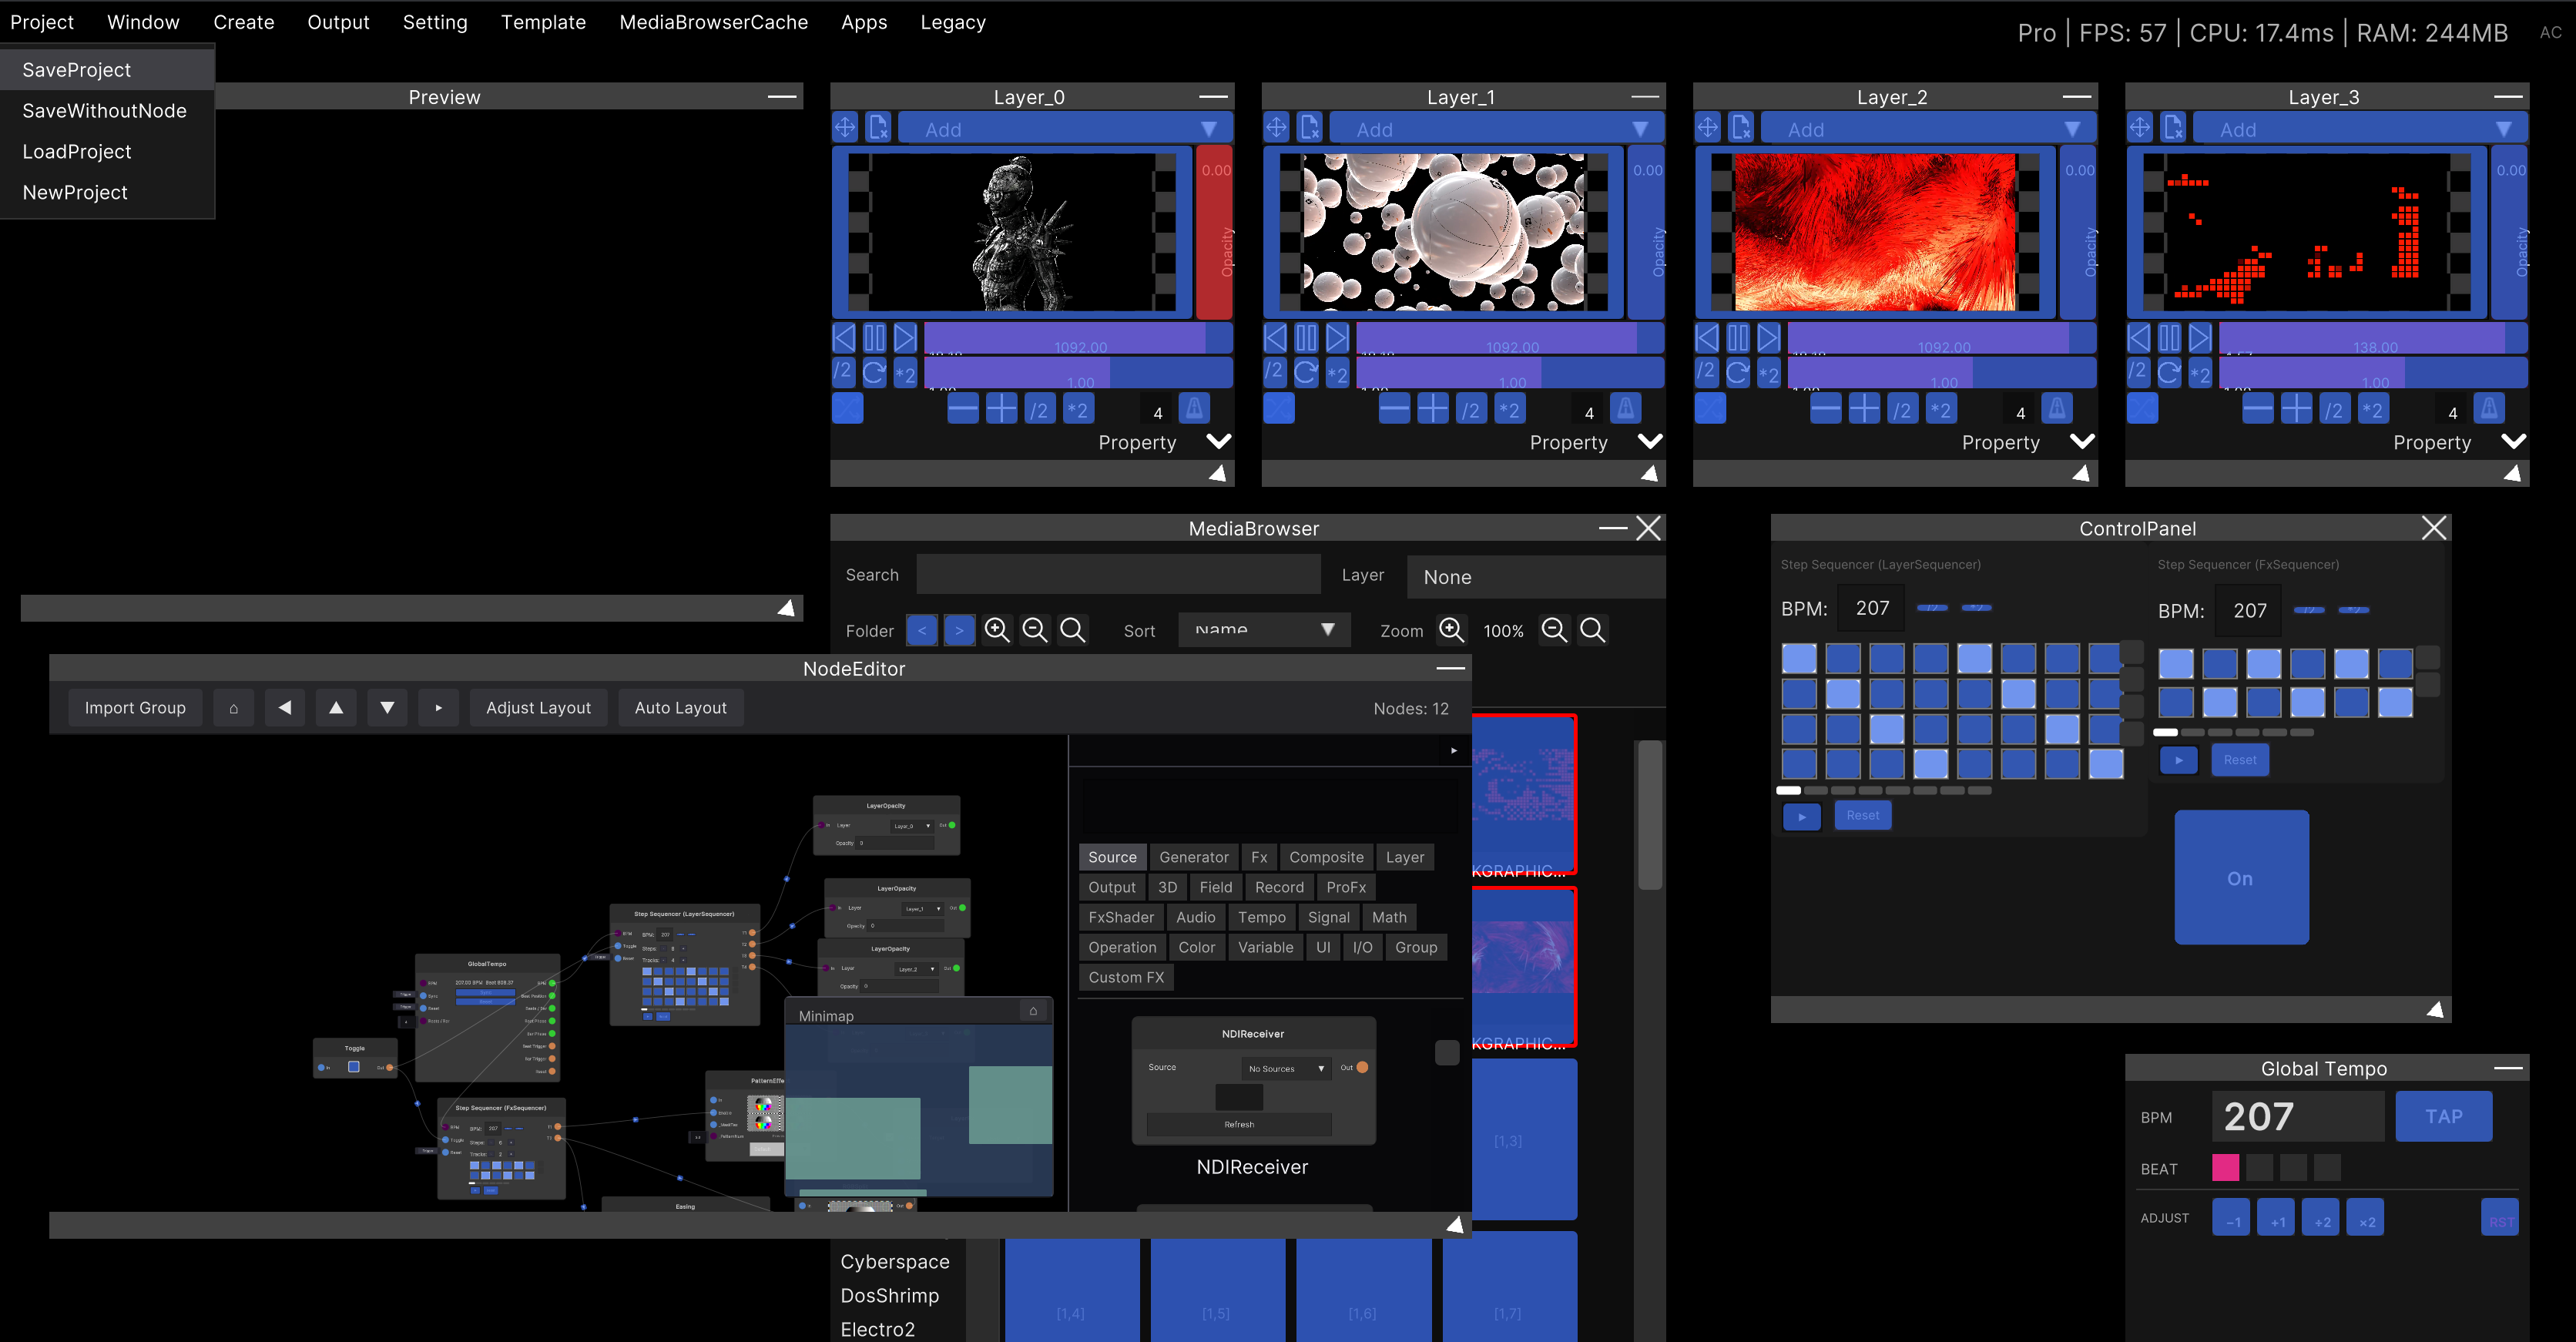
SaveWithoutNode is a separate slot that saves only what is outside the nodes (the layer setup and so on). When you want to share just the node mechanism with someone, you can group the nodes and export them by group (Group).
What lies beyond here
What you touched today is the entrance. Beyond it there is:
- The node catalog — 273 kinds of node. You can connect all of them from this screen
- Fx Editor — write your own effects in GLSL and turn them into nodes
- The Record nodes — record video, scratch it, break it
- 3D — build point-cloud-based 3D scenes with nodes
- Spout/NDI, OSC, DMX — integration with other software and with lighting
- Apps SDK — build features of your own together with AI
For now, keep today’s setup and spend a night playing with your favorite material and your favorite track.